My backyard was in dire need of a makeover! The patio stones surrounding the pool are chipping, discoloured and just plain ugly! Bushes are overgrown, we have privacy issues, boring furniture, old cushions…..but where to start? Exterior makeovers can be not only expensive but also time-consuming.
The first thing we did was hire a professional to give us a 3D drawing of our backyard vision. The ideas were beautiful! The project would have taken our backyard out of commission for the entire summer season. That was just not an option for us….Plan B….We gave careful consideration to what was important to us and got down to business.
Décor….
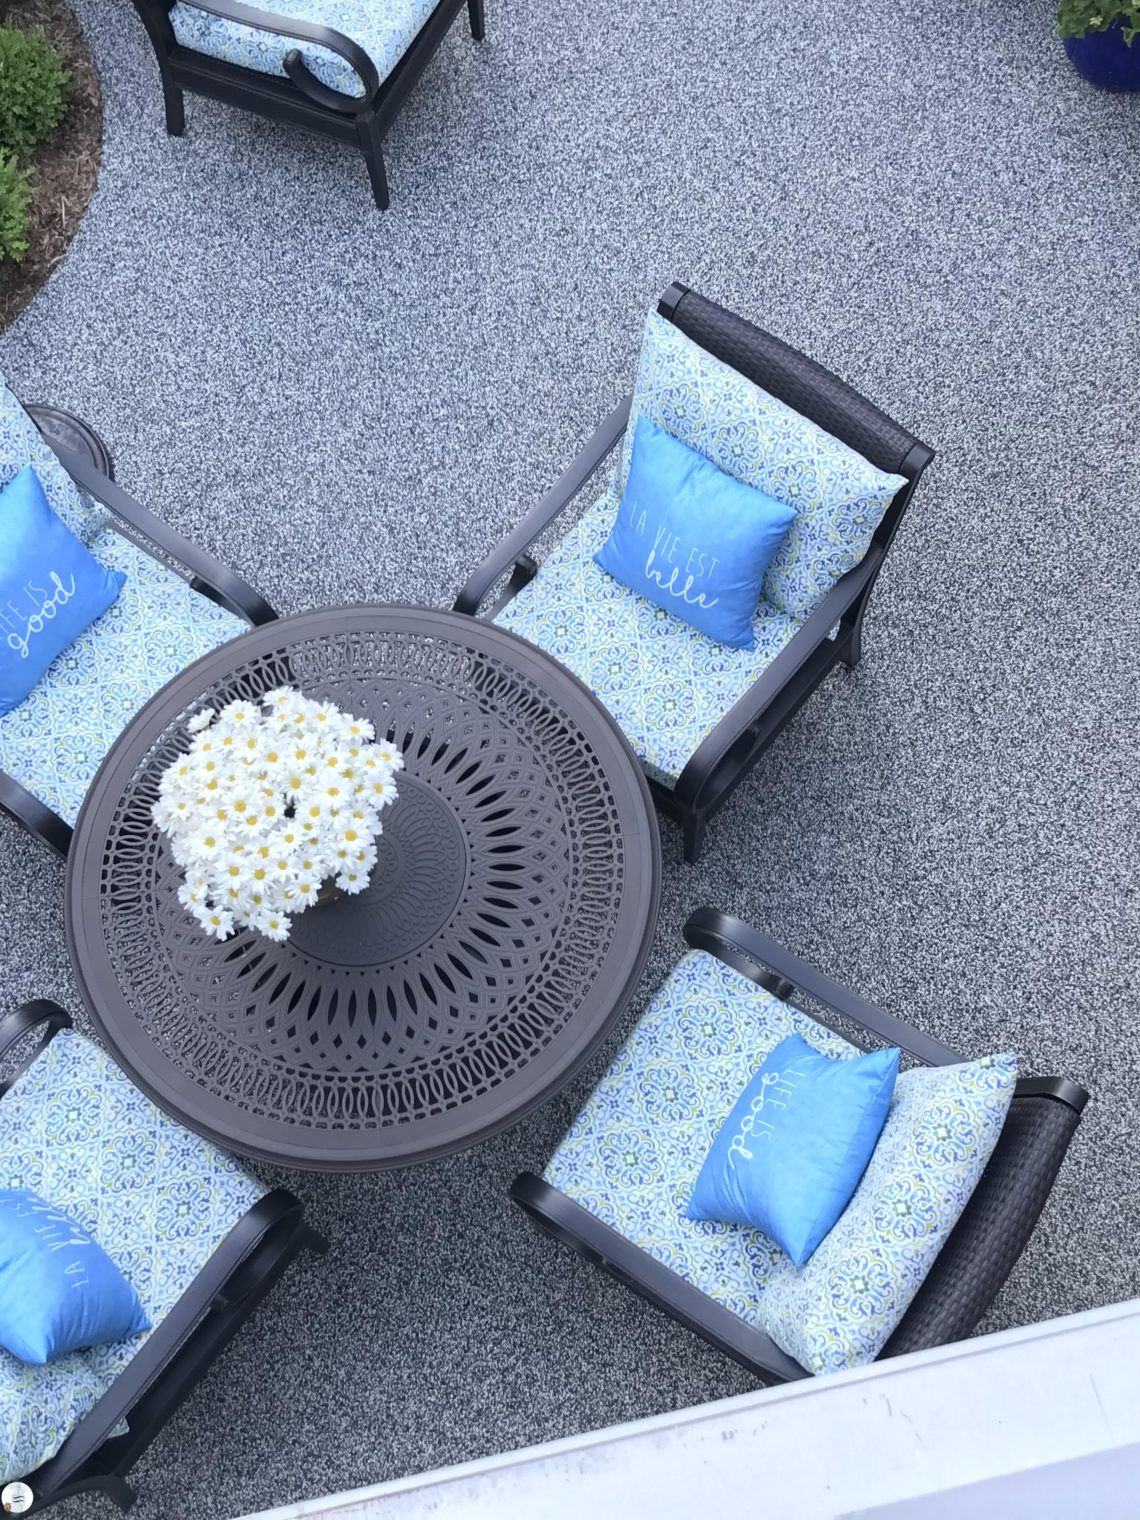
My debate was a classic black and white theme or colourful! Some designers suggest your outdoor space should be a simple extension of your indoor space. Apparently, if it blends seamlessly your living spaces will feel much more cohesive. There are some beautiful photos of grey and beige outdoor furnishings that you can find online. They sure are safe choices and you can change the throw pillows seasonally. But for me? I’m going for a bold look…in this case very bright teals, blues and greens.
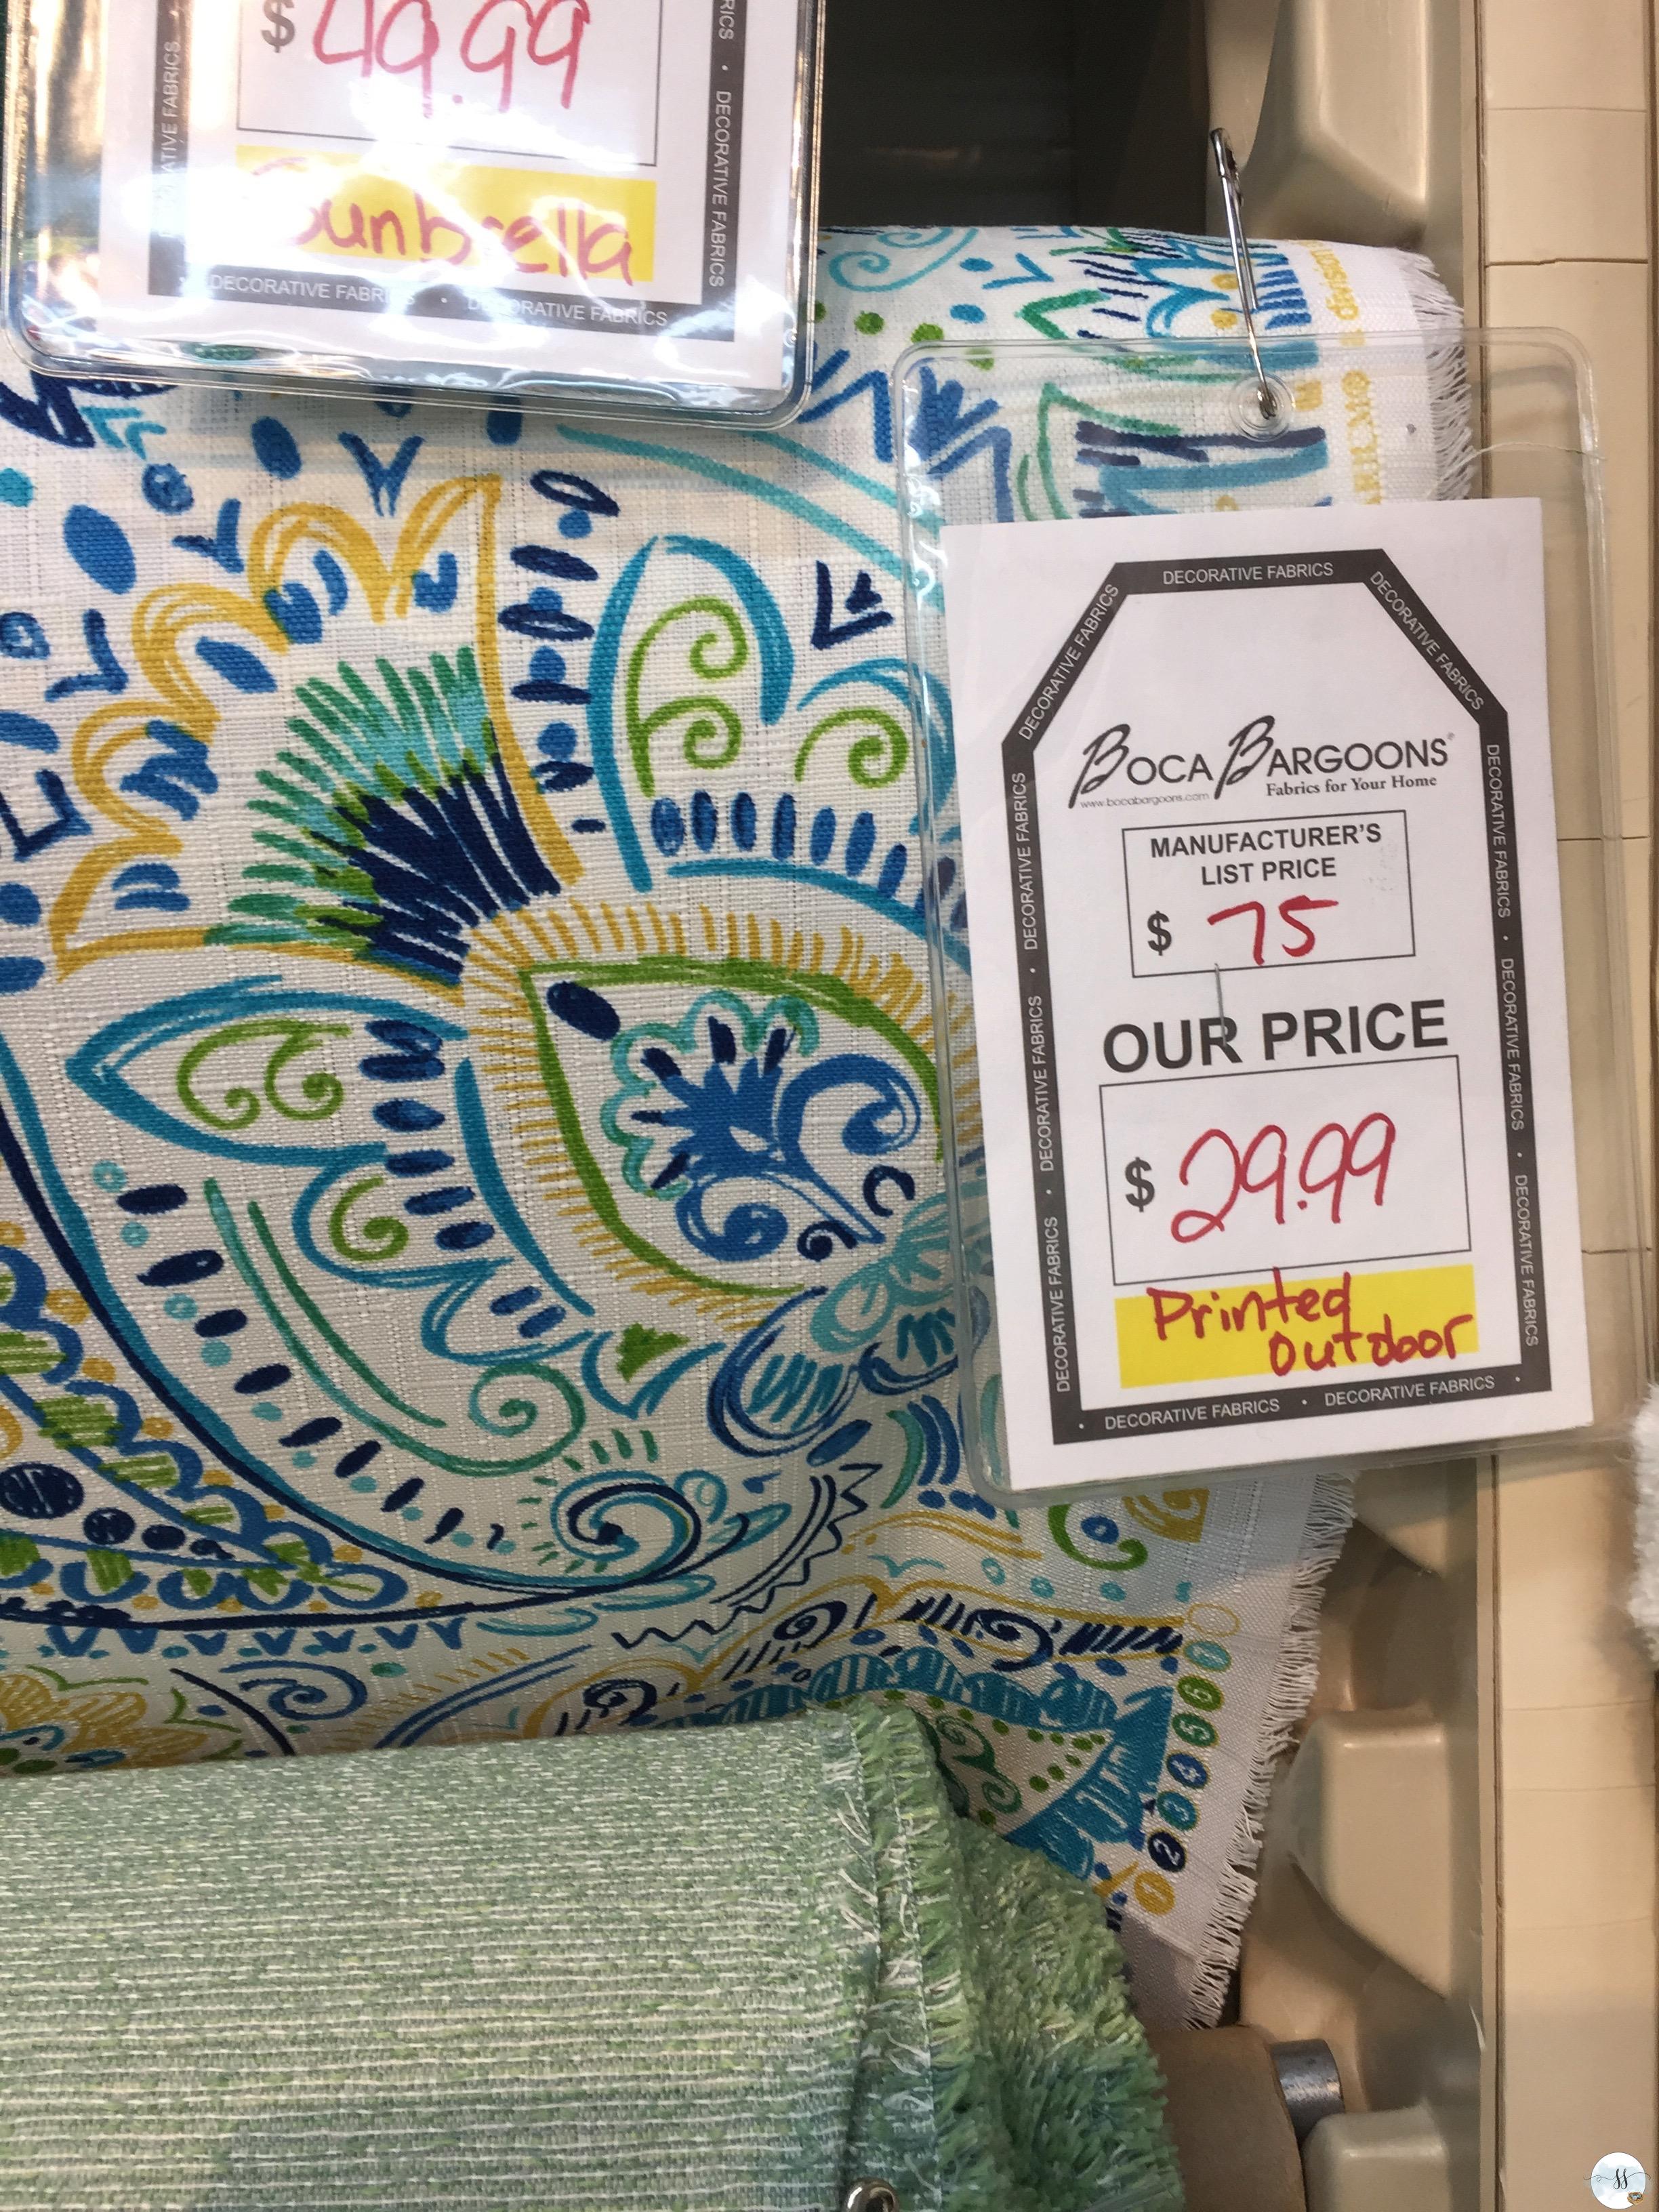
I went with some pretty vivid colour as our summers in Canada are so short, the blast of colour makes me entirely happy.
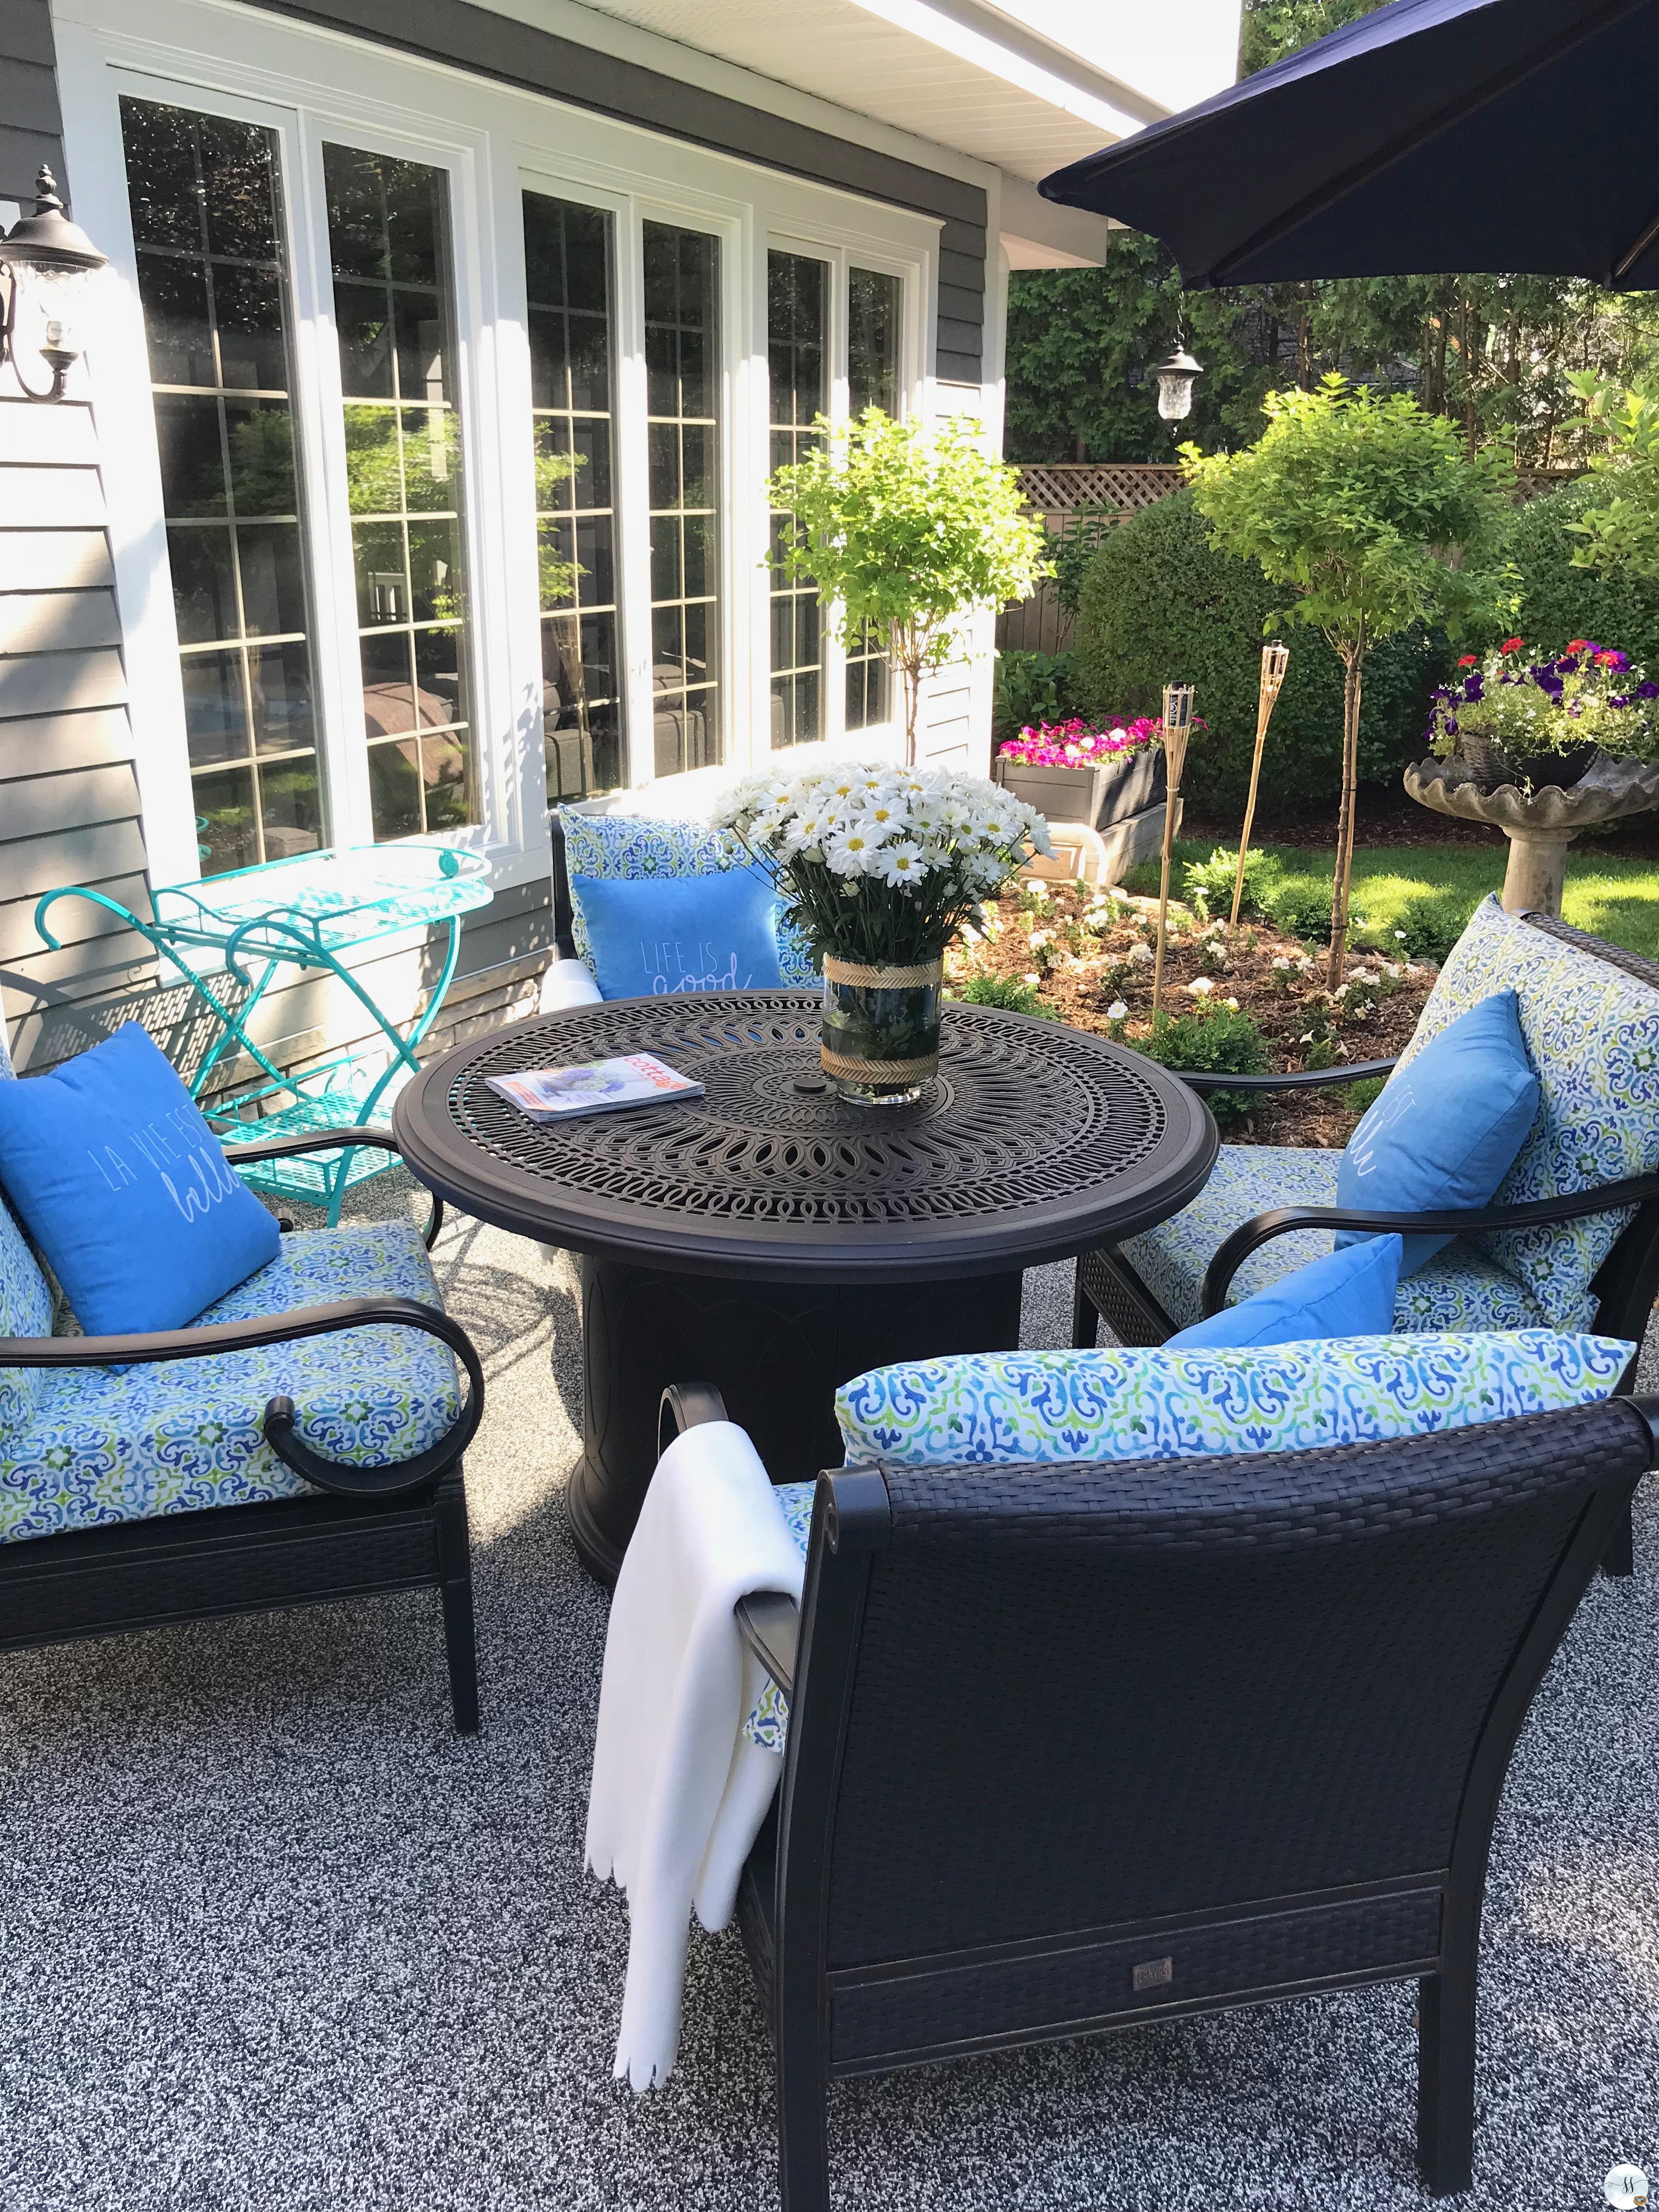
As mentioned above the patio was a major issue for us. There is so much patio that we really felt it was bringing down the appearance of the entire backyard. It didn’t matter how many times we power washed it….eesh….still ugly!! My plan is…..was to cover all the patio areas with Rubaroc. We have it at our Canadian Club House and we all love it. It doesn’t get hot, girls can run on it without the worry of it being slippery and it is easy to clean. I picked a grey/black fleck to go with the exterior of our home.
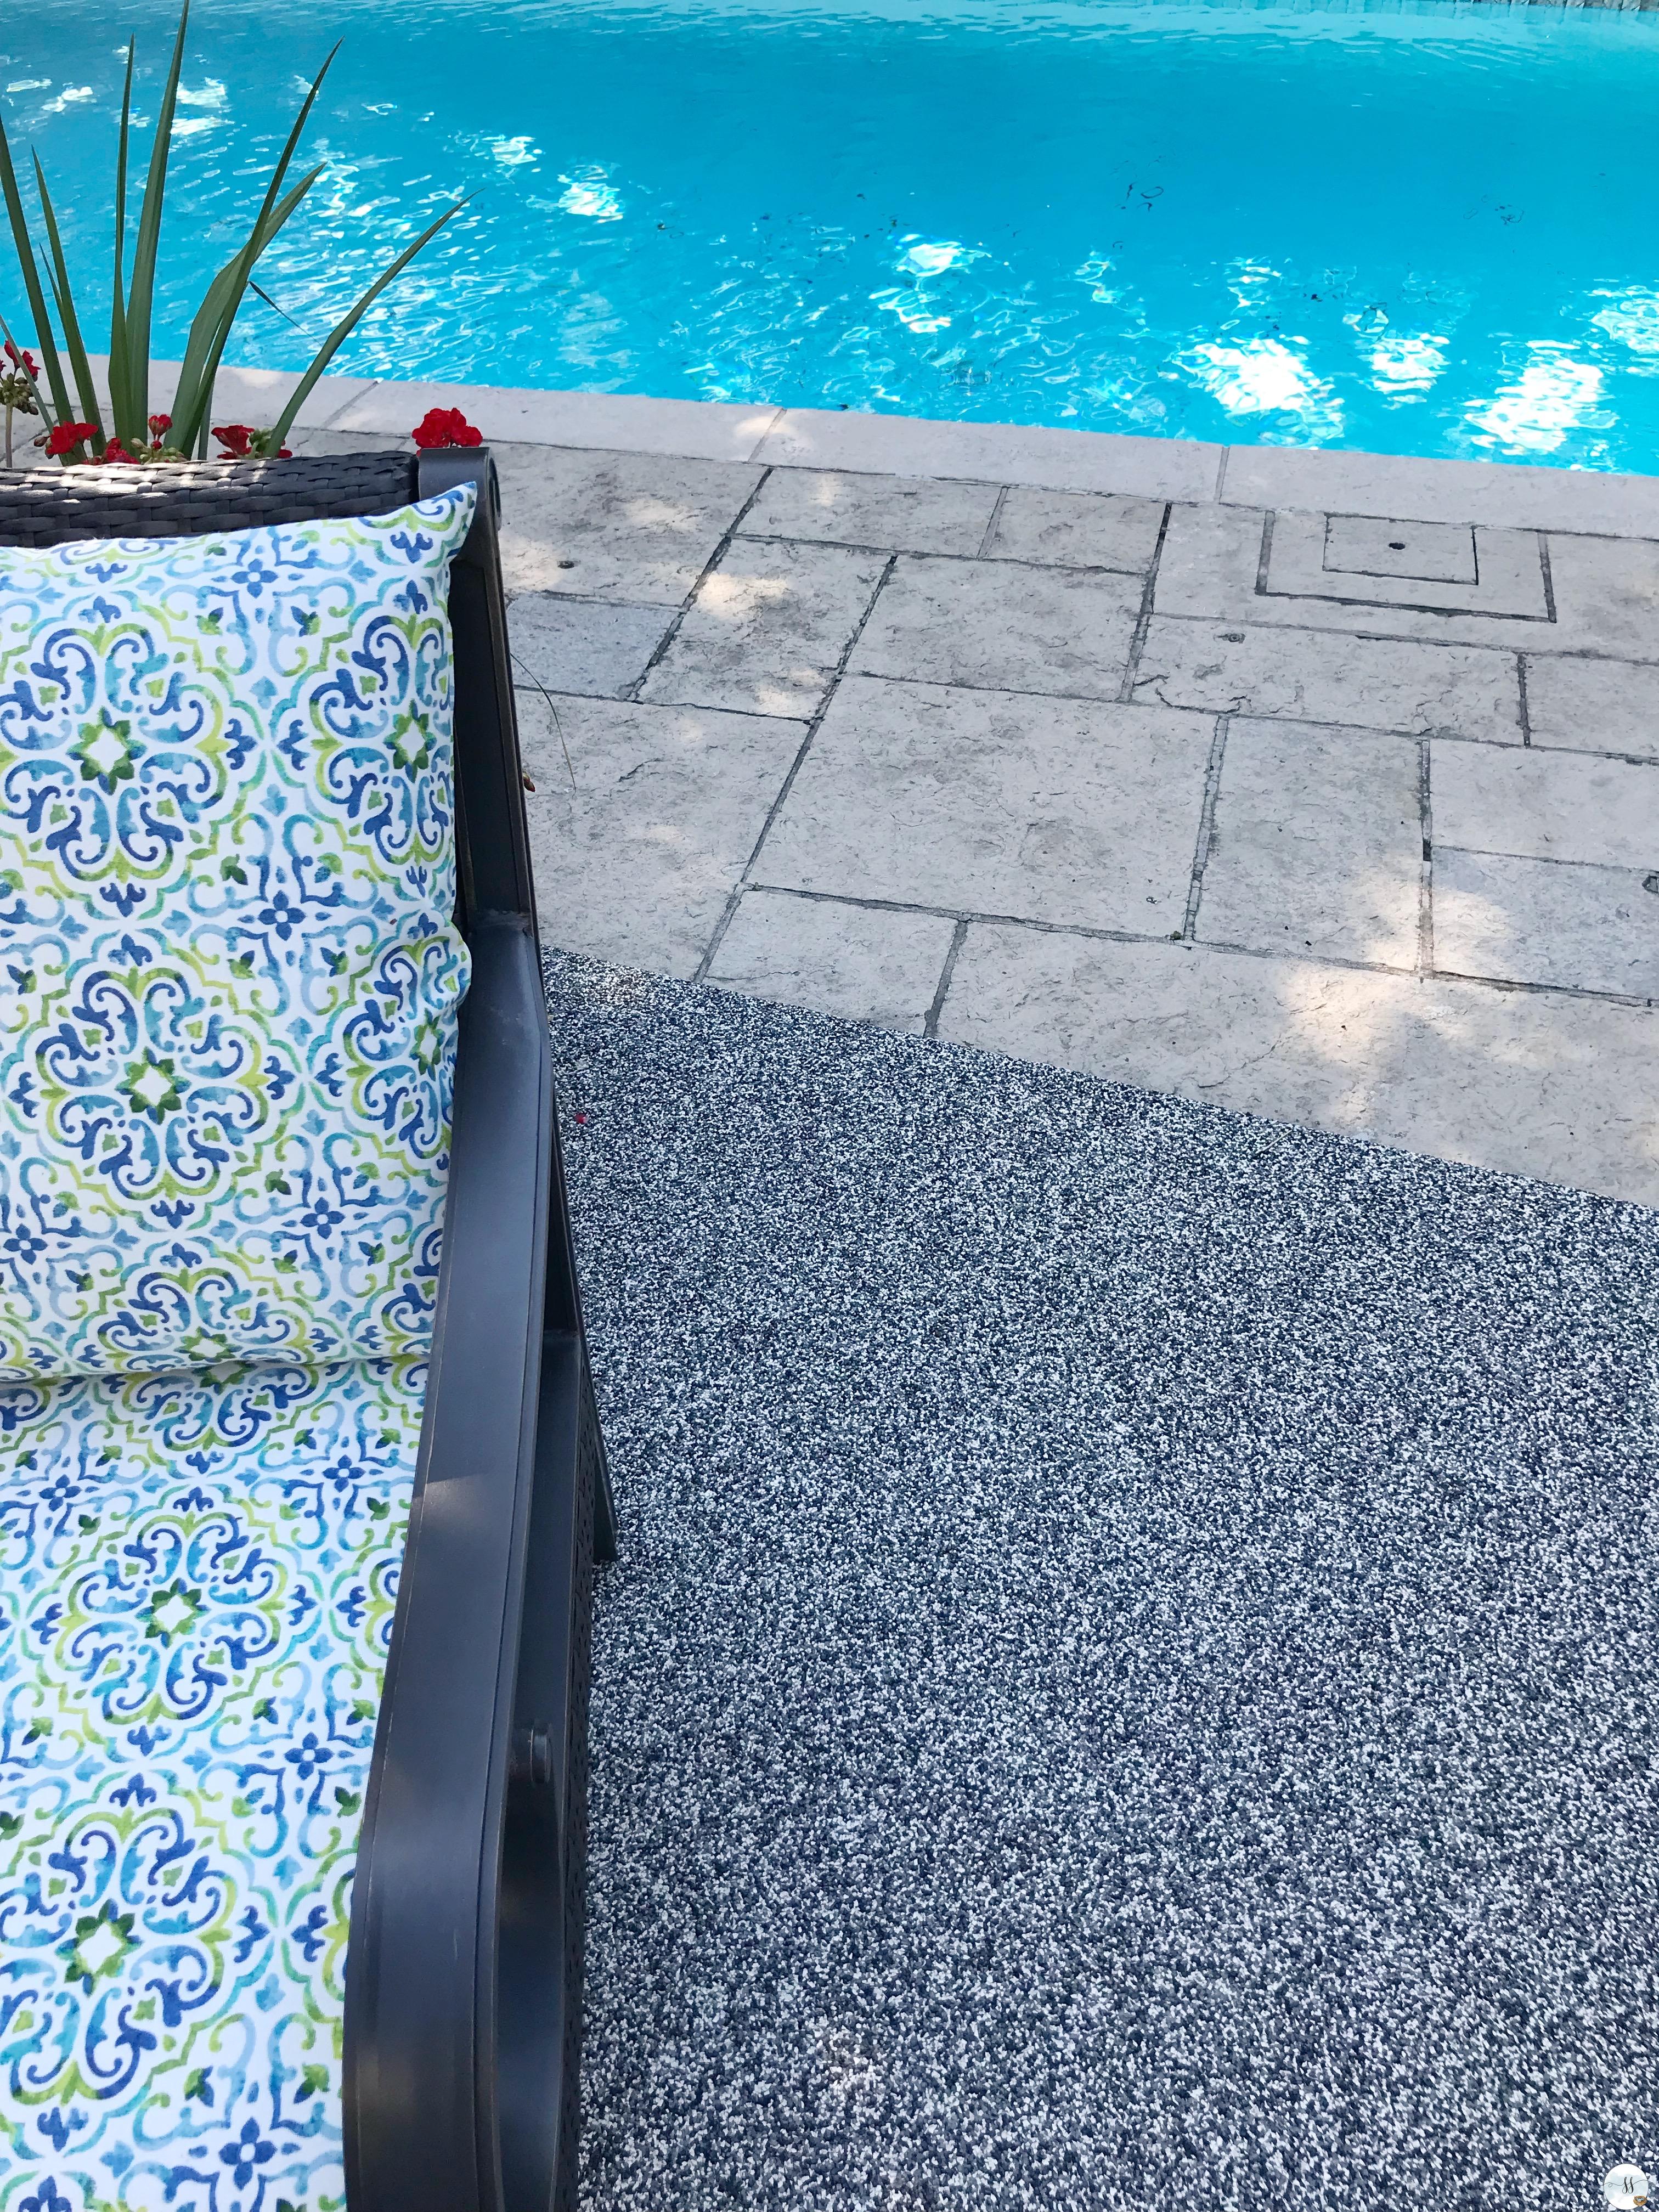
For now, I am loving the small sitting area that has been completed. The flagstone looks soooo bad compared to it, but it’s comforting to know that it is just a matter of time before it too gets done!
On the wish list is some sort of gazebo to protect us from the elements.
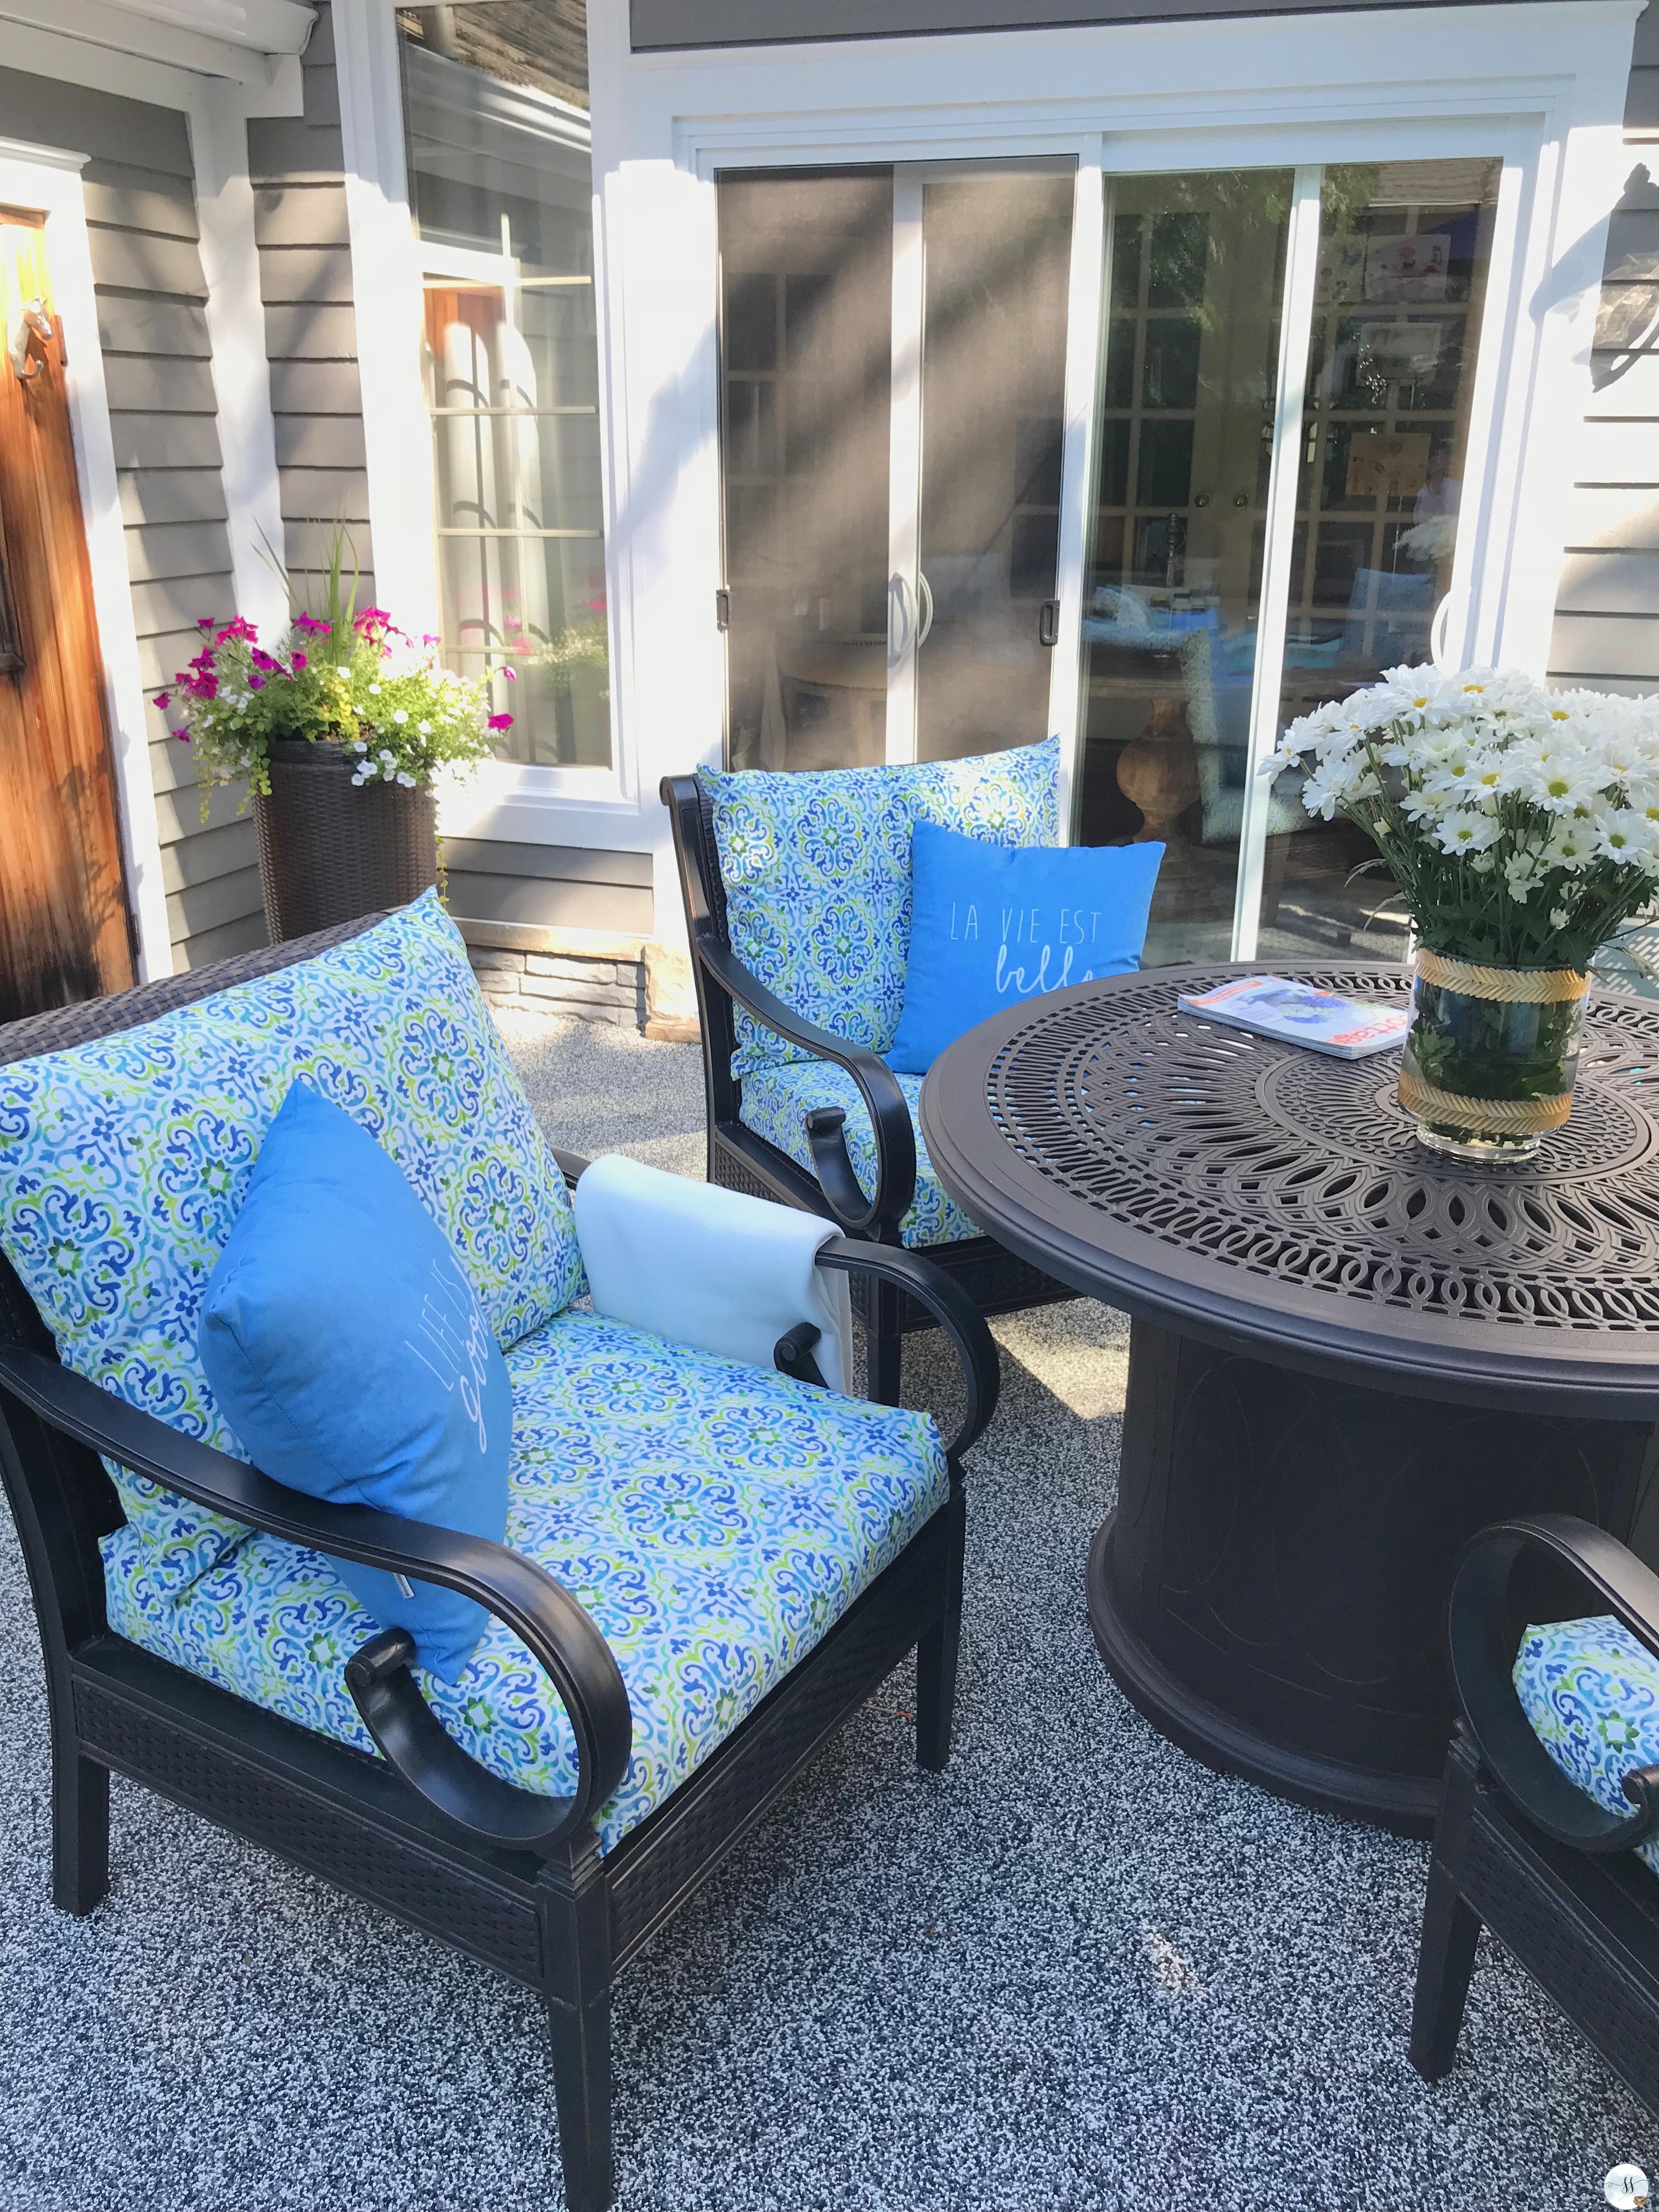
My patio set was not expensive. I purchased it last year on sale at Canadian Tire. The cushion colour was not what I wanted. The furniture seems sturdy enough. It’s a mixture of vinyl/wicker and metal frame. I had cast iron in my last house and it rusted….so if this does too, I feel I will be ahead of the game money-wise!
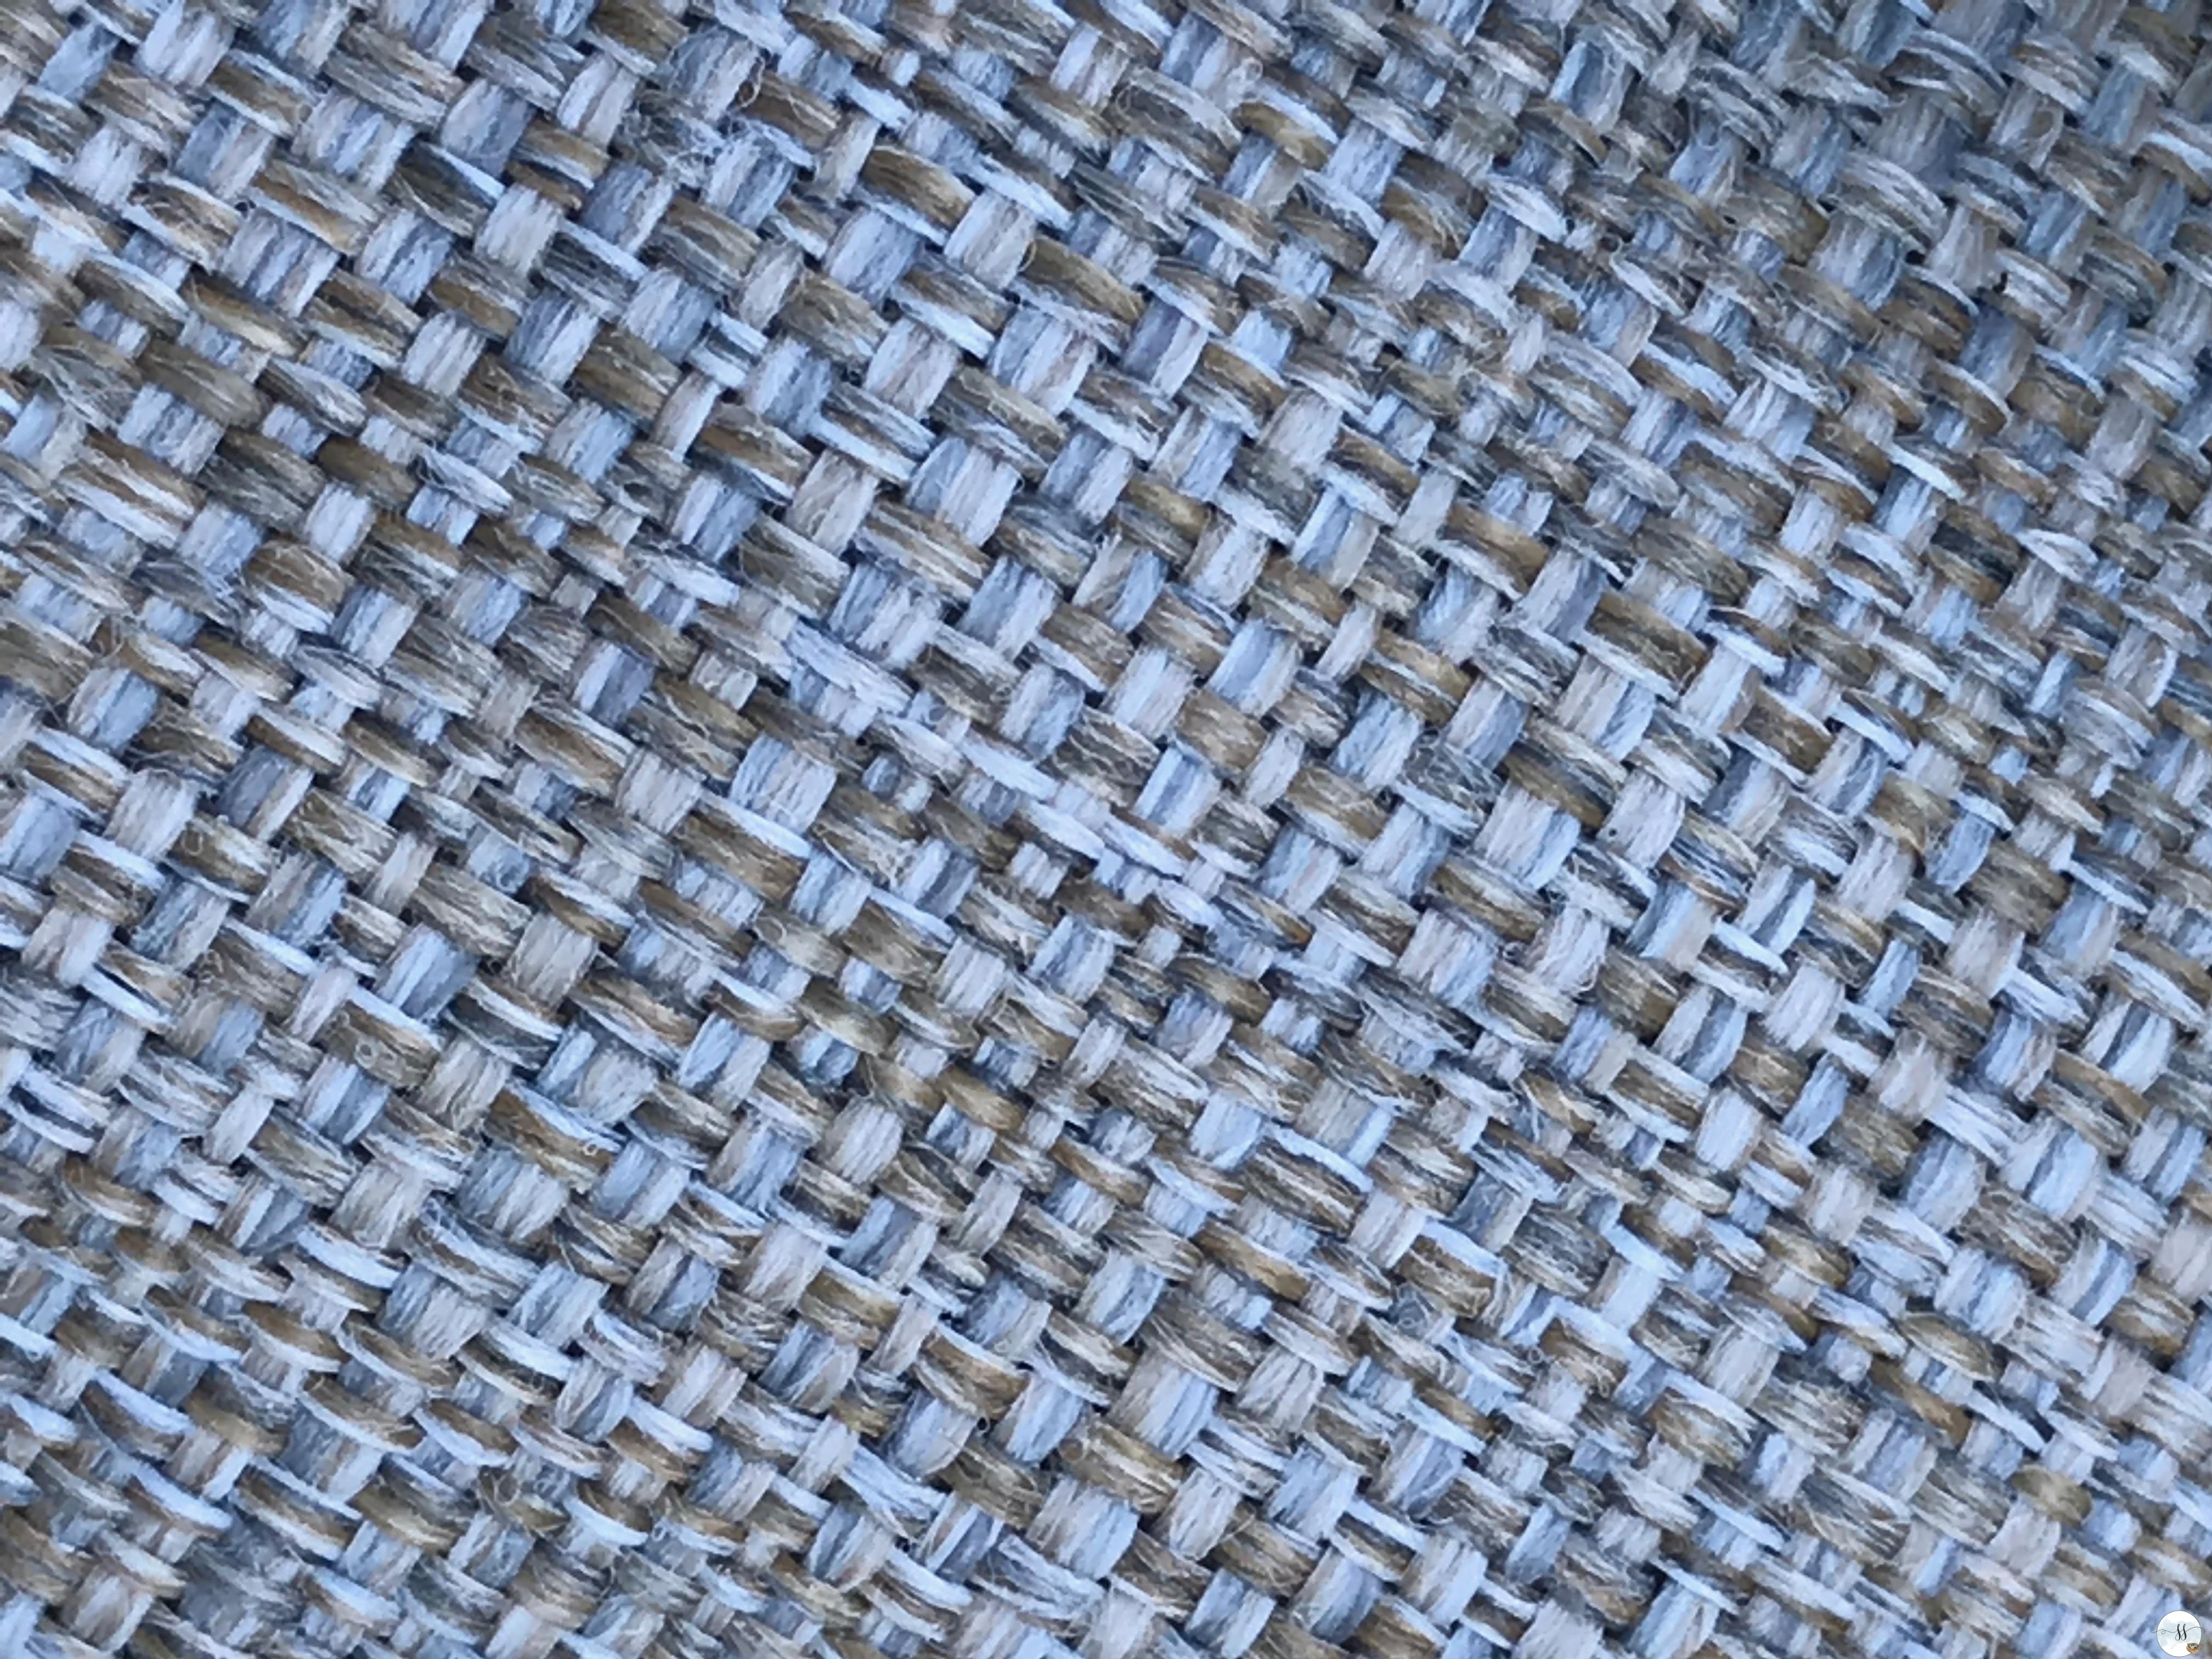
These are the original covers that were on the cushions when I purchased the chairs…not terrible by any means, but I really wanted to liven up my space with colour. This photo actually shows more blue and white than is obvious.
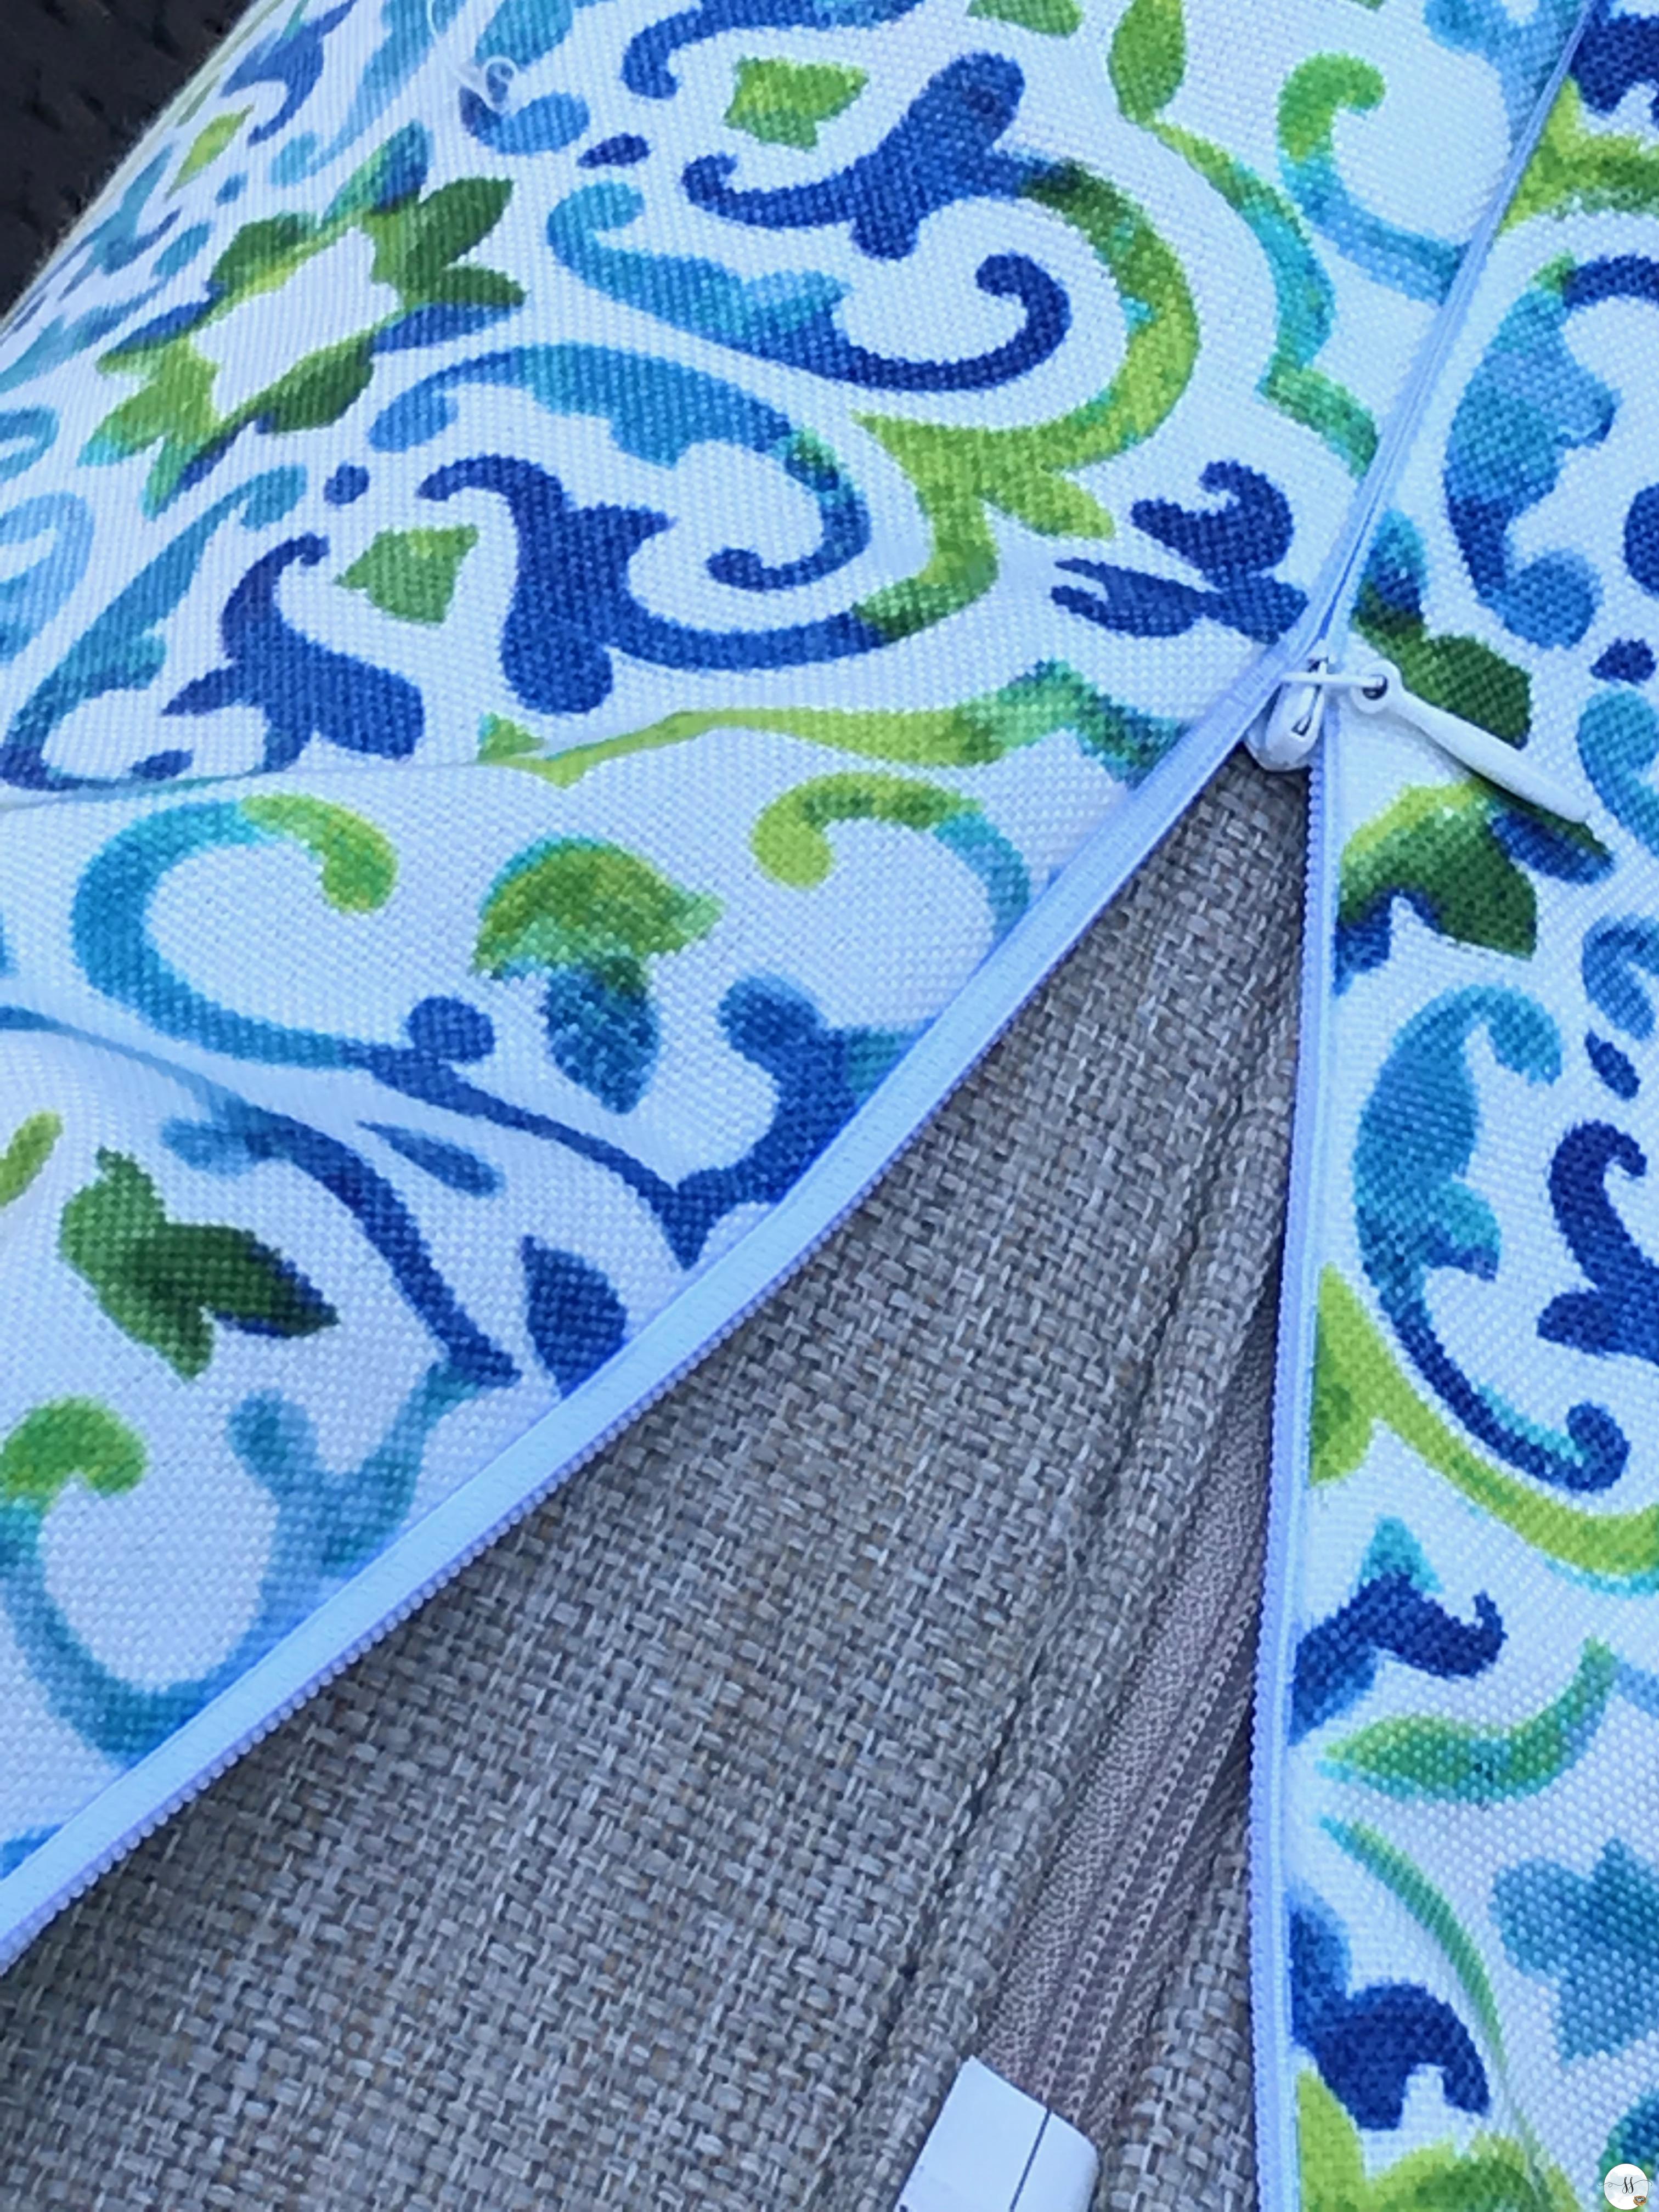
While in Florida over the winter I bought some great material at Boca Bargoons and brought it home with me in the spring. The prices cannot be beaten. Their sales are incredible! I had my seamstress sew up cushion covers for me. AMAZING job!!! I put the new covers right on top of the old ones. I sure got the blast of colour I was after. The beige cover in the above photo is more realistic in terms of colour.
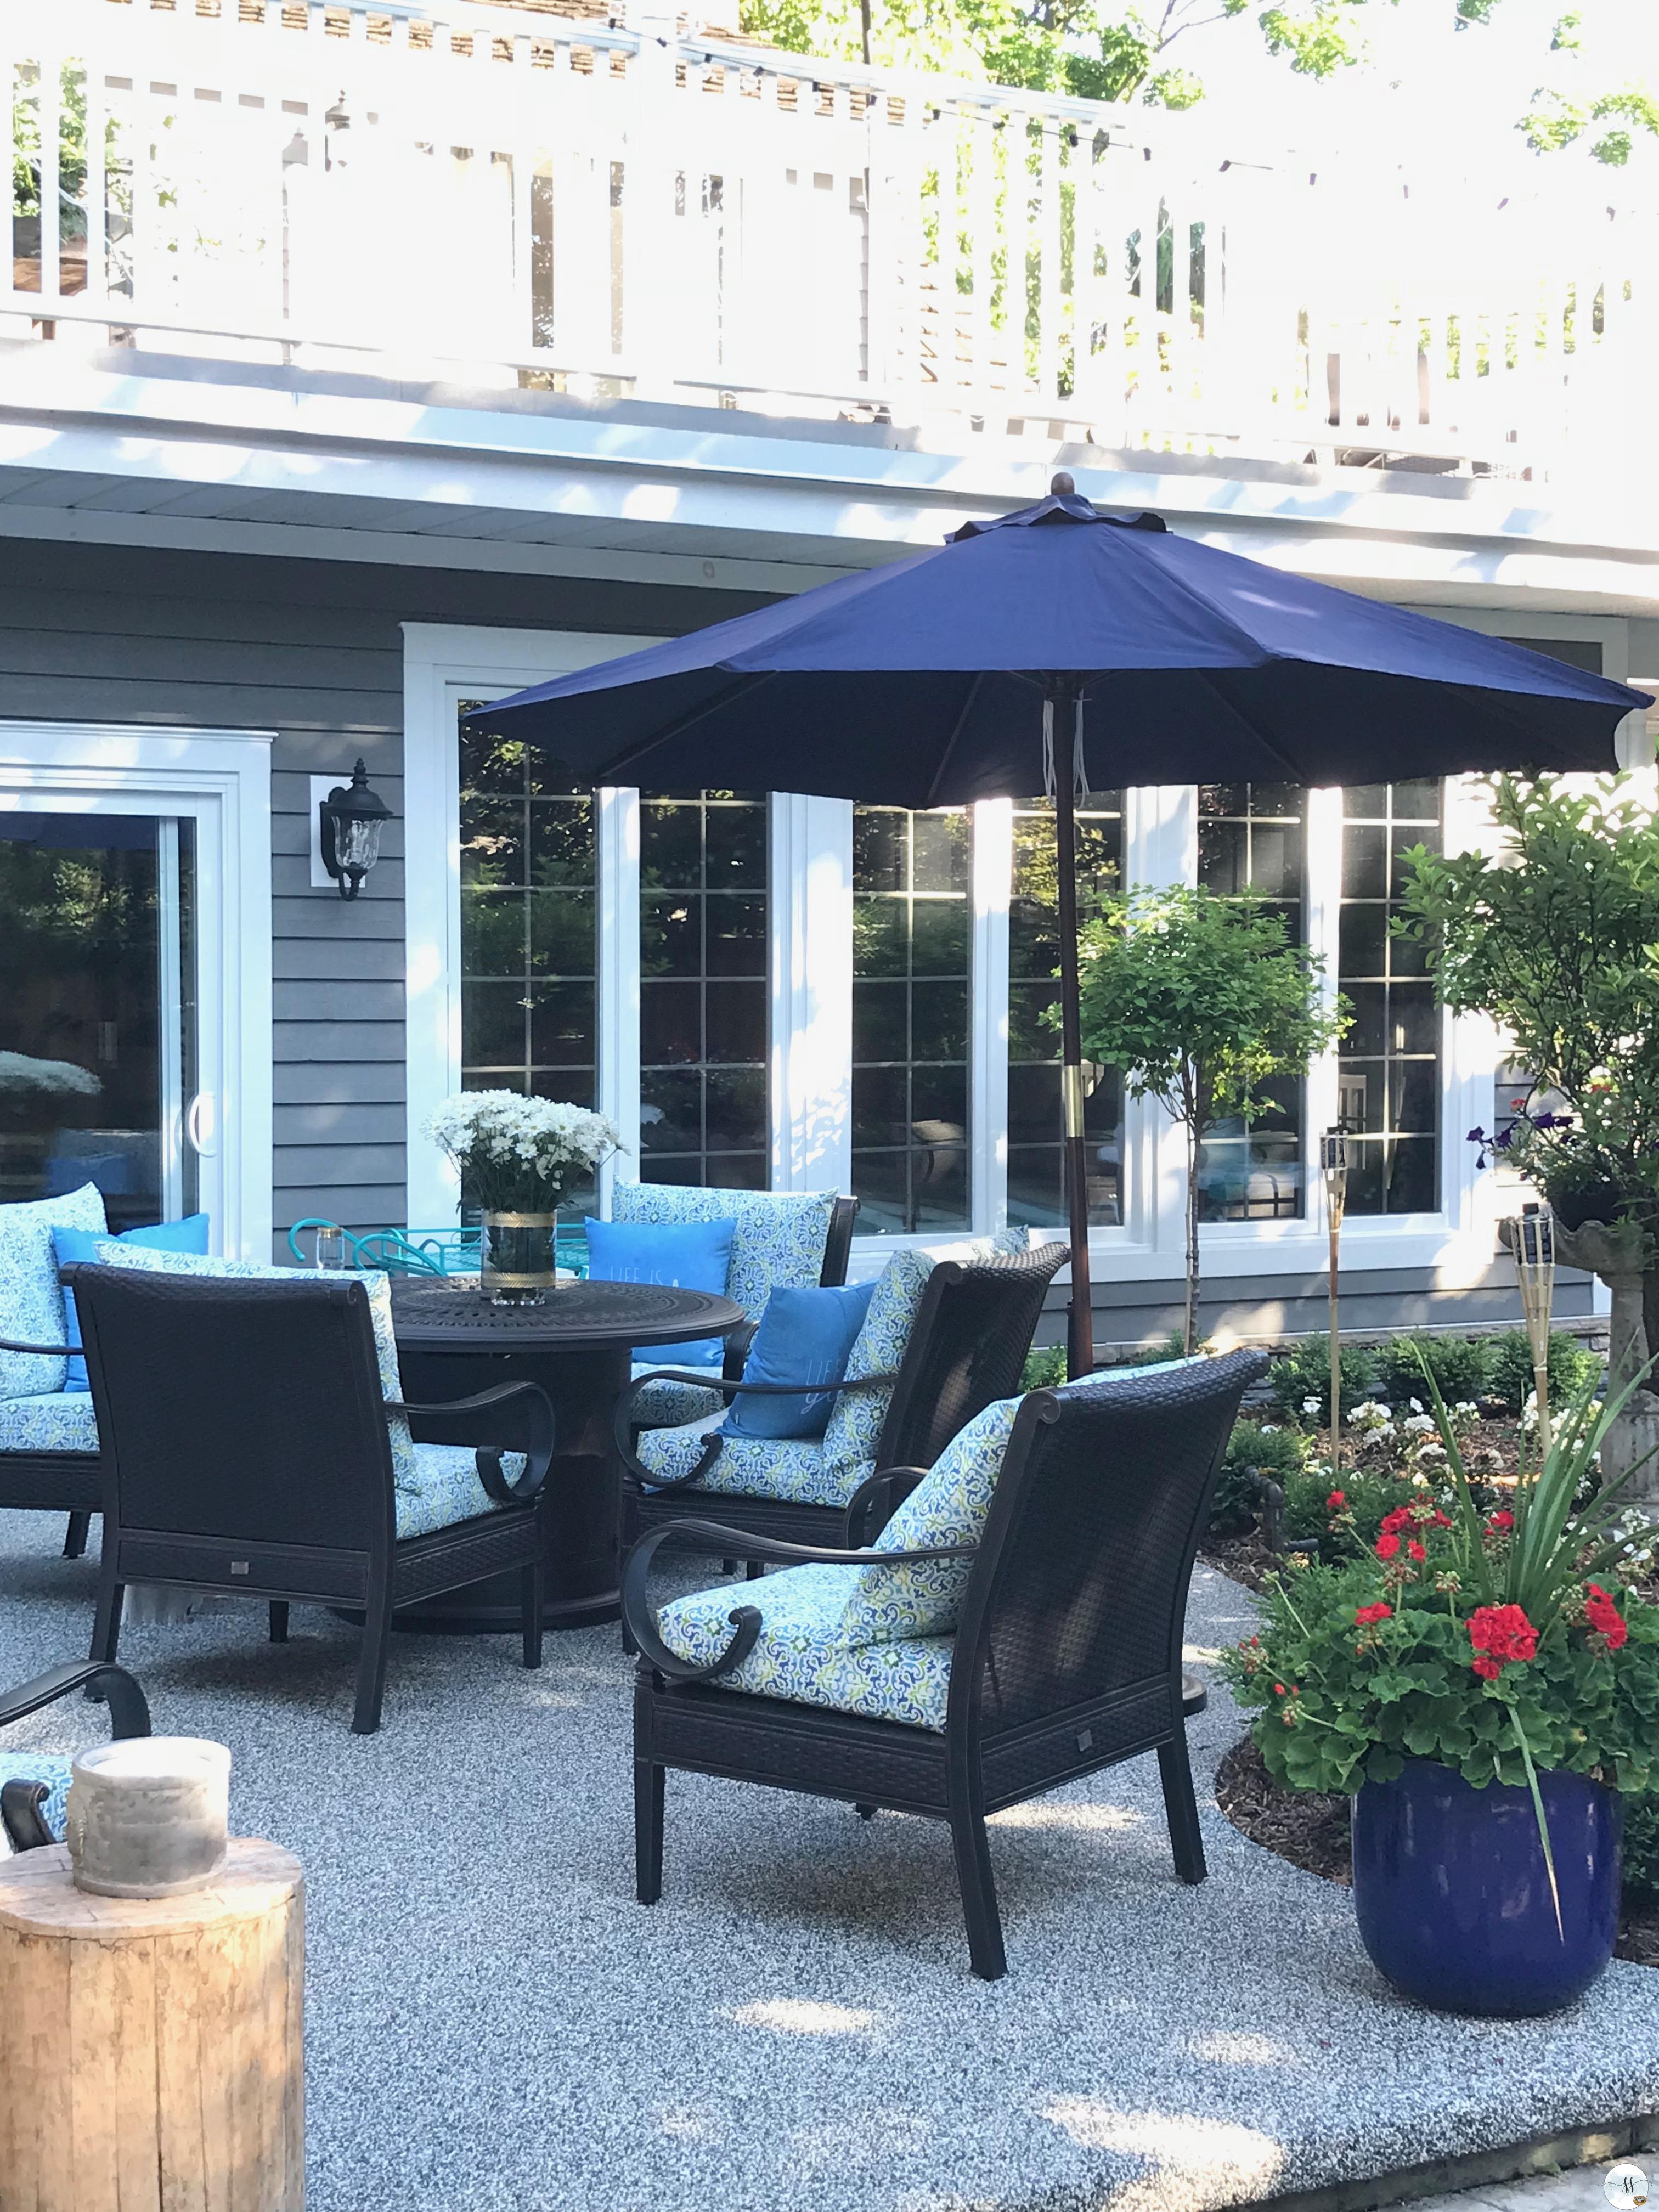
I added a few colourful umbrellas. One here and one around the corner over the dining table. I love it.
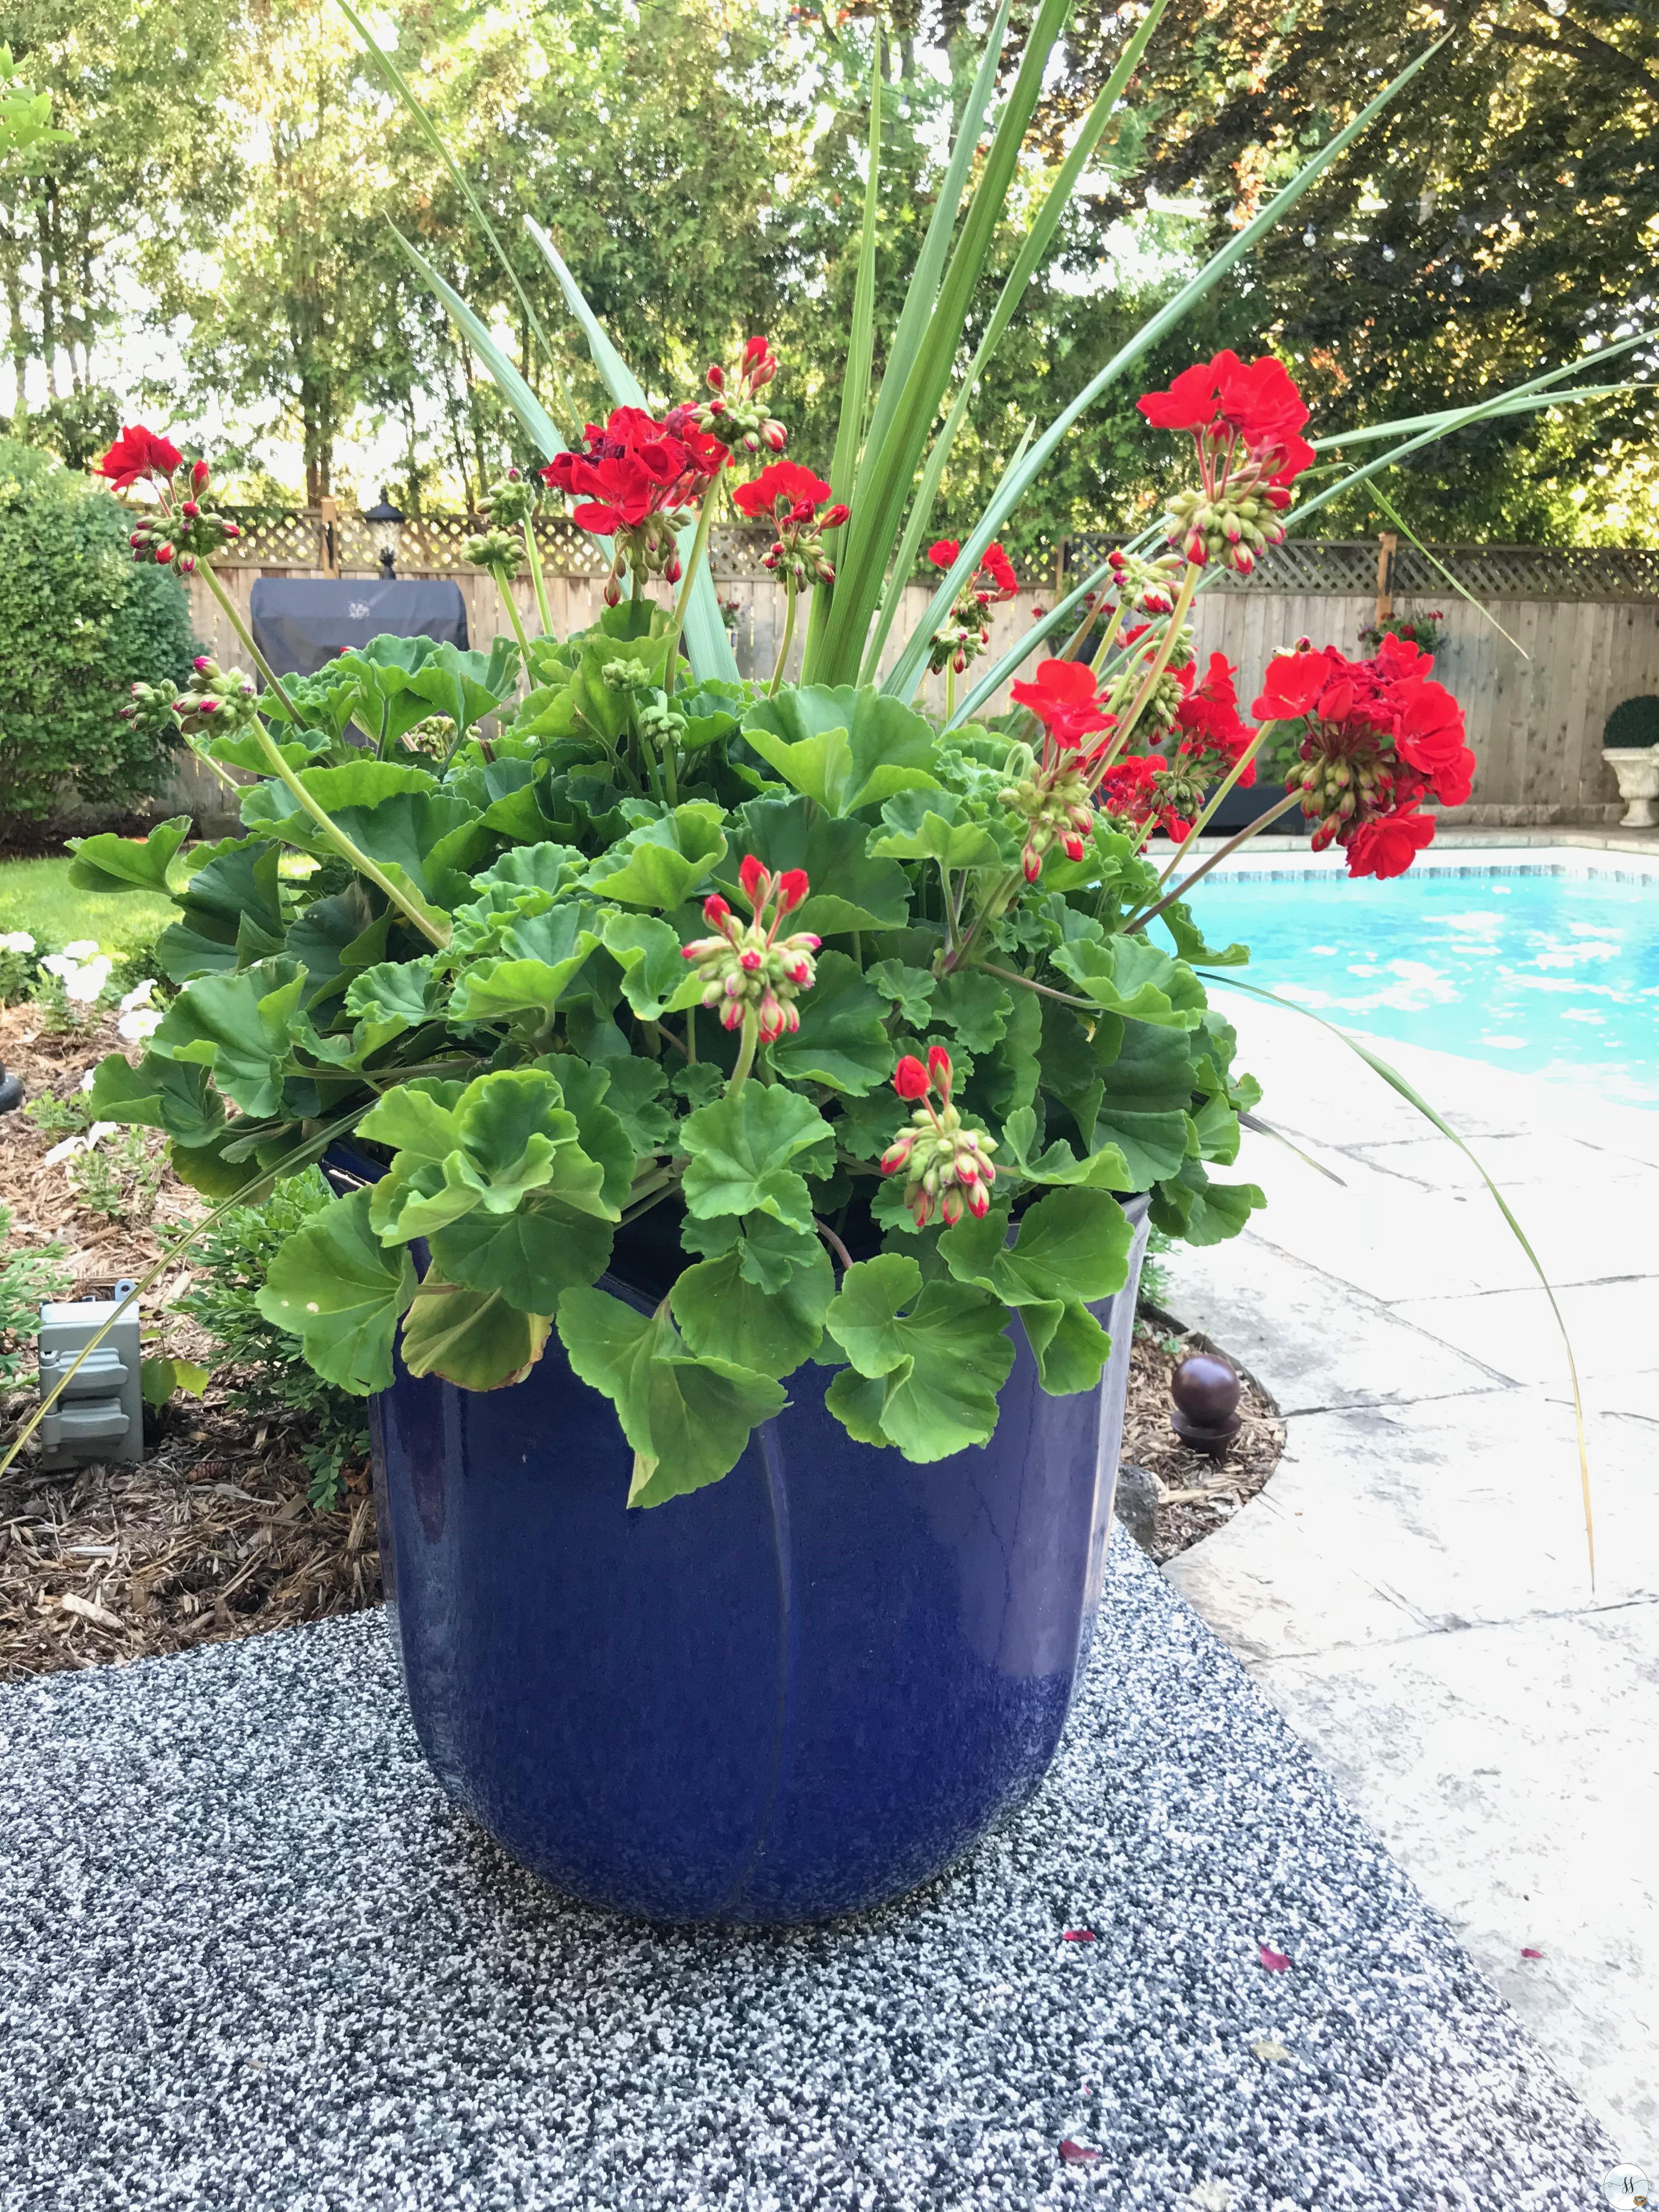
Ya’ll know I’m a Homesense junkie….I found these gorgeous blue flower pots there. Going back to the store over and over again pays off. One was purchased at the end of last season and I happened upon its mate at the beginning of this season.

I don’t have a permanent outdoor dining table yet. I would like a really big round one but they are actually hard to come by in the size that I want. For now, I am using a simple fold-up table from a local office depot store. It’s actually not bad having it. When the girls need the area to play it is simple to fold it up and get it out of their way.
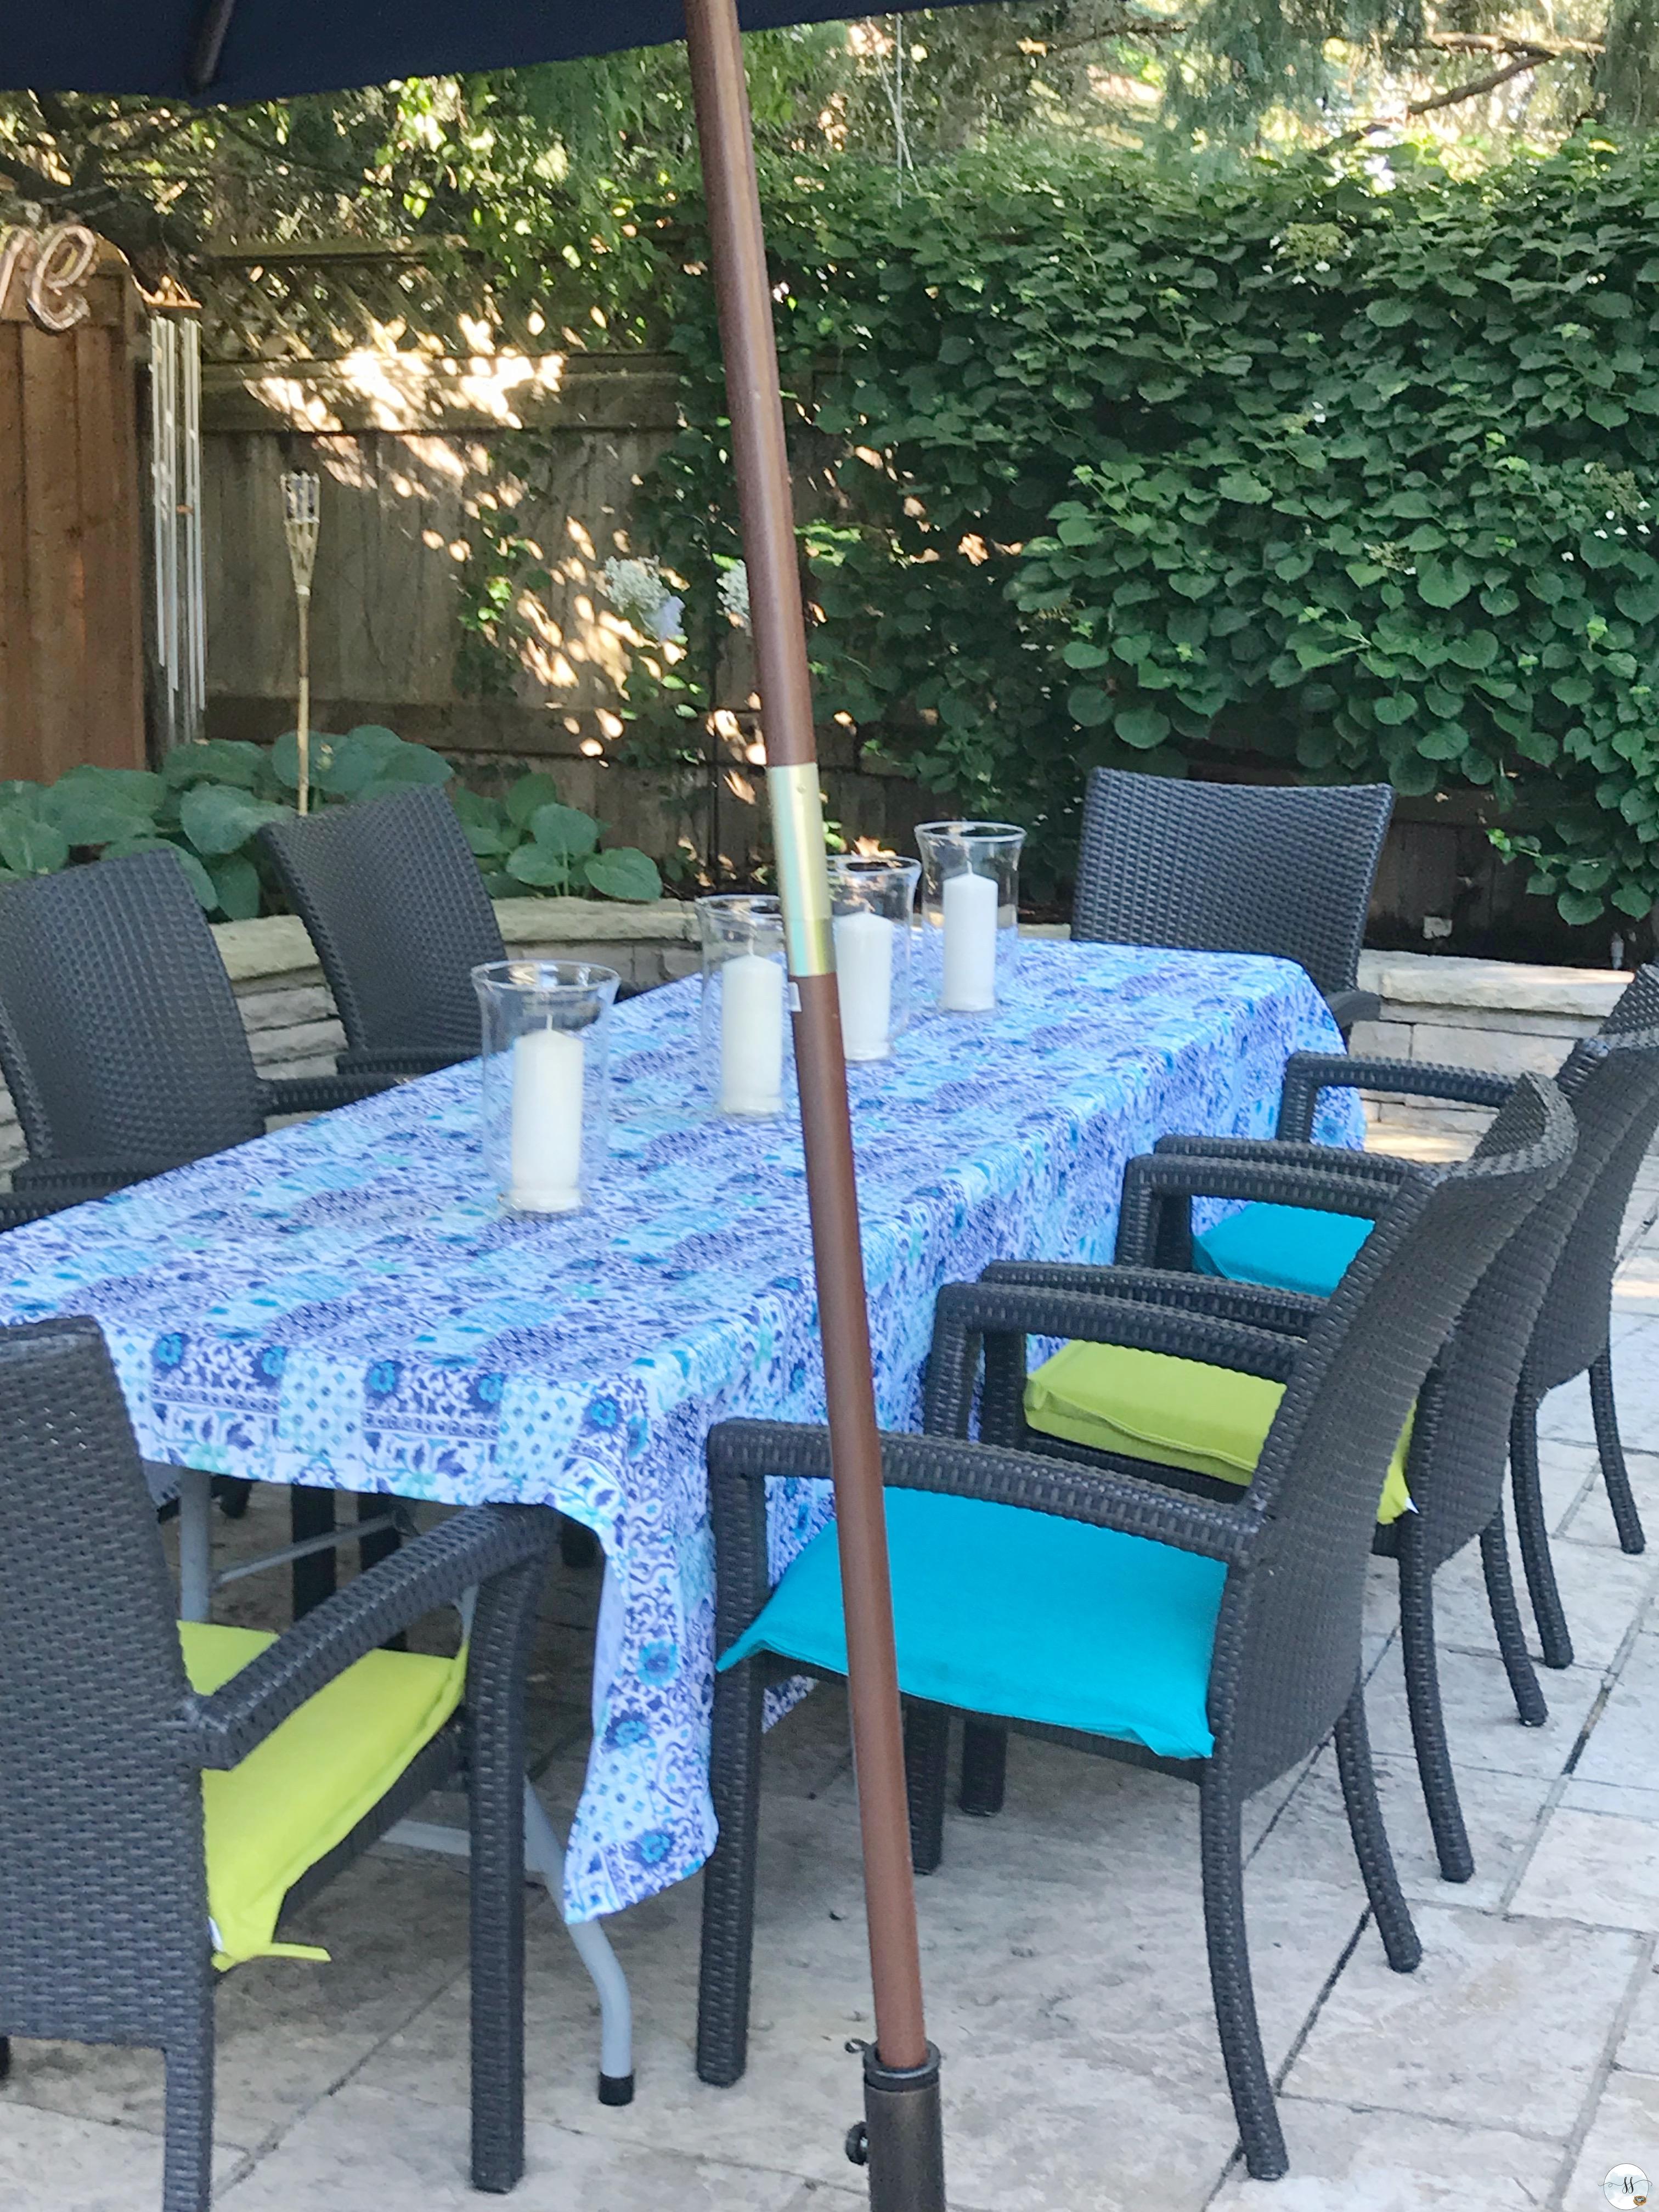
Typically I use a large white tablecloth that goes down to the floor to hide the legs and then top it with something fun as in this photo…but I was tapped for time during this photoshoot. It might rain again!!! grrr Mother Nature!! Enough already. Anyways…nobody is any the wiser when you cannot see the legs of the table. (I hate this patio and cannot wait for the installation of rubaroc)!
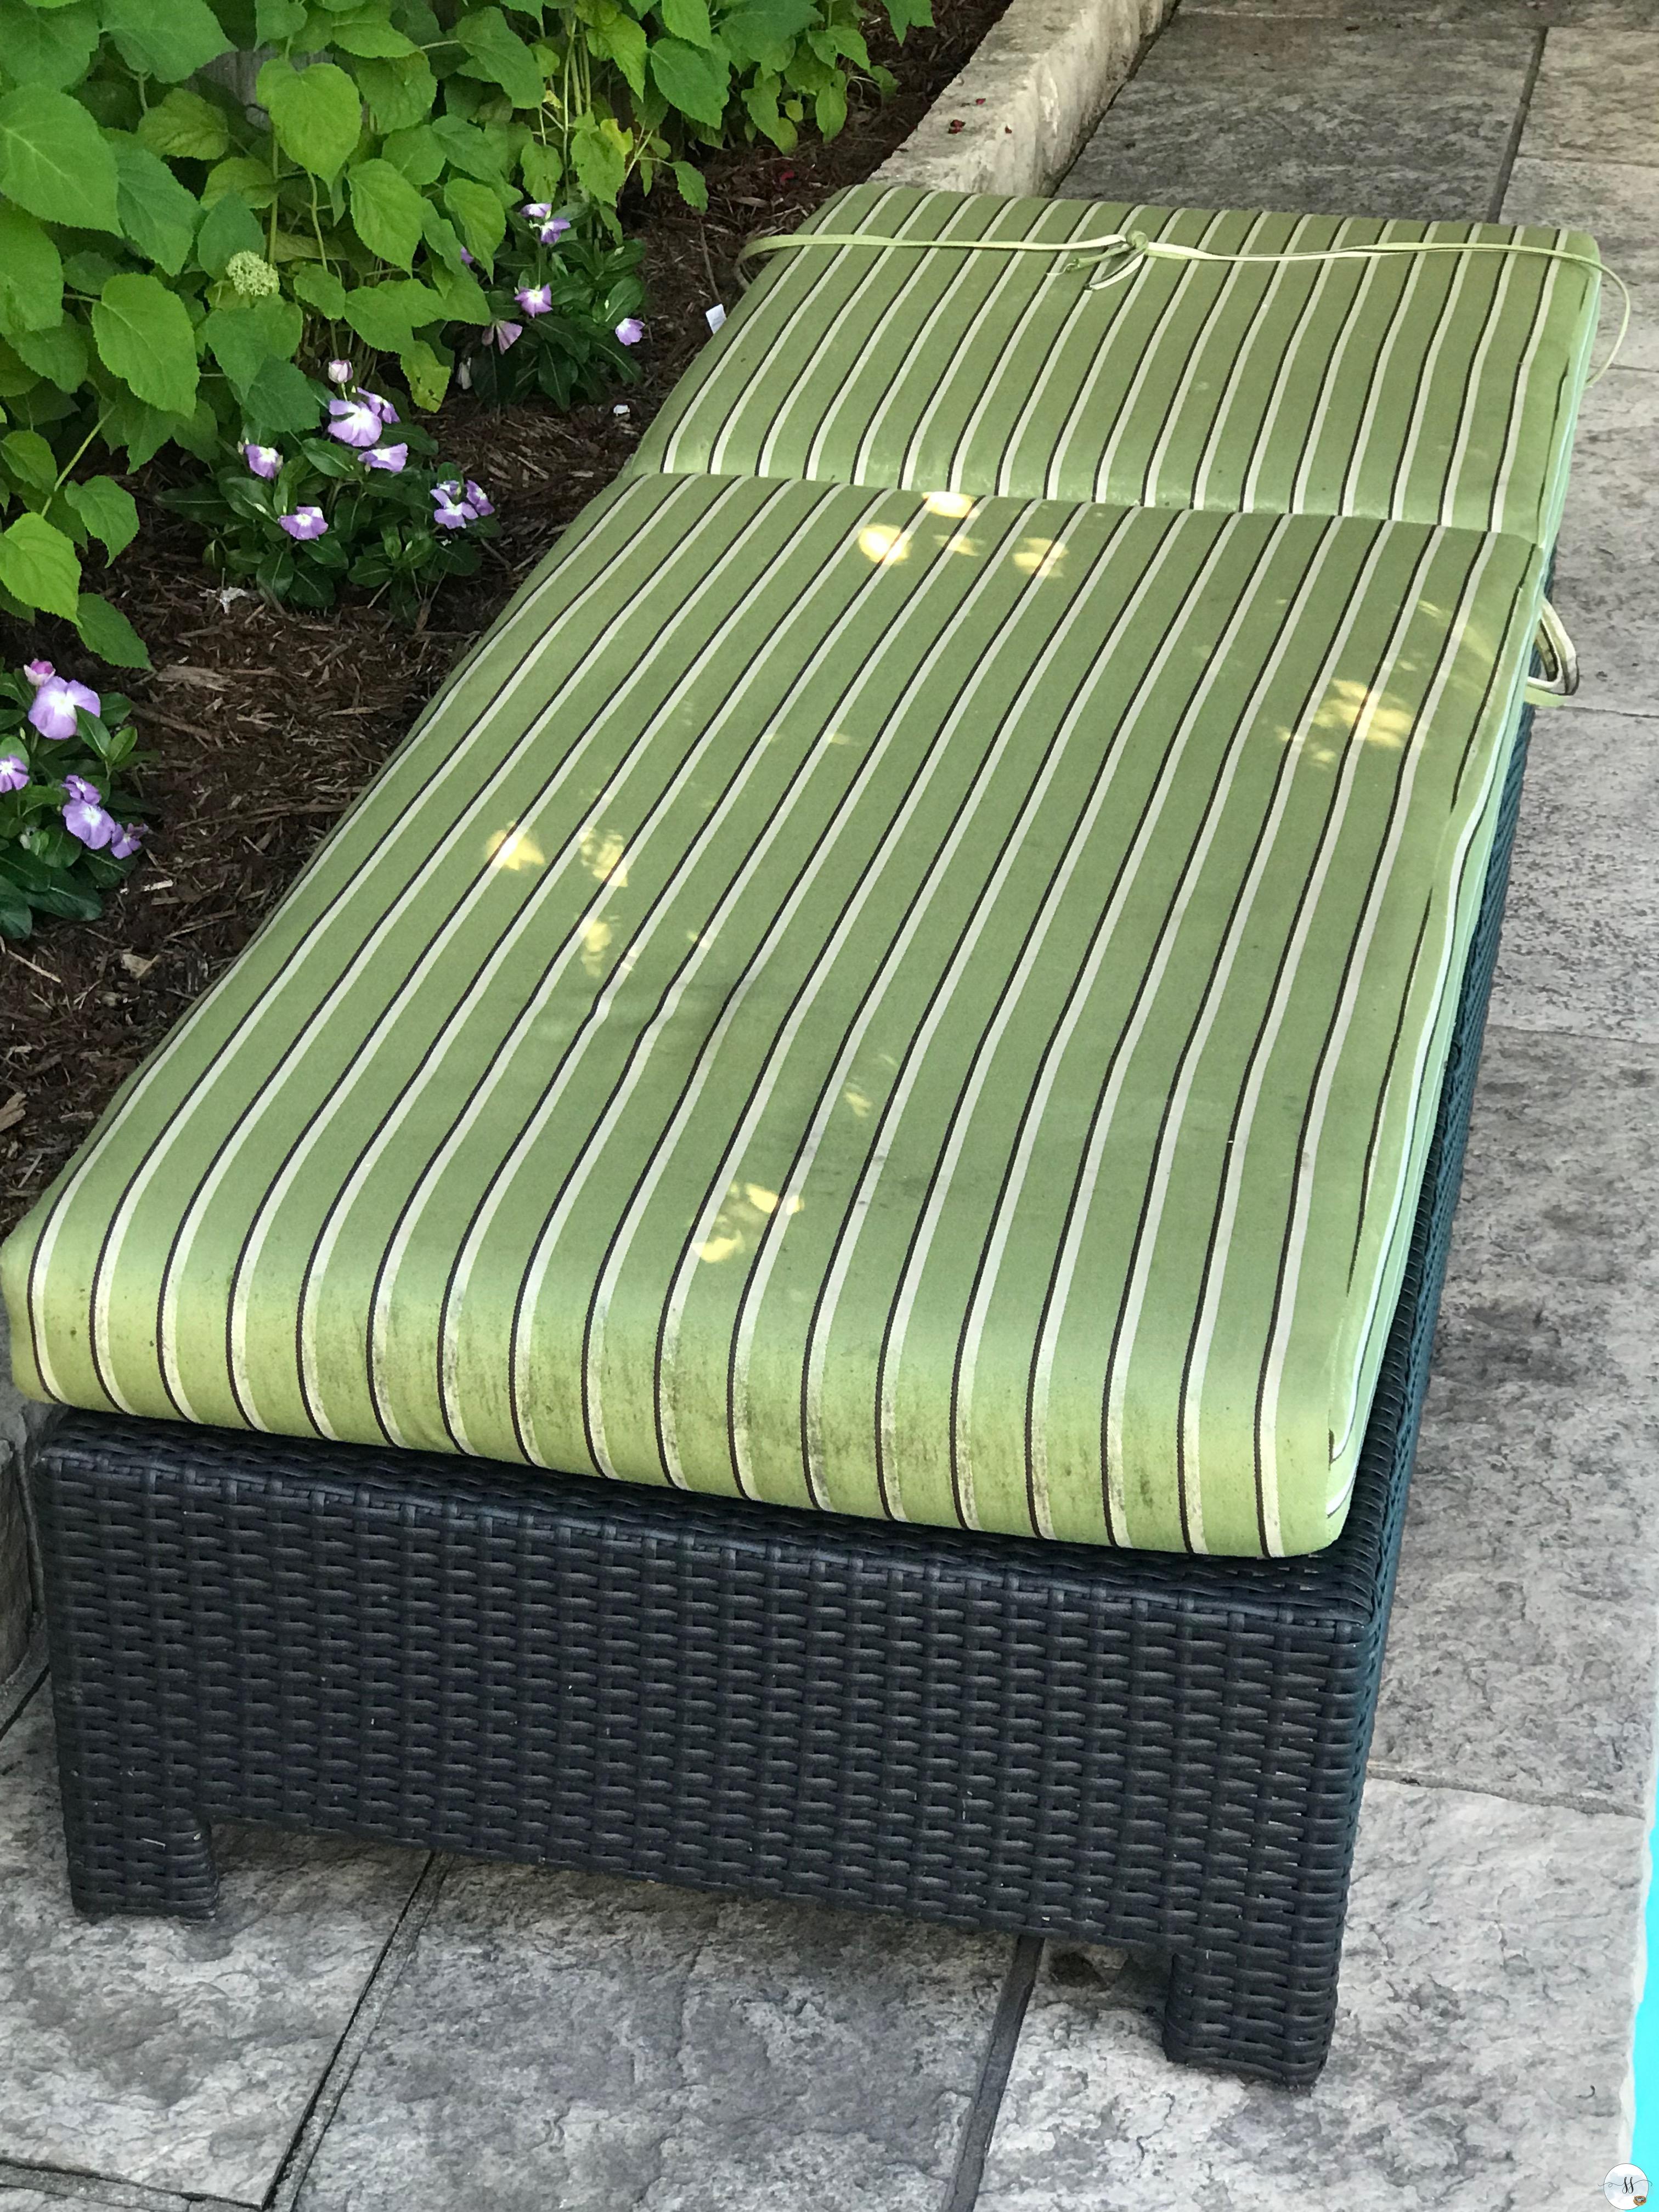
My lounge cushions are a mess!!! The colours are all wrong for my makeover and you can actually see the weathered stains on these cushions. I was going to purchase new ones but couldn’t find exactly what I was looking for. In the meantime, I did a great little DIY project…and by ‘I did’ I mean my seamstress did!!
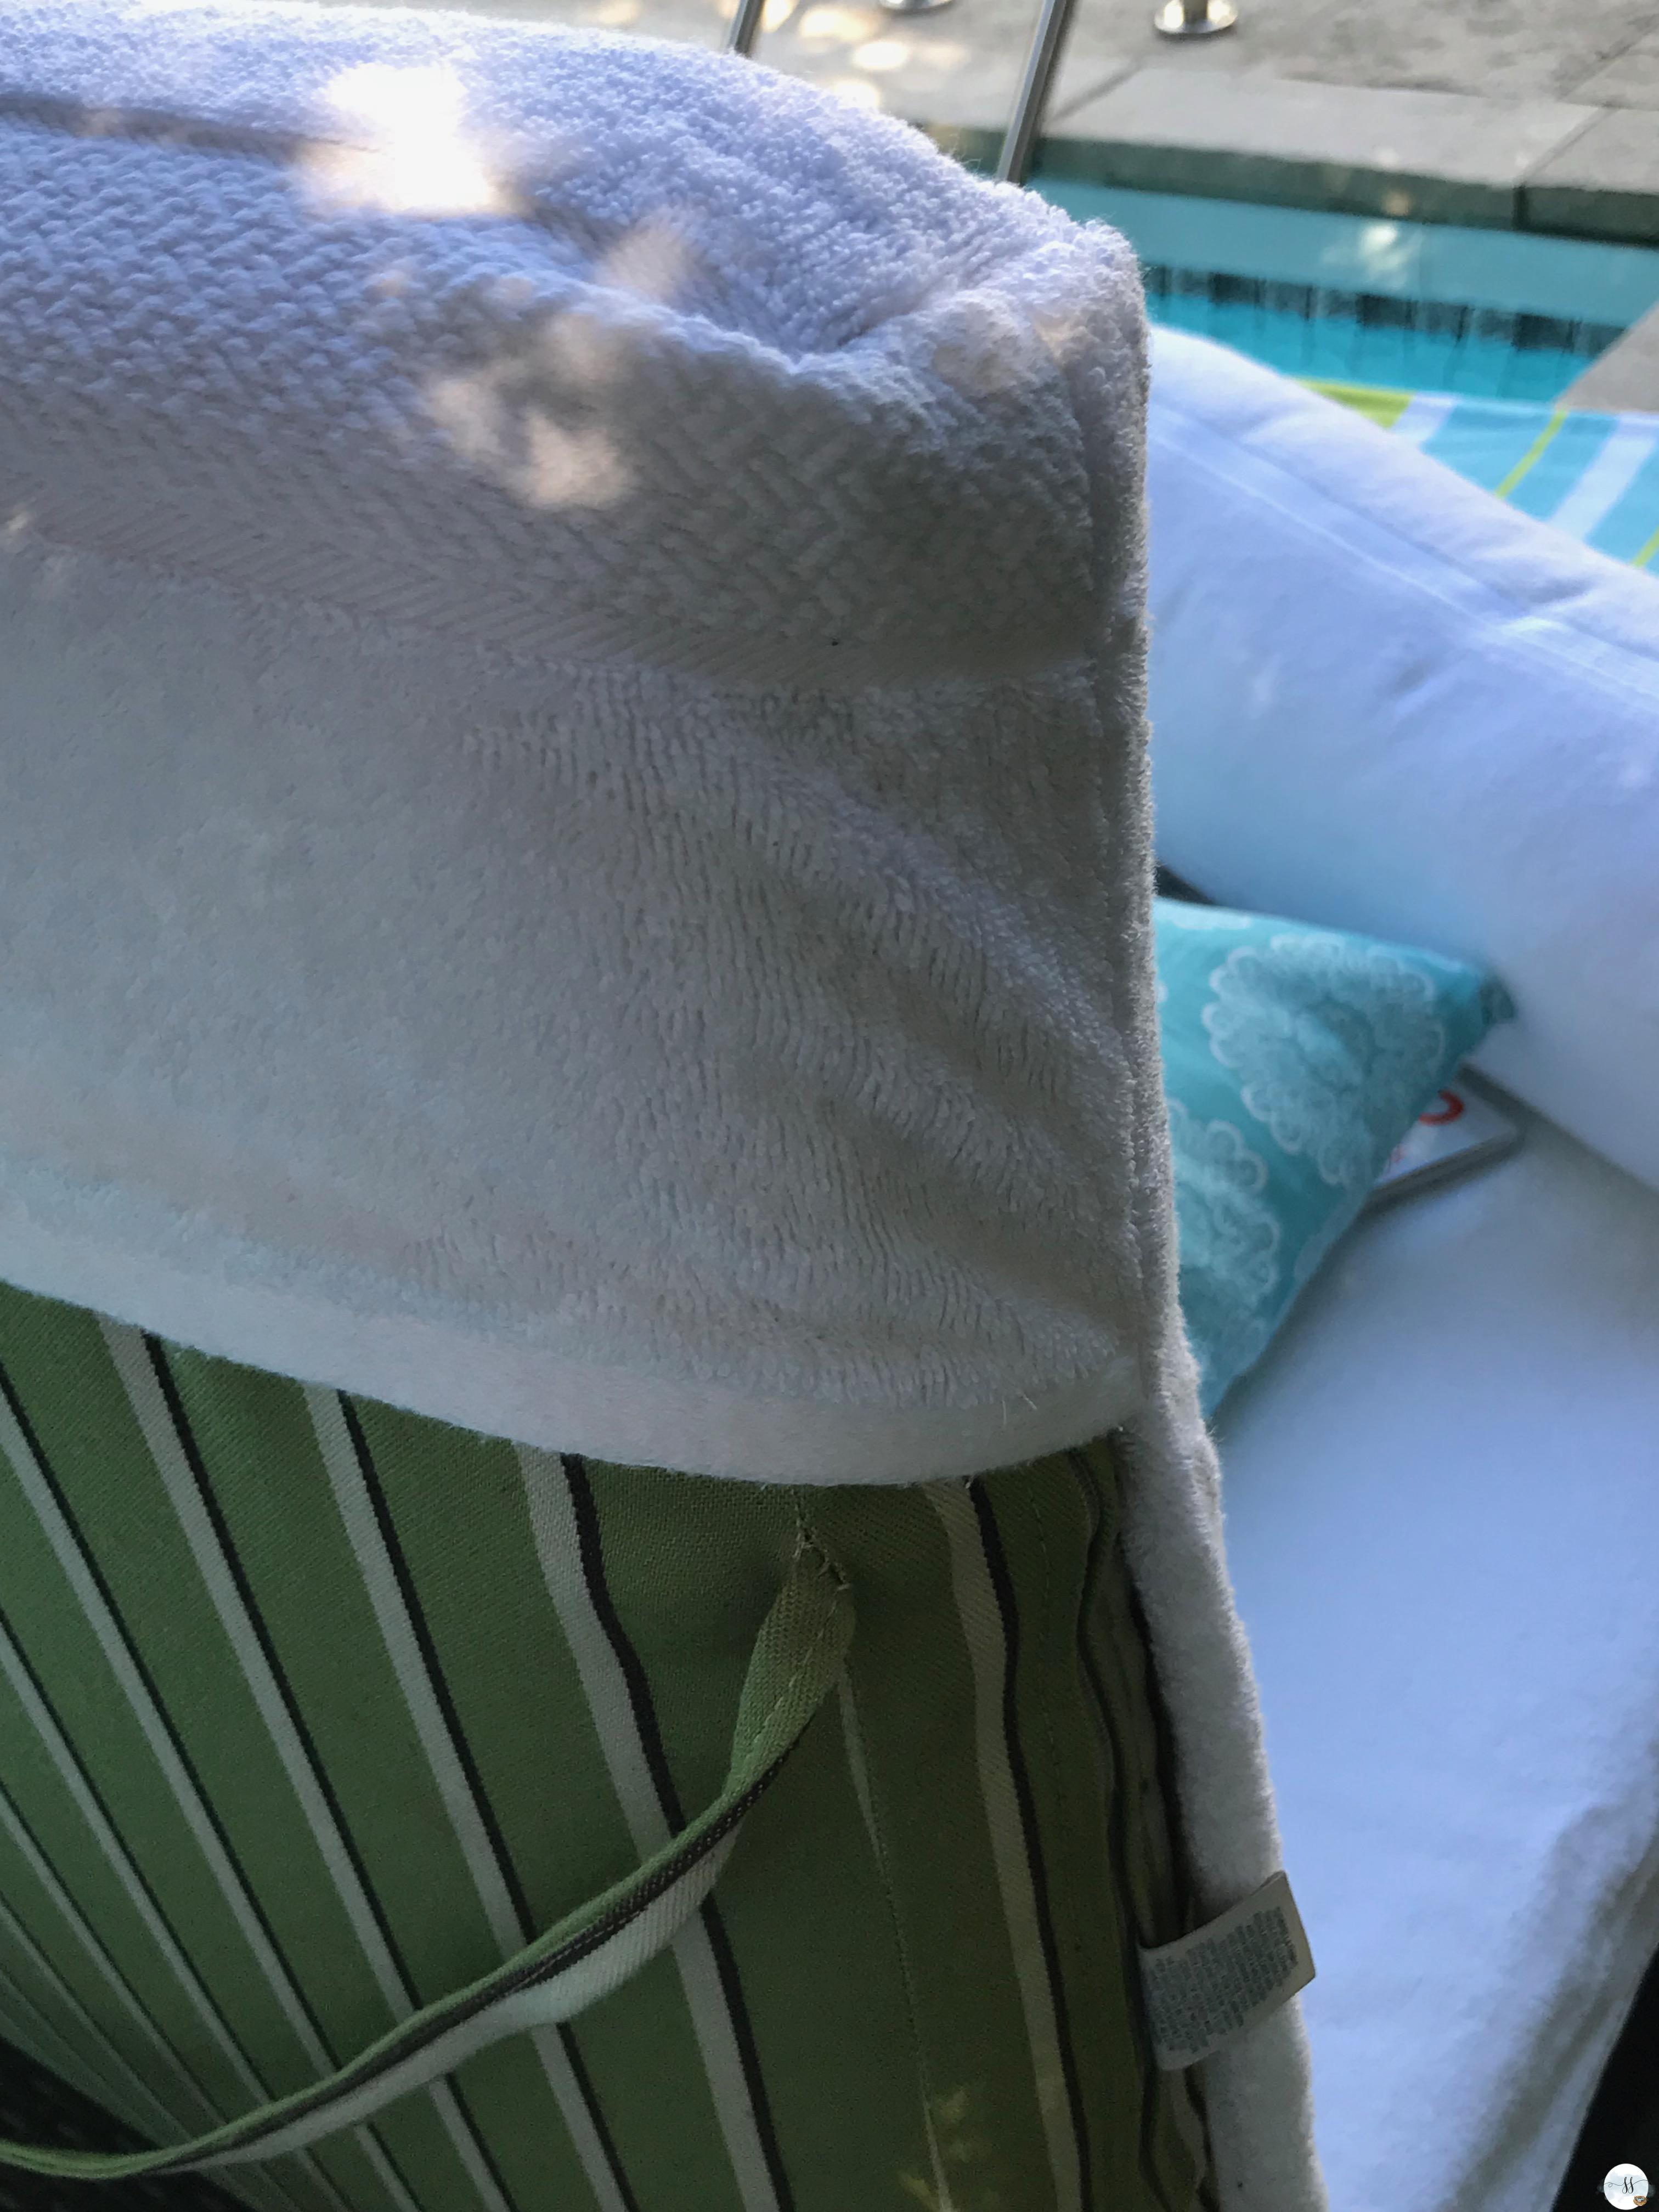
I purchased some large bath towels at Giant Tiger and I asked her to make these great slipcovers for me. There are pouches on both ends so the cushion fits snug inside and doesn’t move around. They are super easy – off and on- toss in the wash! I am now on the hunt for some more large colourful towels for backup. Easy Peasy!
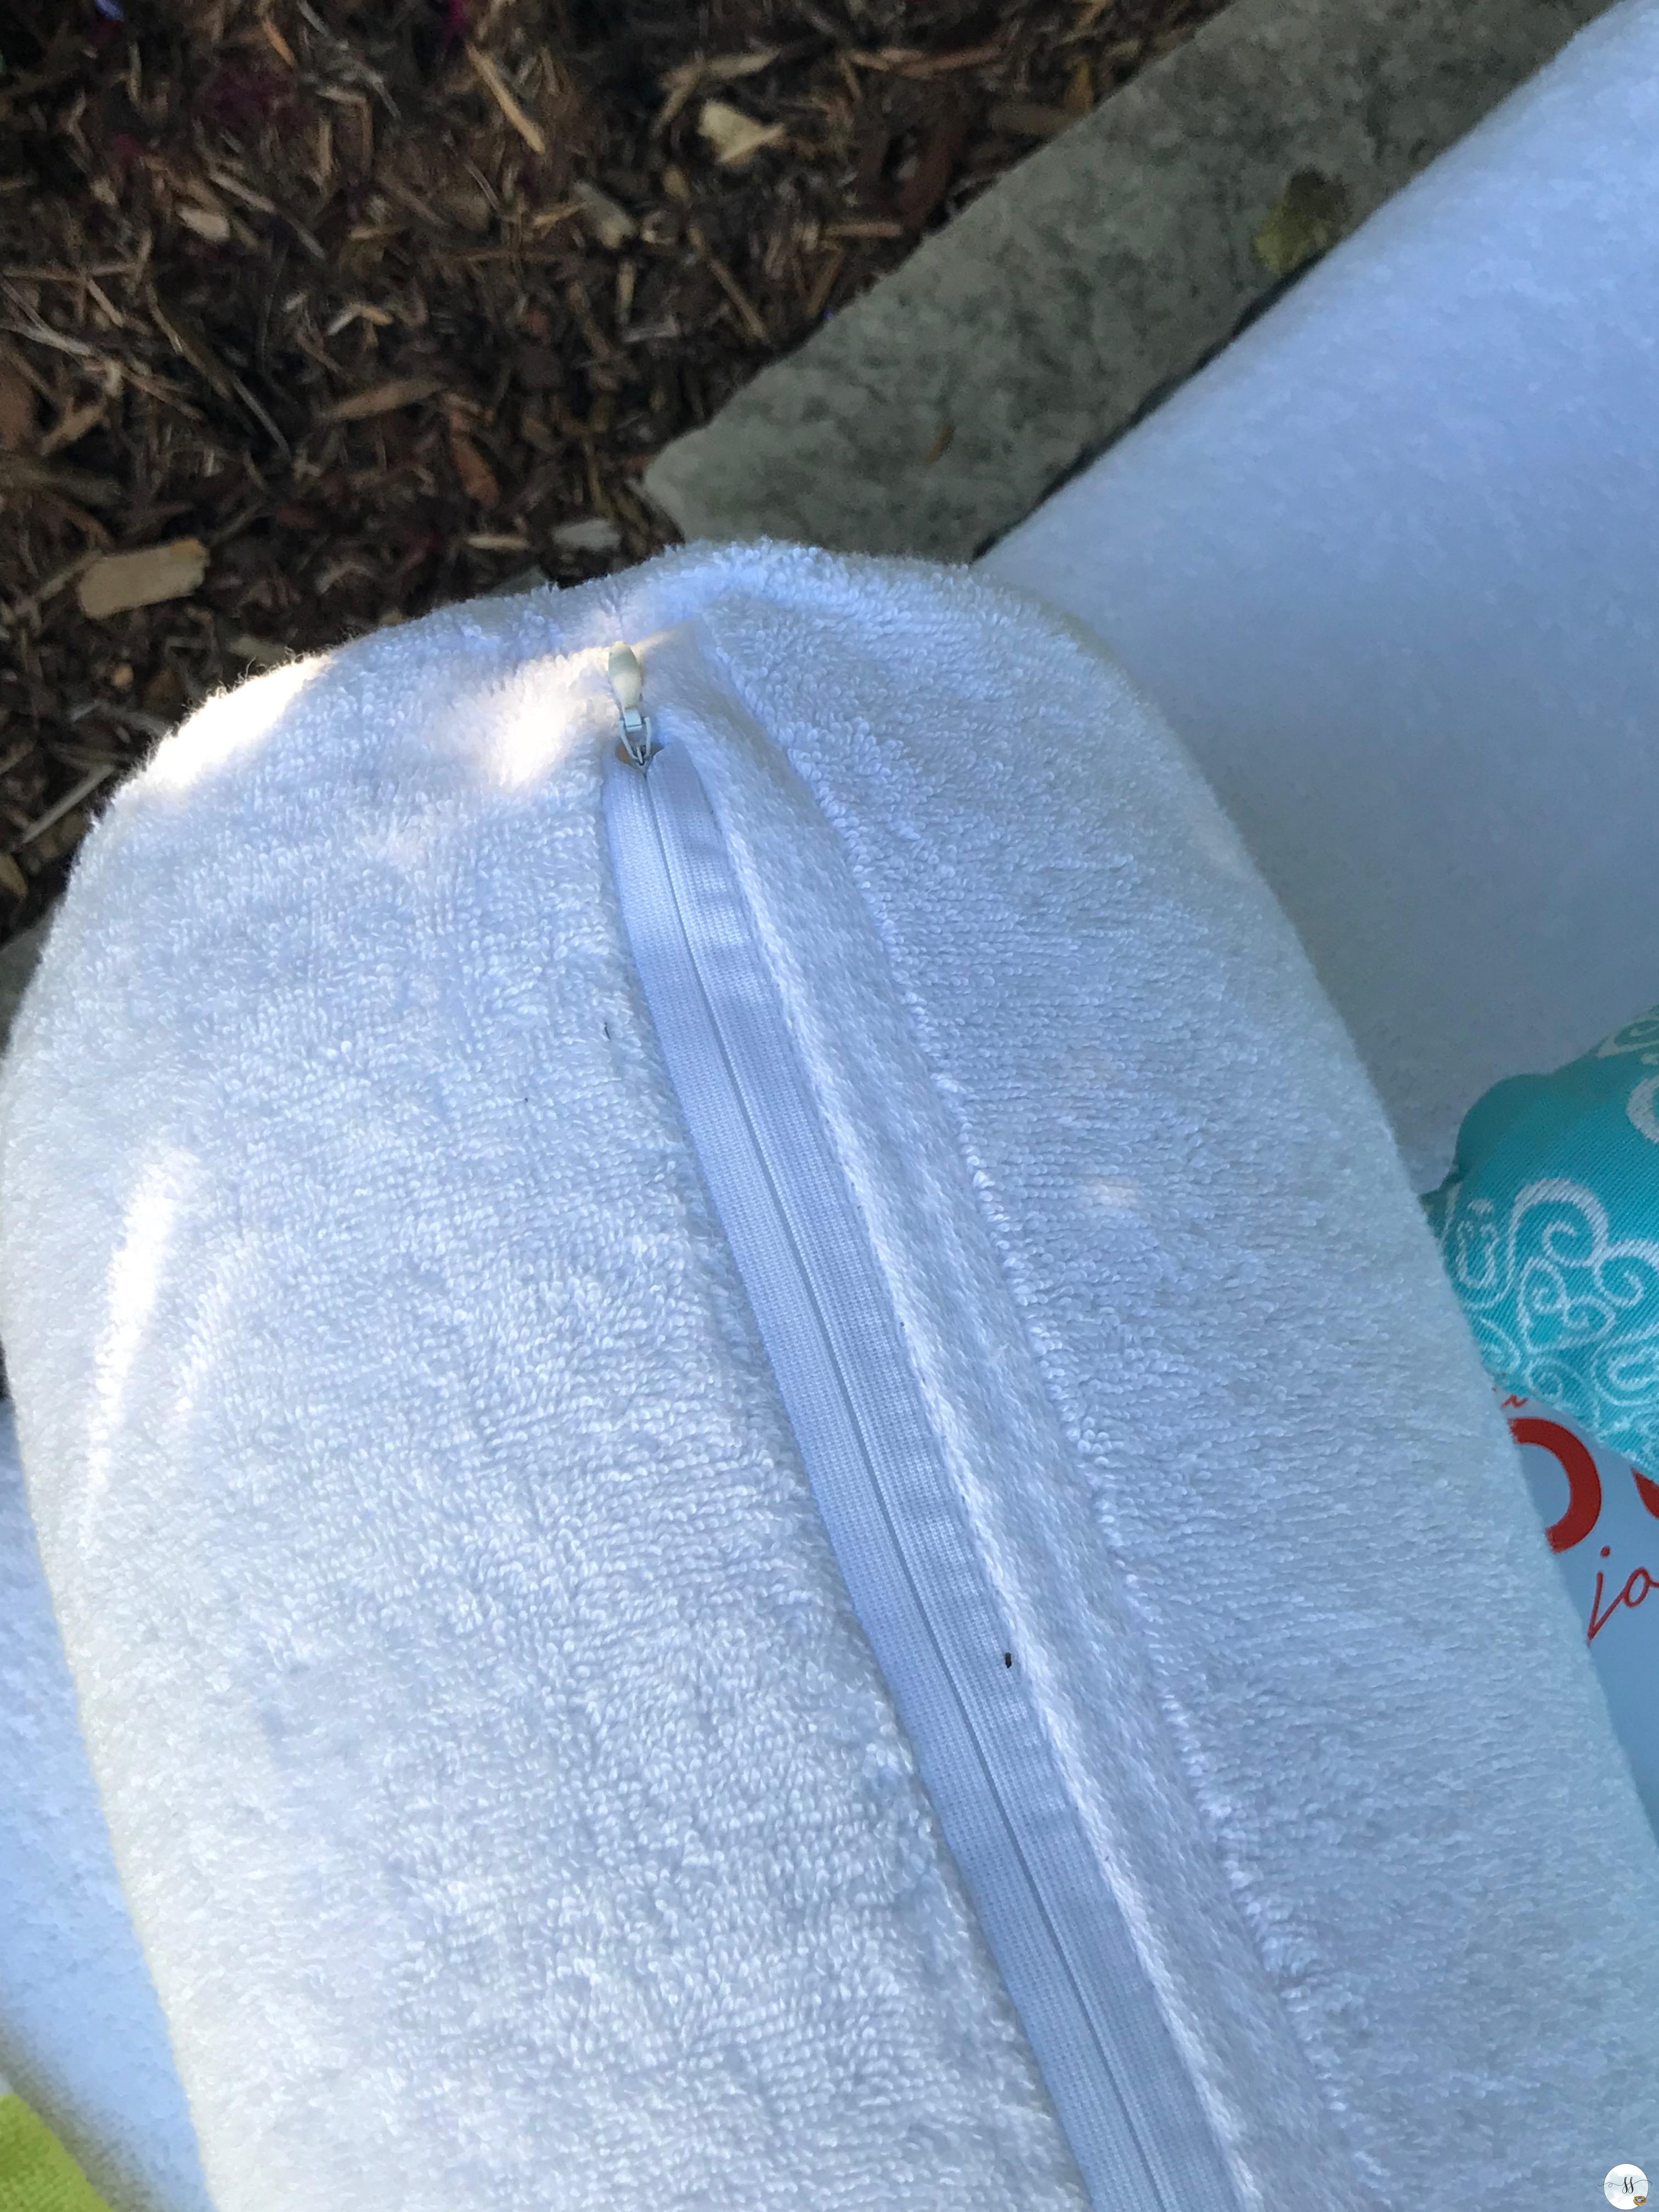
I had matching pillowcases made. The zipper makes it super easy to get them on and off as well.
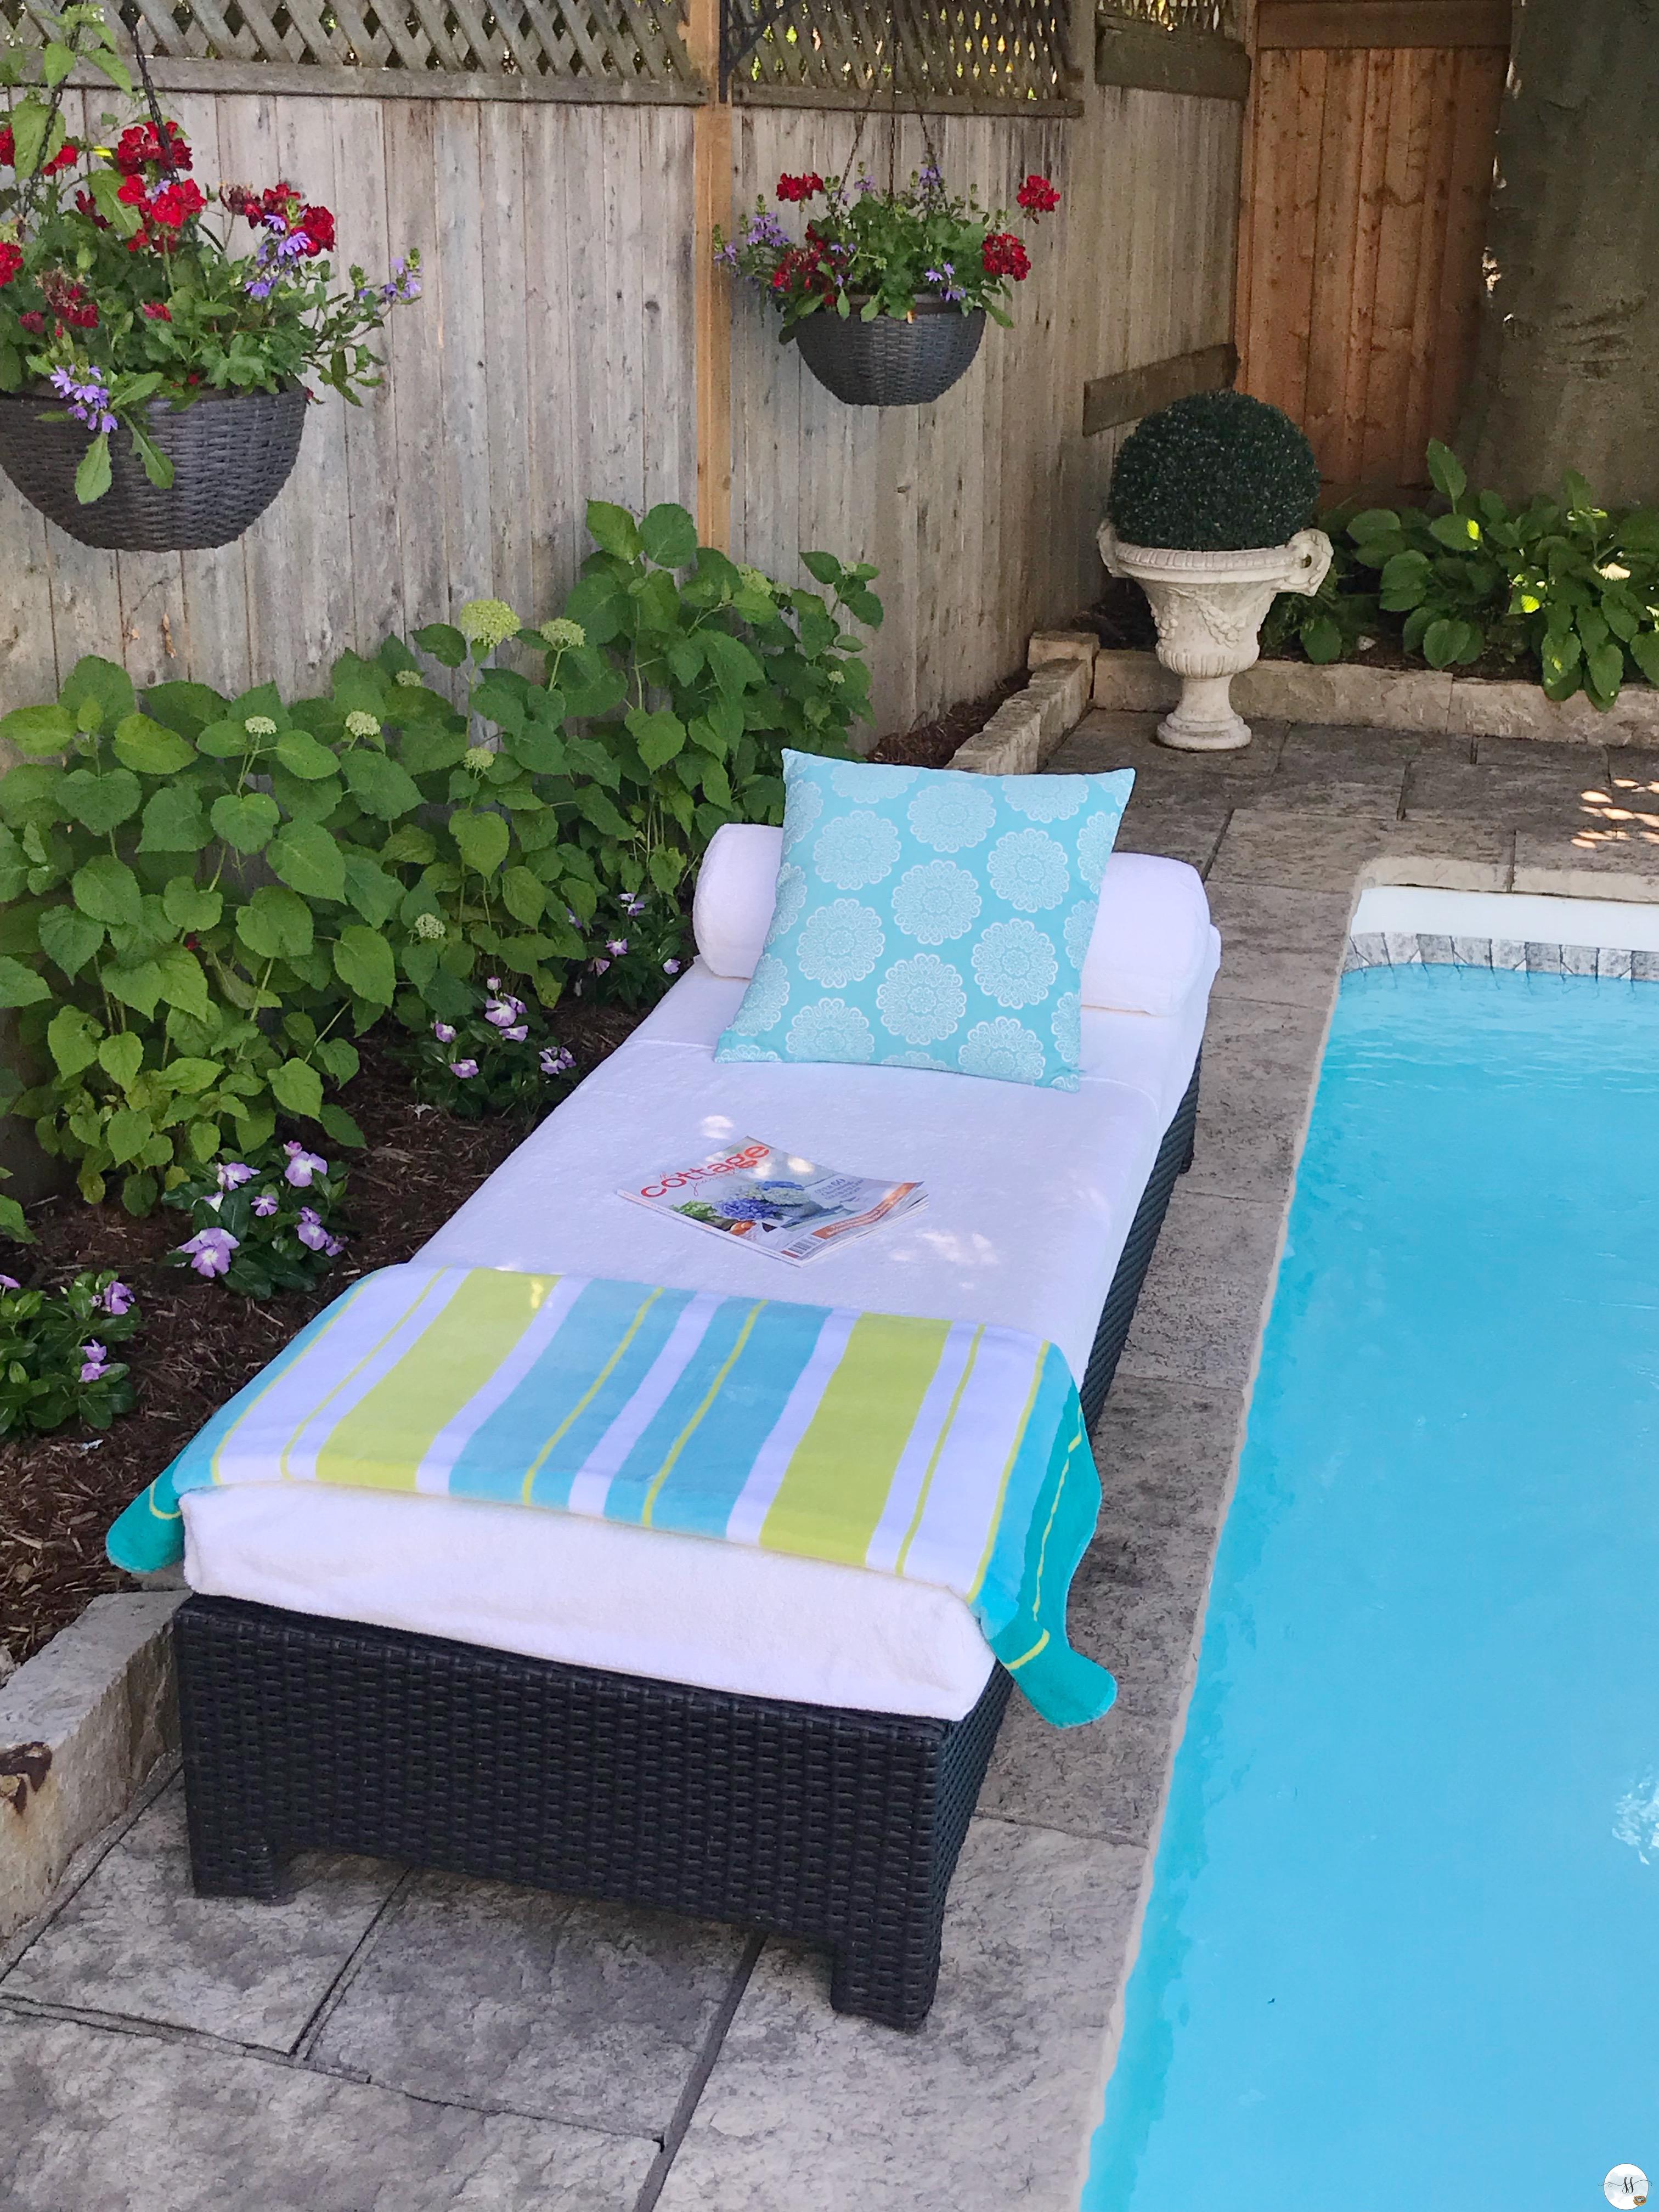
Don’t they look great? Very spa-like! I don’t have to worry about the girls with dripping popsicles or freezies…When I see pillowcases that I like, as in these square teal ones, I tend to buy them a lot! I try not to buy ones with inserts…just the pillowcase. It’s a cheaper way to stock up as well. If anyone is looking for a great place to order pillowcases message me and I’ll give you my top pics.
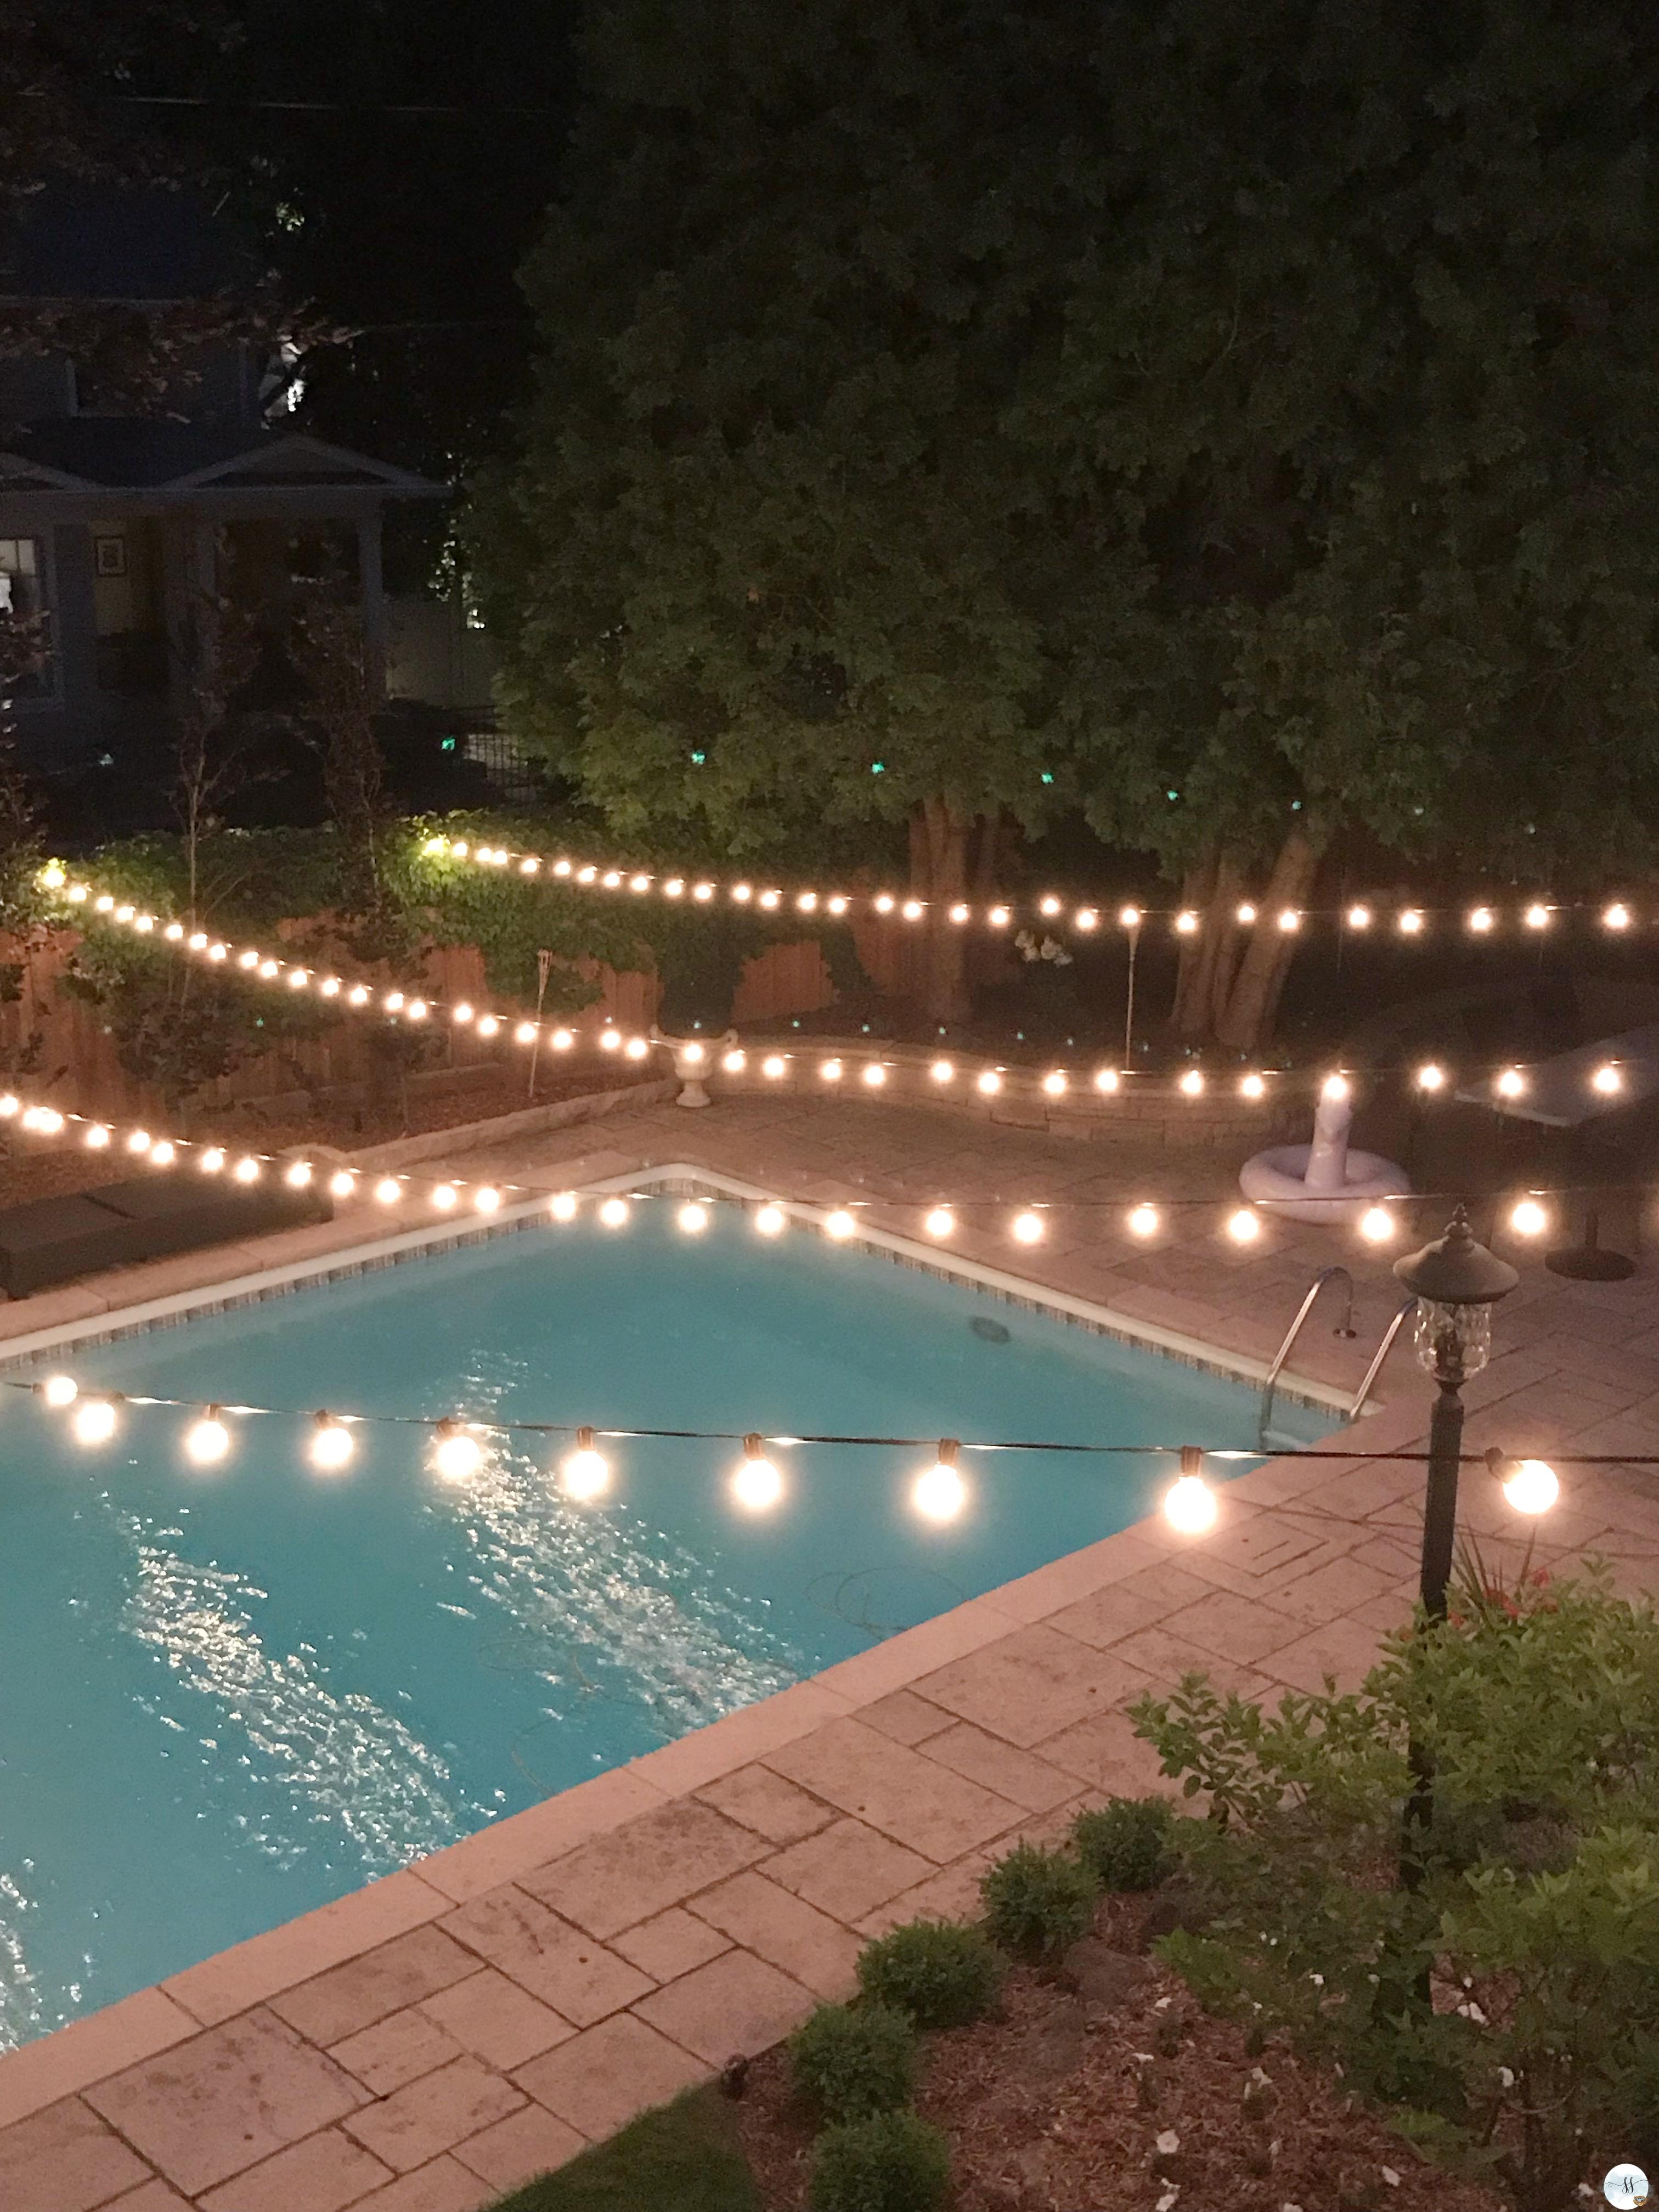
Café lights create an instant party atmosphere. I put these up for an event we hosted last week. I love the look of them and am going to keep them up for a while longer. We are hosting a Canada Day party this coming weekend. Praying they don’t come down in the pool while someone’s swimming…lol…that would create our own fireworks display!! Who knows…maybe I’ll have them hard-wired so that they are permanent.
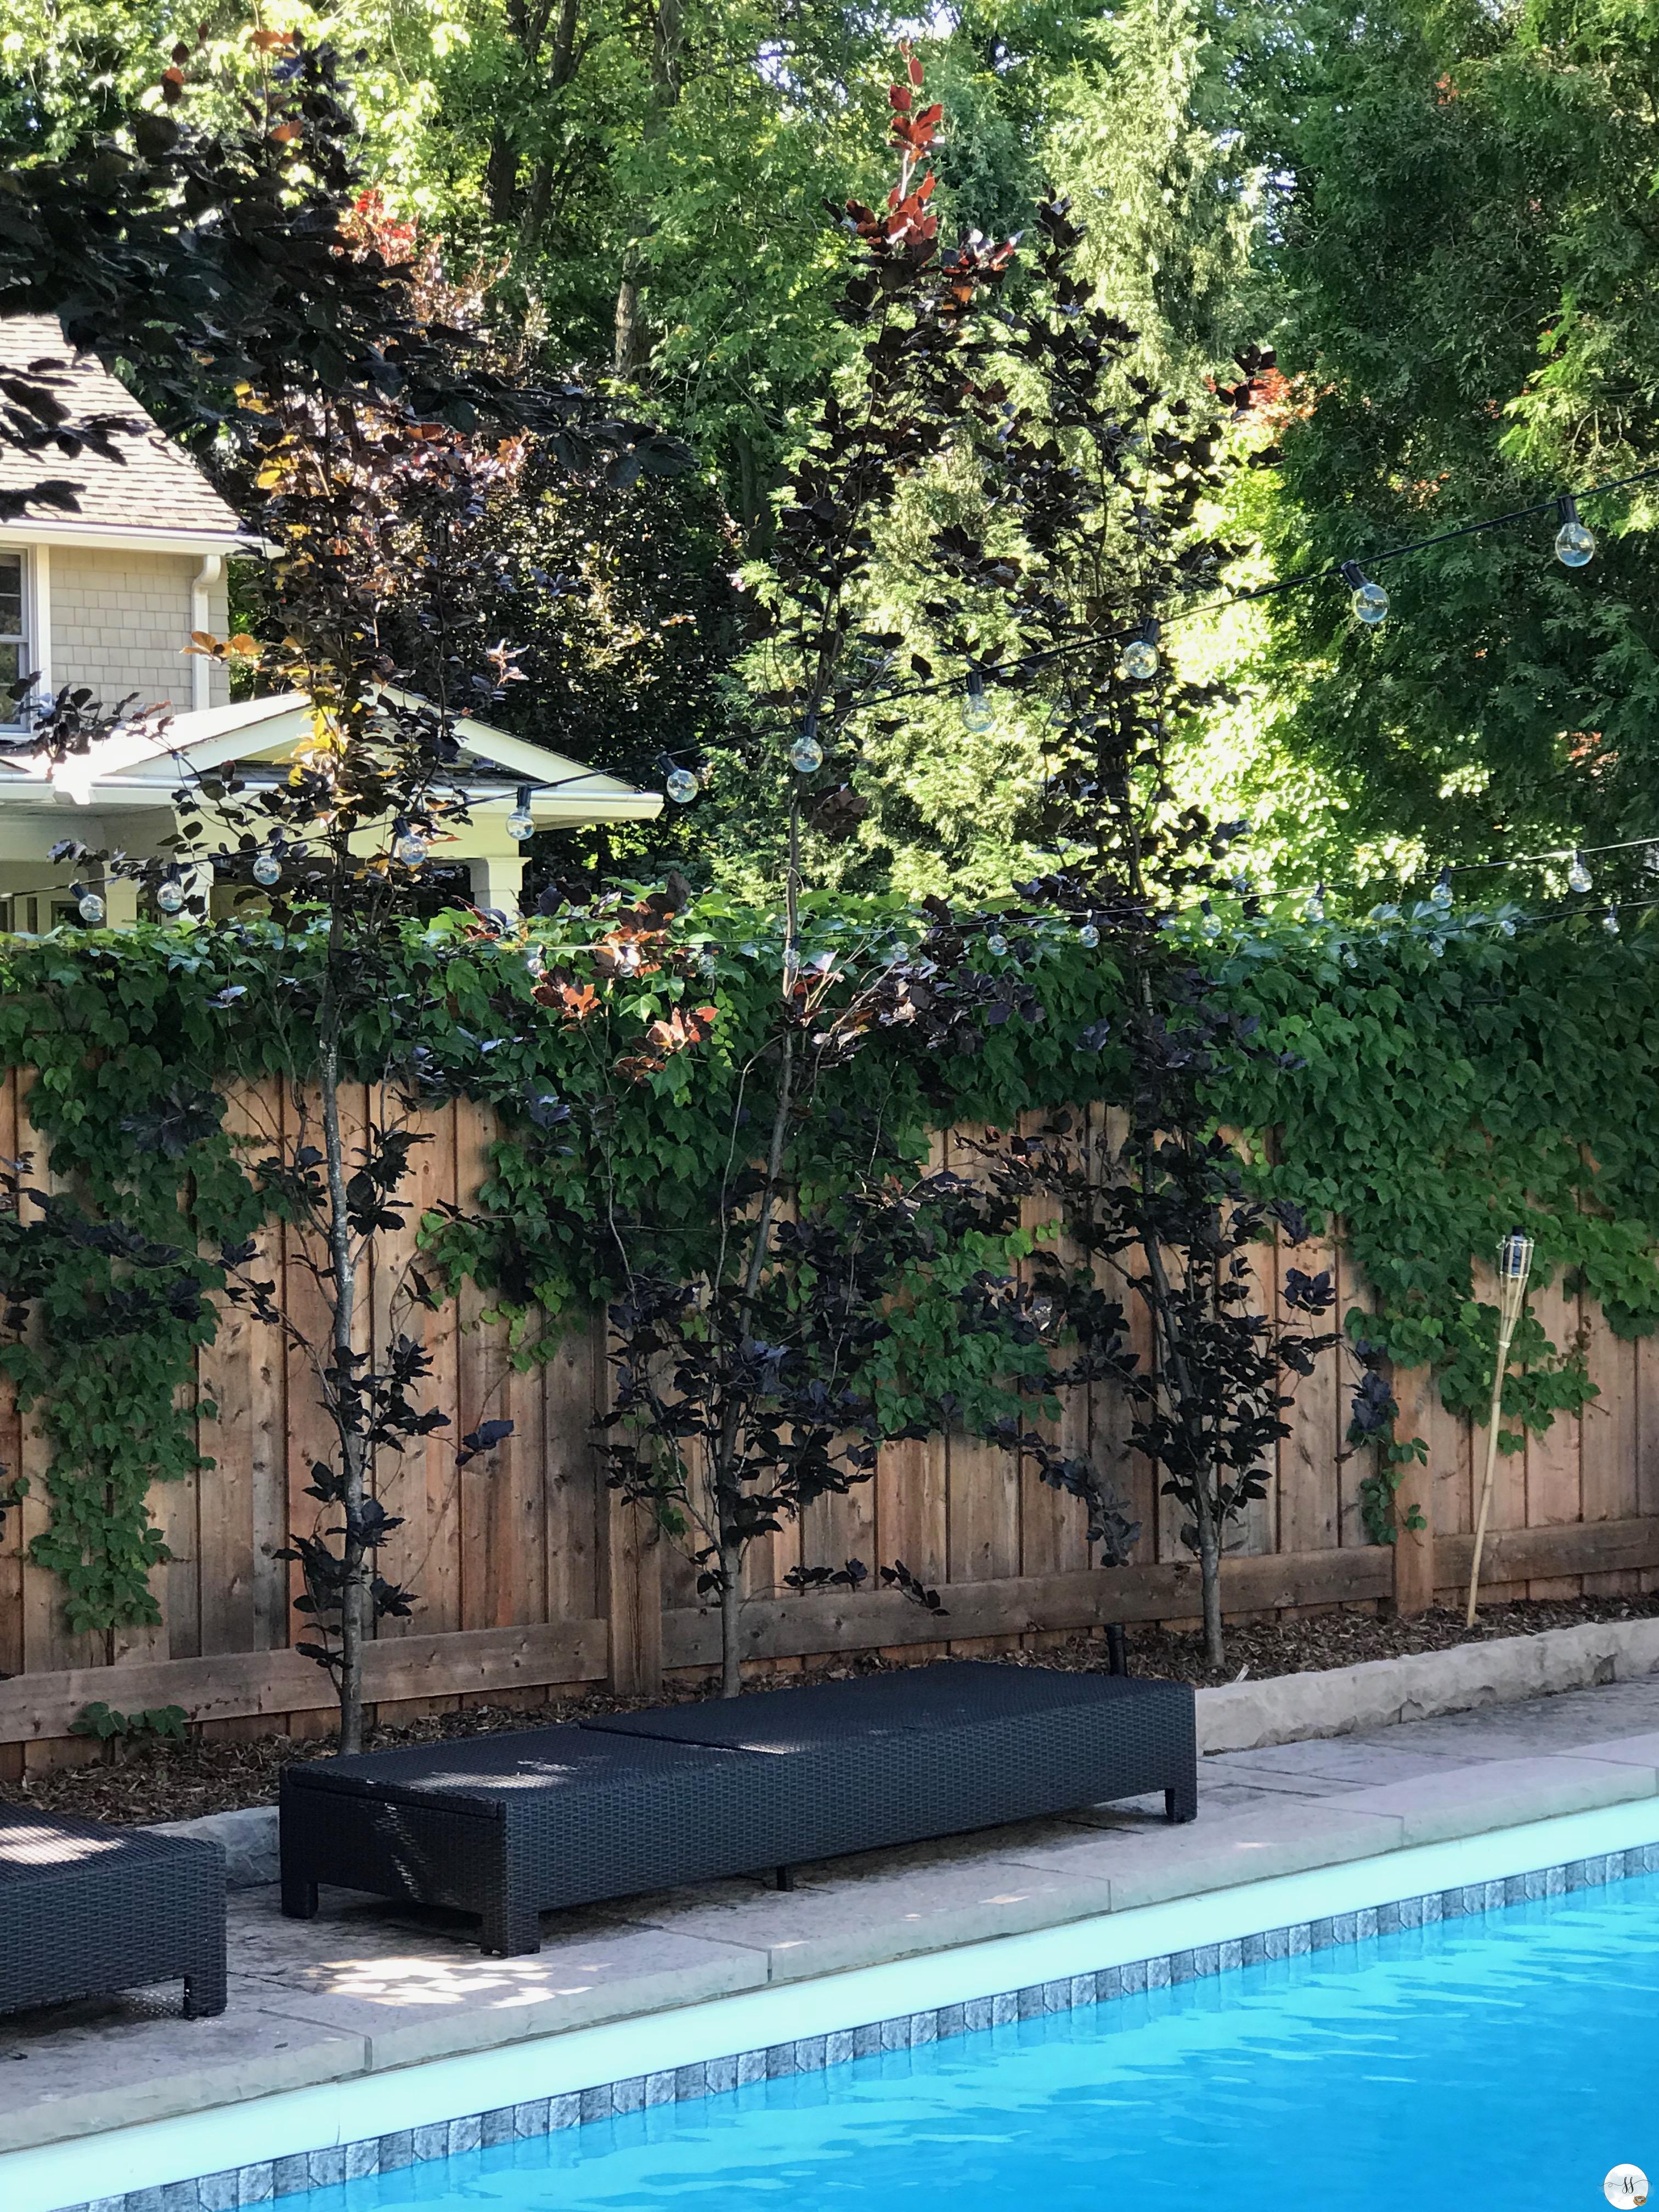
We added trees along the back fence for privacy and vines to cover the fence. There are 5 in total, a bit sparse looking, but I have no doubt that they will fill in beautifully. A perfect opportunity to practice patience! LOL The vines will also add a beautiful blast of red in the fall…so much better than looking at a wooden fence. They will require a little bit of upkeep as I don’t want the vines spreading around the bottoms of the new trees and making their way up the trunks. When planting trees or vines along the fence line it is always a good idea to chat with the neighbour on the other side of the fence. The last thing you want to do is p*** off your neighbours….especially if you have one as nice as I do!! Hey Sue!!!
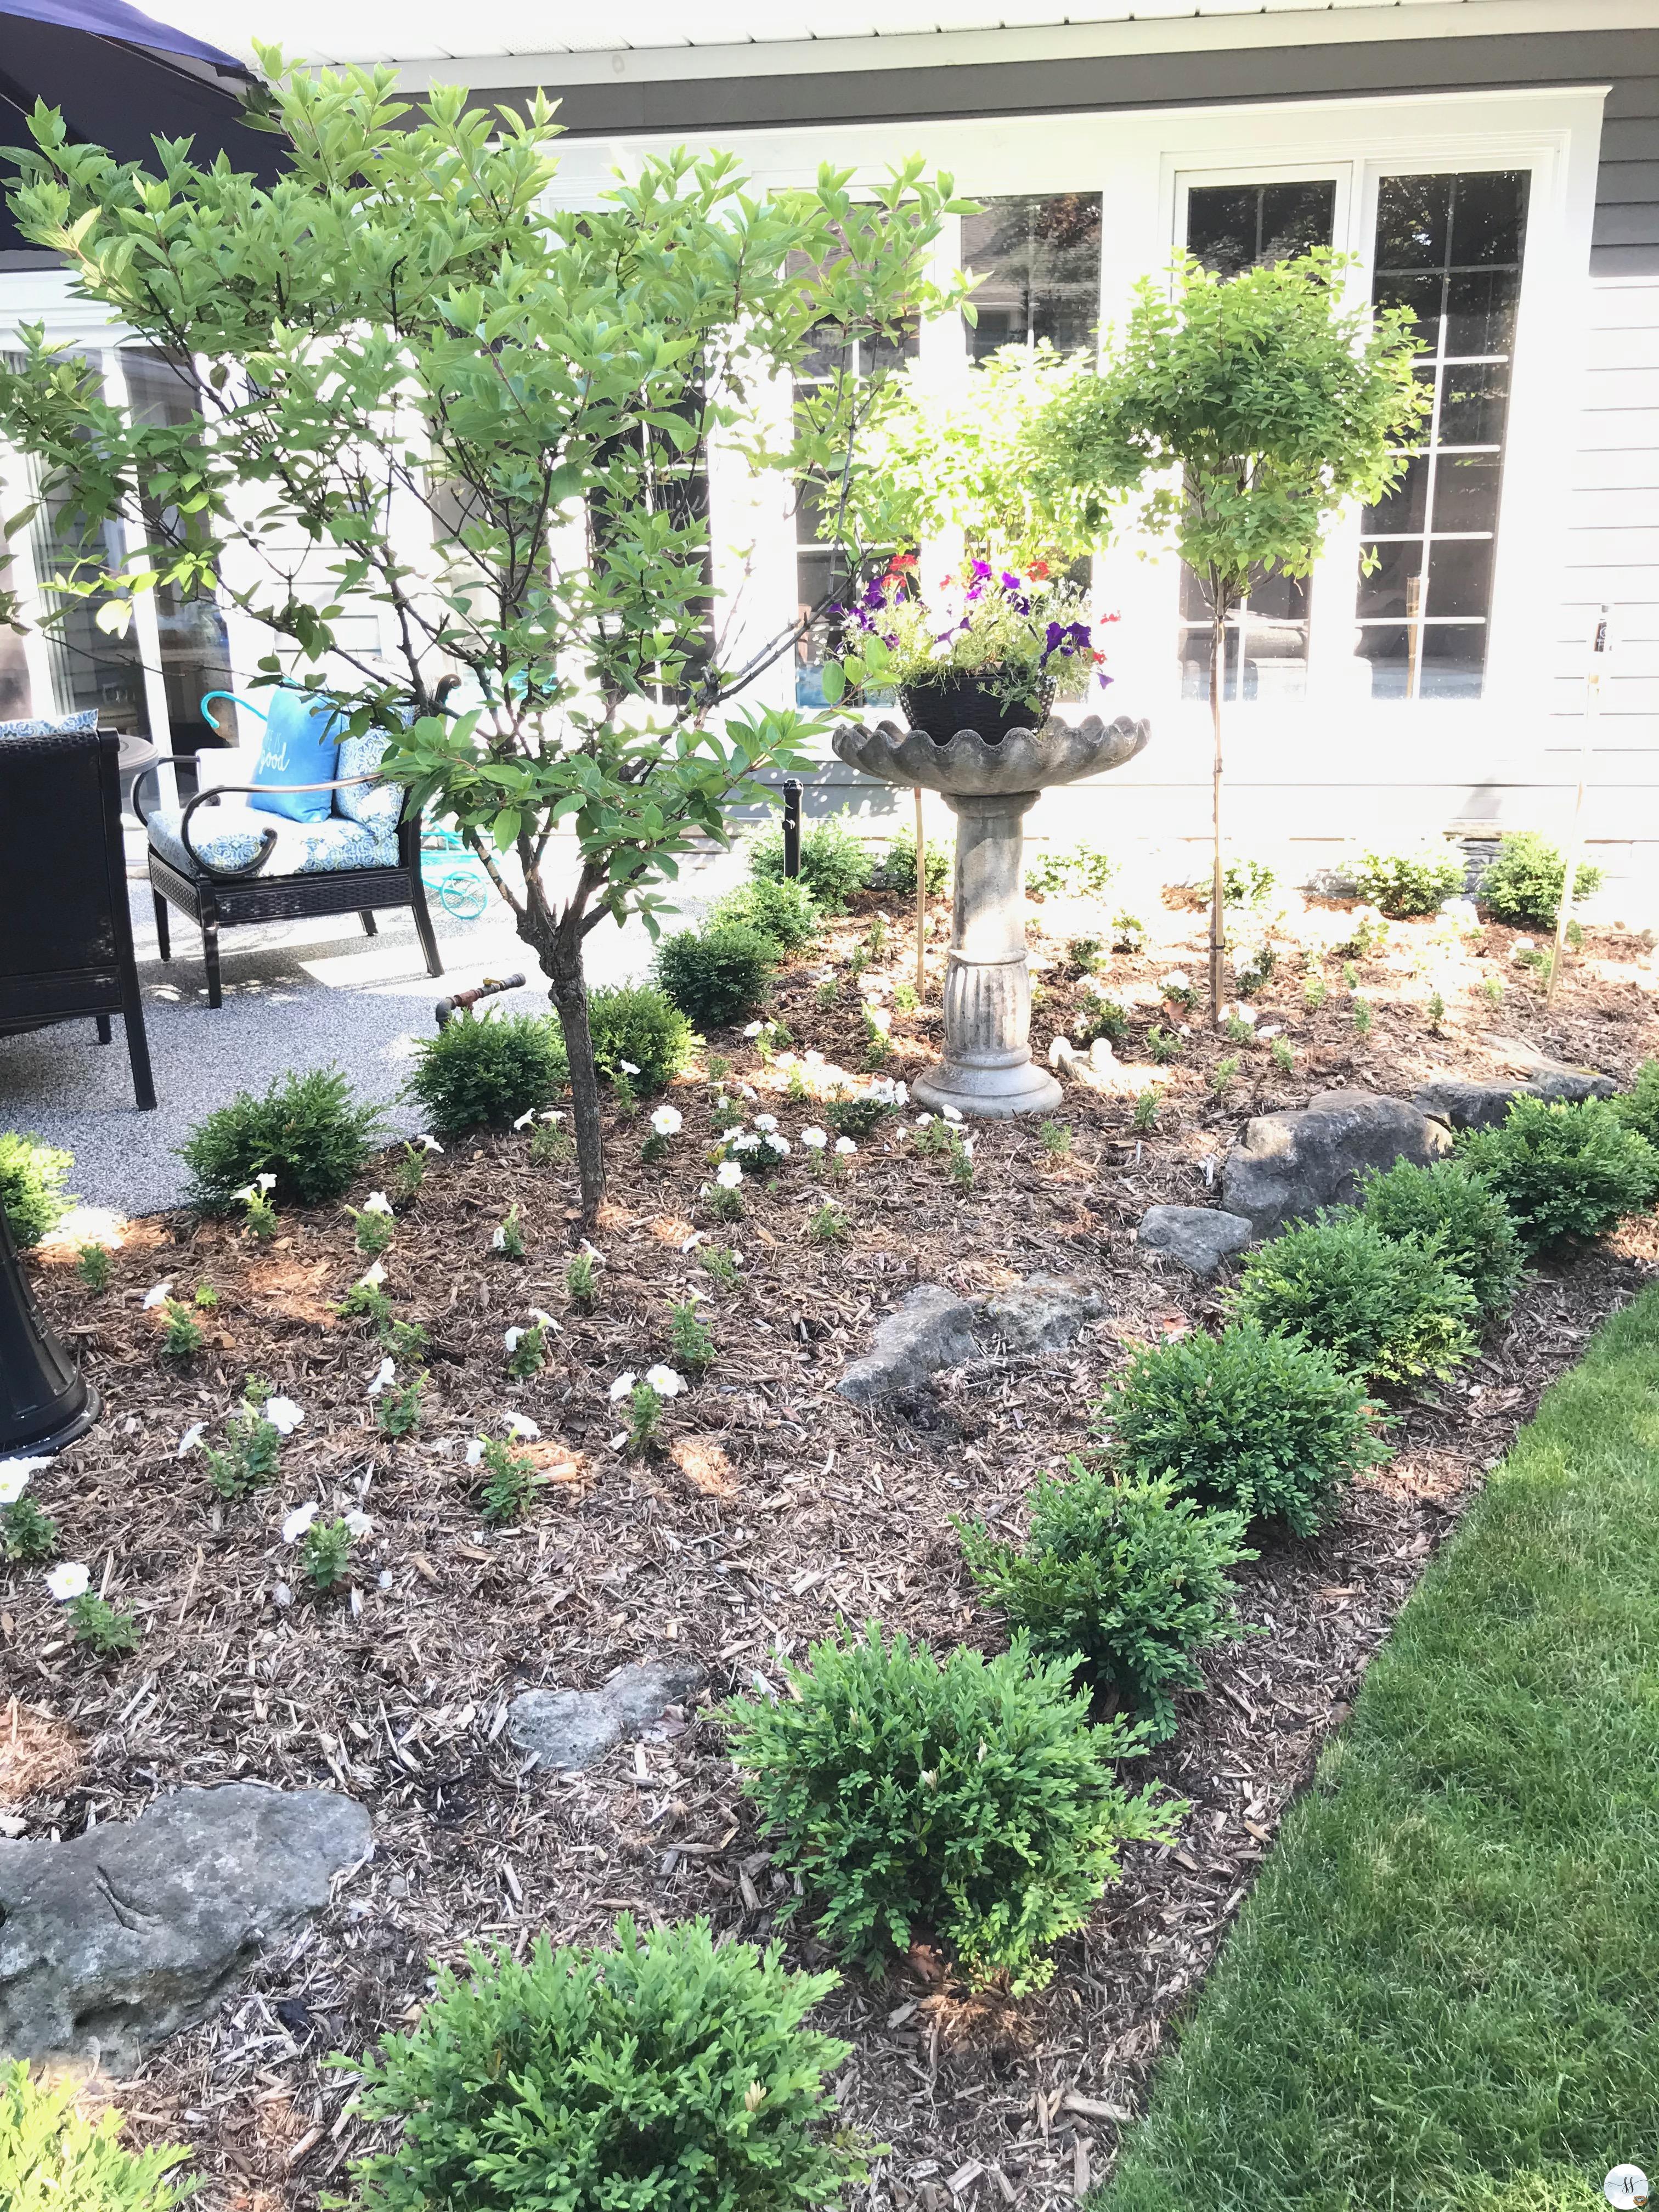
Last year I pulled all of the perennials out of the garden area. I replaced them with Boxwoods one of my favourites because of how low maintenance they are. I also planted 3 hydrangea trees (another fav of mine, great for clipping). This is a popular look in Saratoga NY which happens to be one of my favourite places to be. I used some white annuals in here and filled the birdbath with petunias so they overflow and add yet another little blast of colour. Petunia care is important. Use a slow-release fertilizer and pinch them back. Most people think pinching them means to simply pull off the dead flower. You actually have to remove the small pod that is behind the dead flower. Some gardeners will tell you to reach inside and pull the tiny bud off and others will say to take the entire spent flower and the pod that it grows out of. I only just learned this. Typically I only take the dead flower off but this year I am going to remove the entire bud and see what a difference it makes if any. Also, if you feel that the middle of the plant is starting to look matted down or sparse don’t be afraid to grab your scissors and cut back from the bottom/underneath side of the flower! You can be fairly aggressive with this. This will really help to thicken up the top growth again. Also new to me is Pettunias like a mixture of sun and shade. I thought they were sun-loving…
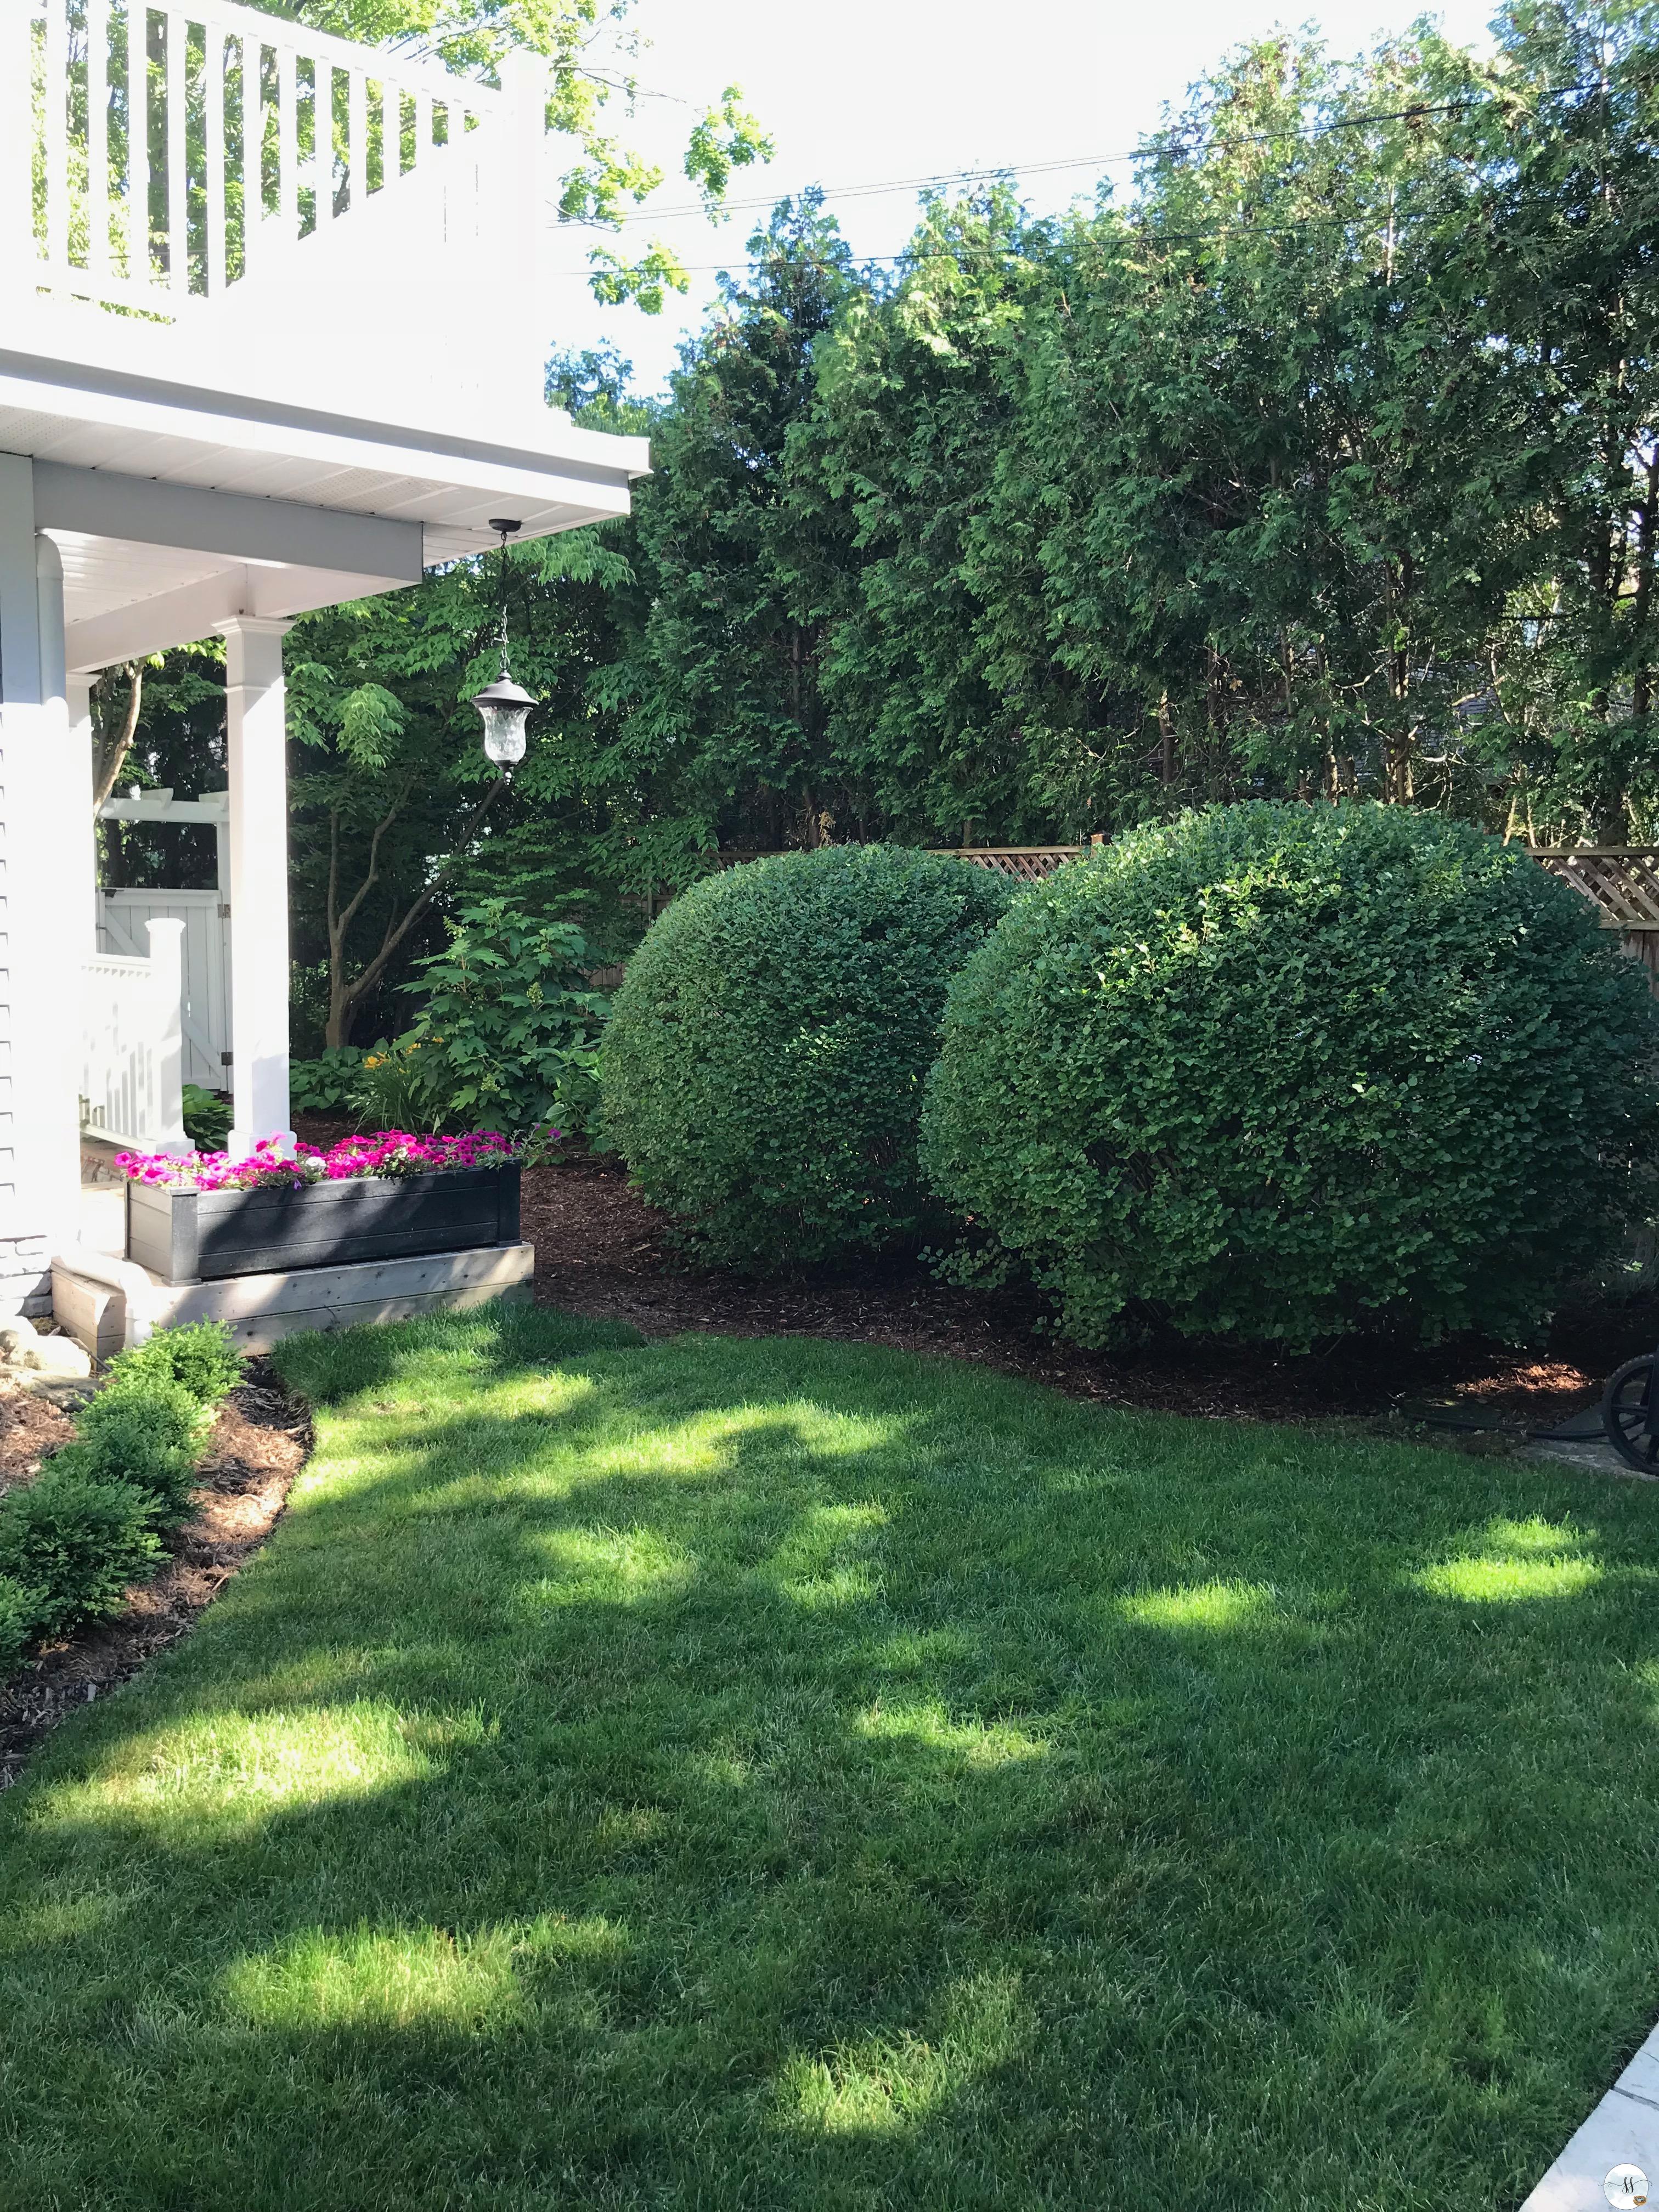
Our pool heater is in a terrible spot. Many years ago someone planted these 2 lilac bushes in front of the heater to hide it. I am sure in their day they were beautiful and did the trick. Now, however, they are overgrown and actually a bit of a fire hazard as they lean against the pool heater. Eventually, we are going to have these shrubs removed and replace them. They are so pretty when they bloom in the early spring and when the windows are open the smell in my house is incredible. Mother Nature’s very own room freshener.
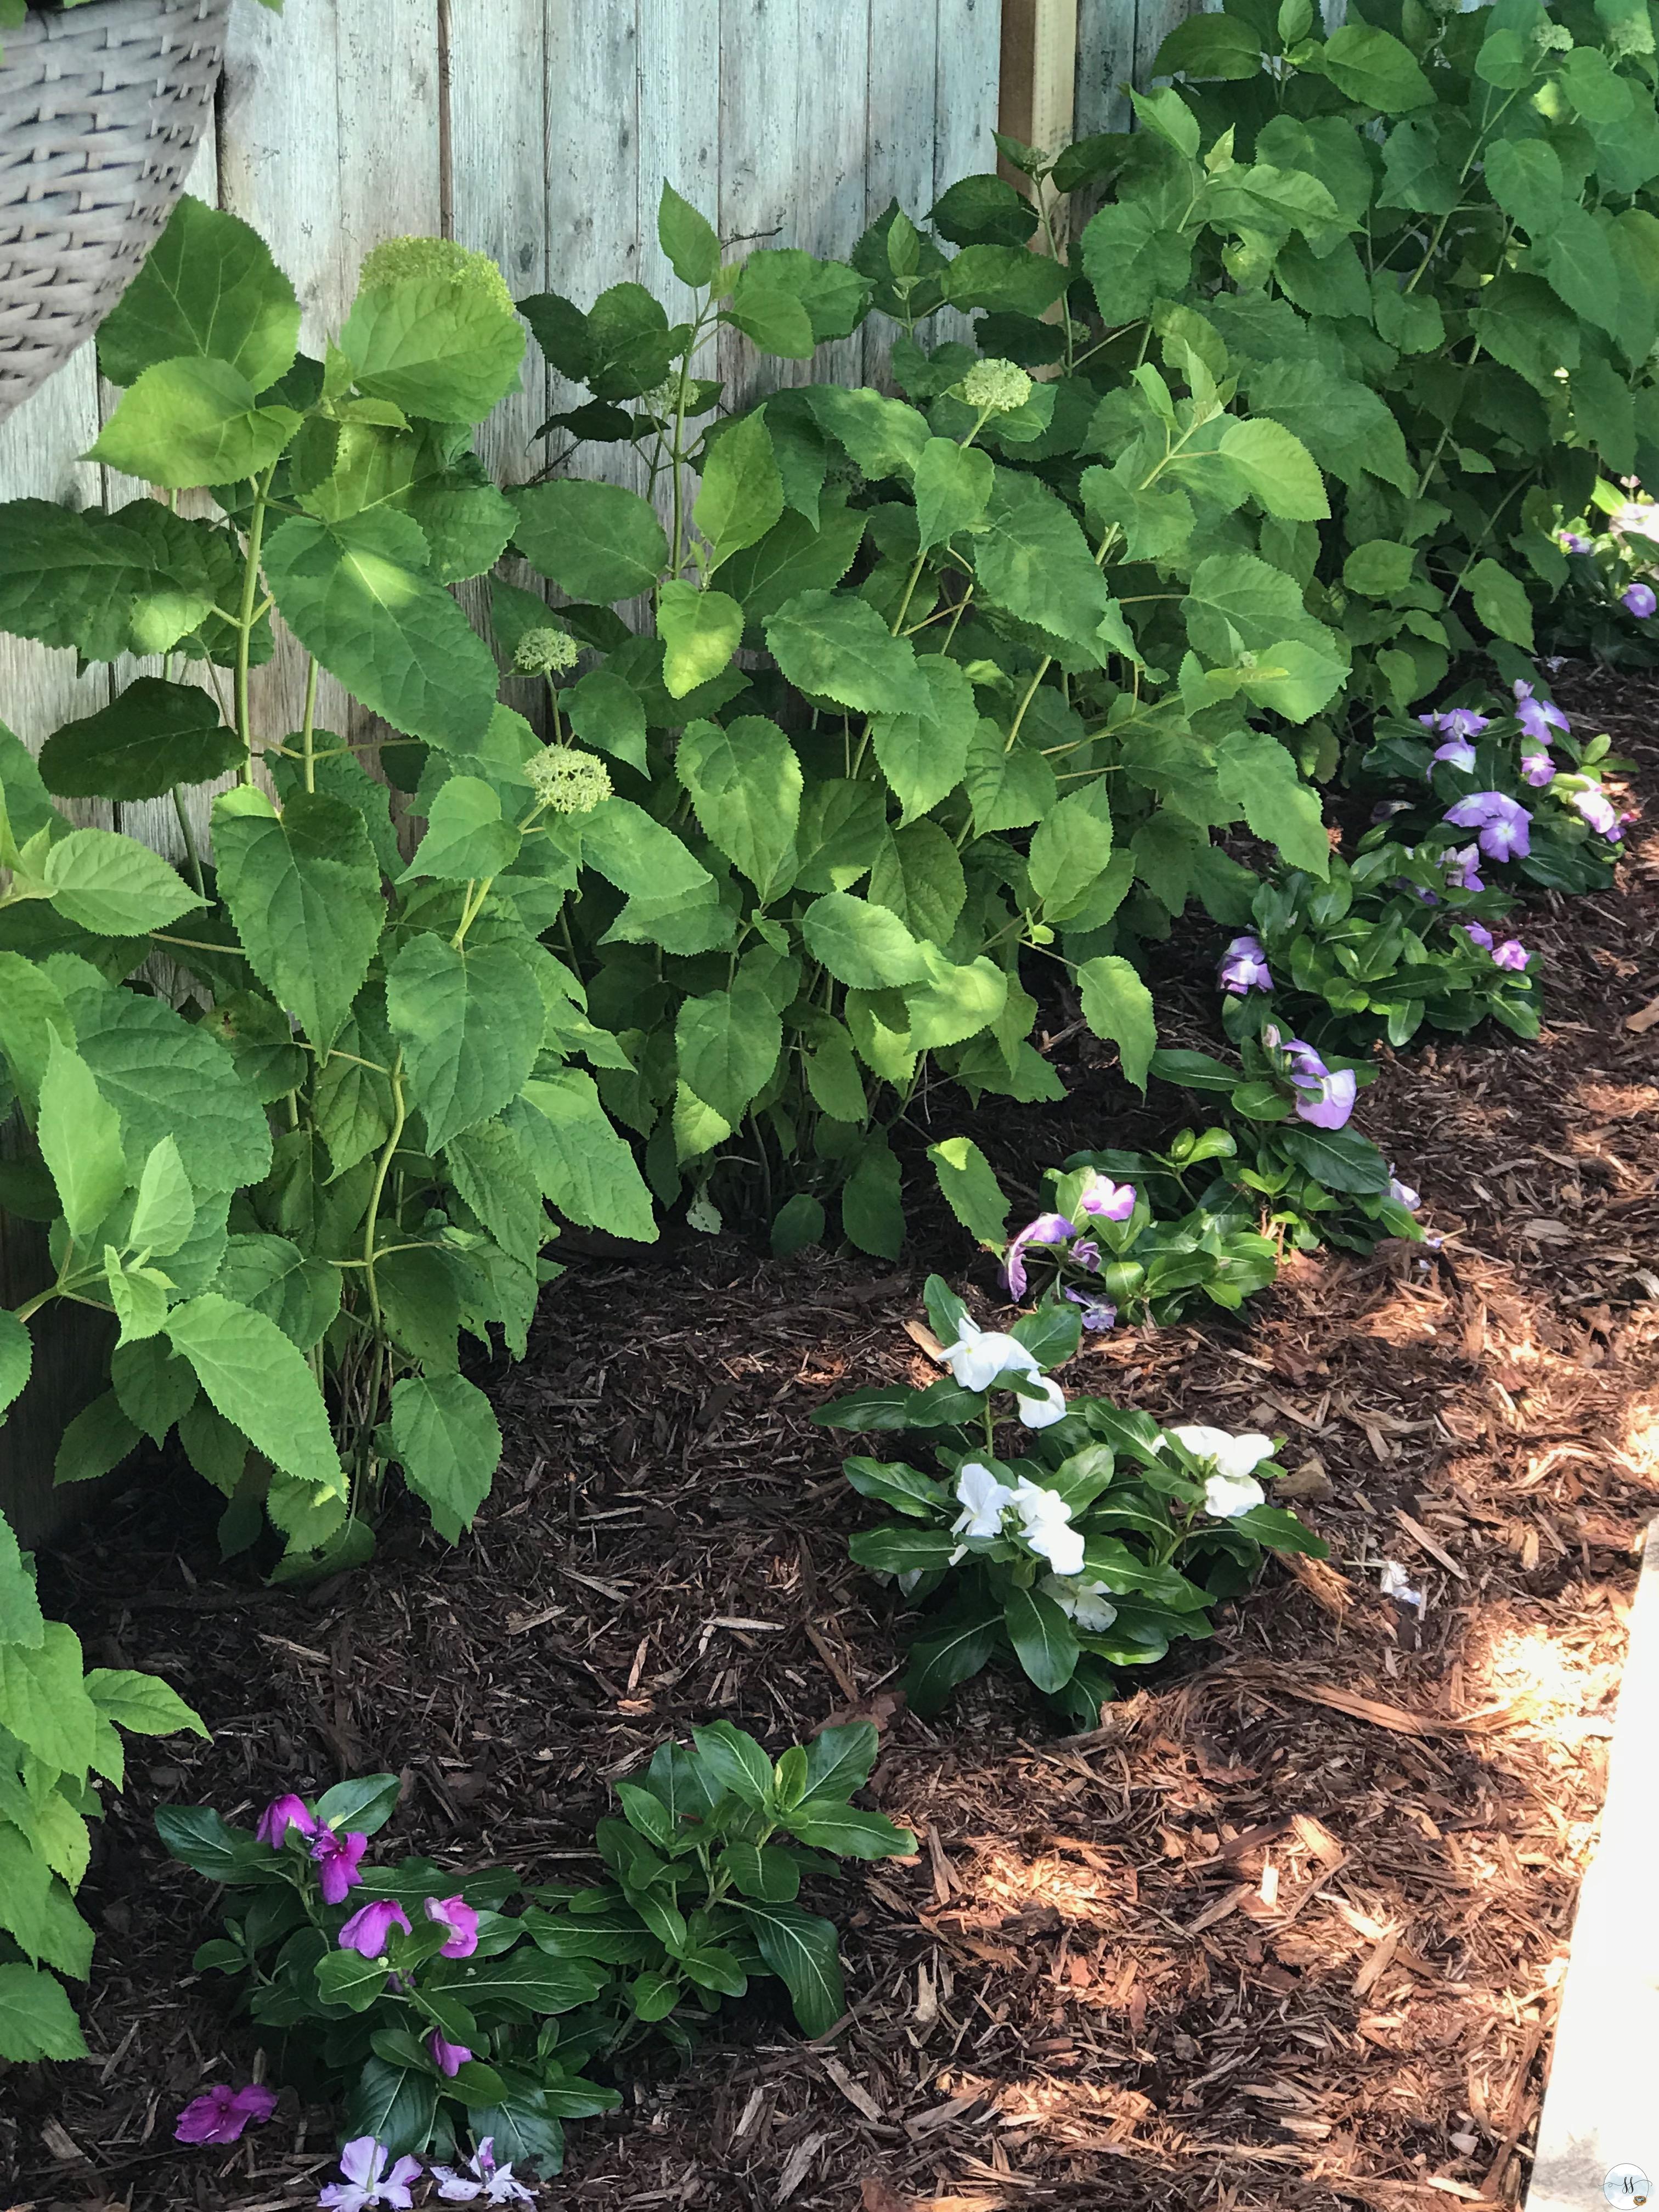
We just had these Hydrangea bushes planted along this fence line. I cannot wait for them to get a bit bigger and start blooming. I am a complete sucker for Hydrangeas. I love them in the summer and I love them when they are dried in the fall and winter.
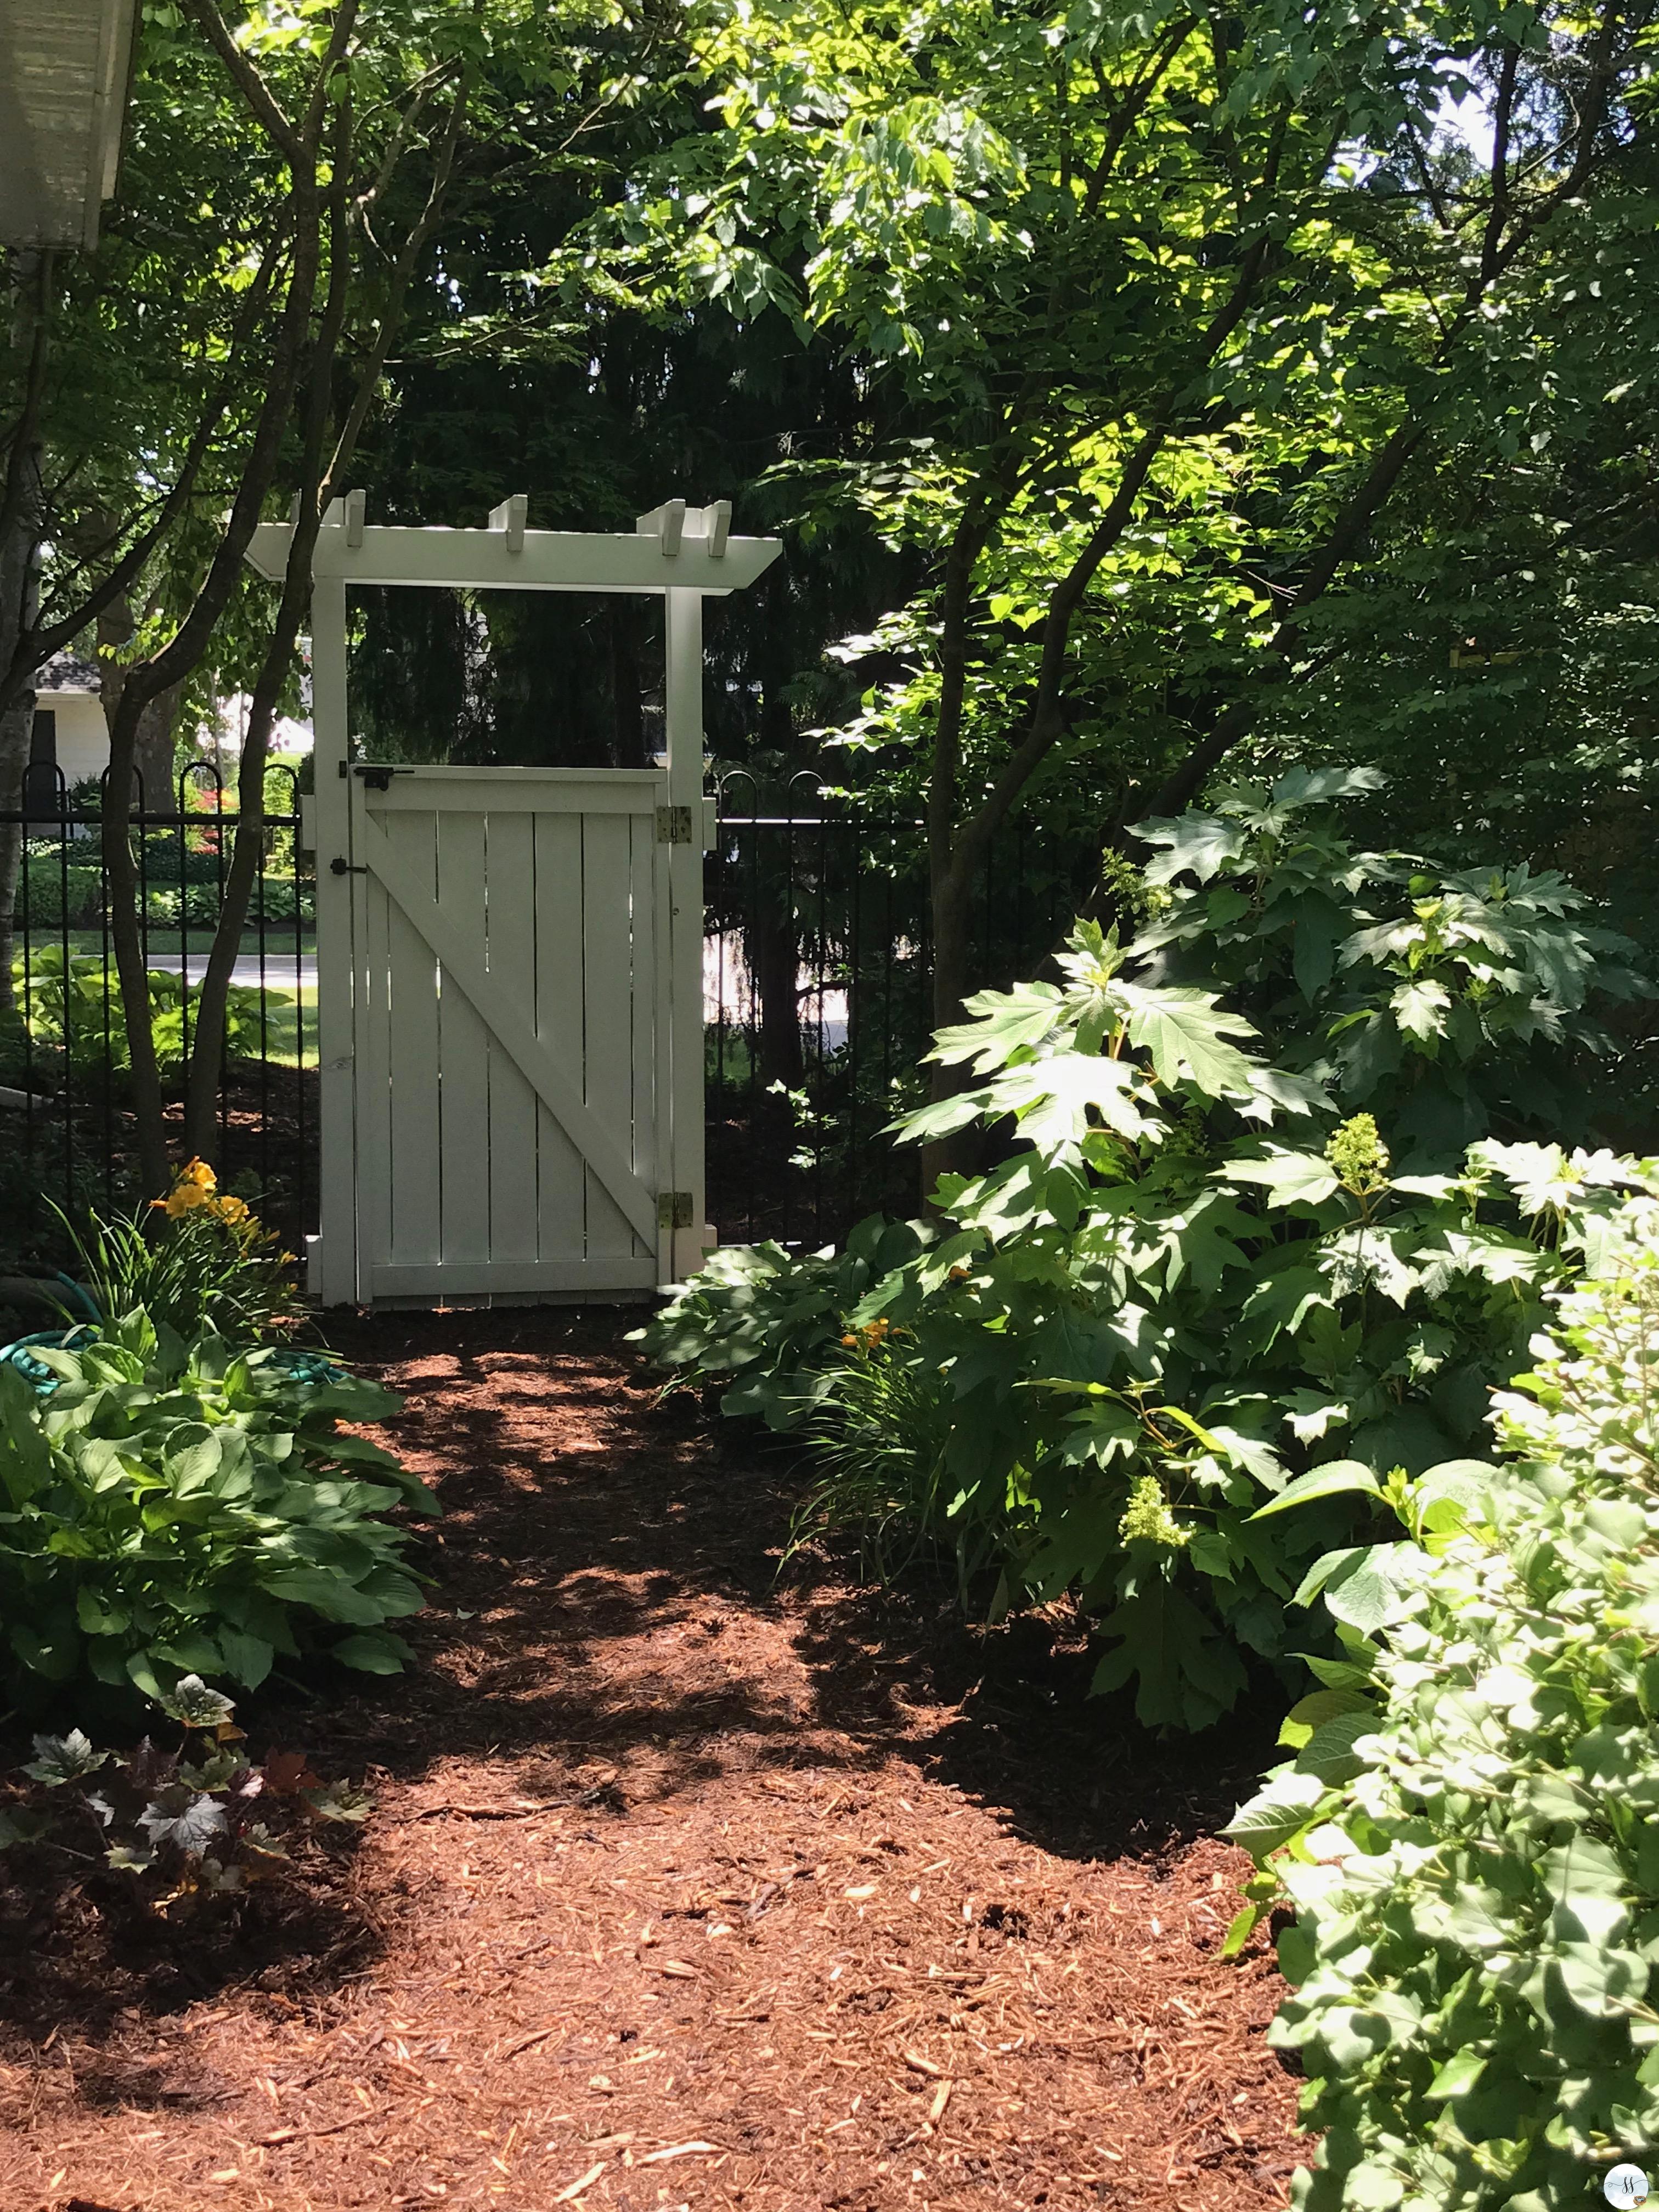
Along the side of our property, we have some mature Hydrangeas that give me a plethora of clippings throughout the season. I really thought I’d like to have a walkway built here, but now that I have covered it in mulch I love the look. It reminds me of a forest or nature trail.
So that’s it…all done for now. I am broke again. LOL….It’s important to have a budget and stick to it….cause honestly, things could get out of hand very easily!!!

We love spending time in our backyard. It’s family central all summer. Most of us have summer birthdays which means outdoor celebrations. The girls love the pool and swim every chance they get. Our BBQ gets used a lot….papa’s burnt hotdogs have actually become a family tradition. The recipe is at the bottom of this page.
Burnt Hotdog Recipe by Steve
Stop at the store on your way home from golf (because you forgot you said you’d BBQ)
Purchase hot dogs and buns (Don’t worry if buns are a bit stale your wife will toast them)
Have your wife open the hot dog package (apparently this can be quite difficult) During this time you may or may not want to start the BBQ (if you are unsure ask her)
Also, while she is at it, have her put the dogs on a plate and get the tongues for you as well – You might as well use this opportunity to help her brush up on her multi-tasking skills. She will thank you for it later.
On your way out of the kitchen grab the remote and put on the racing channel.
Watch the race that has already started until you hear your wife nag you to get moving.
Put the dogs on the grill and then remember you forgot the cheese. Run back into the house and ask ‘the wife’ to get the cheese.
While she is opening the packages of Kraft Cheese Slices (only the best cheese for this family) ask each member of the family if they want cheese and tally it all up.
Run outside and when you notice that the one side is burnt, turn the dogs over, apply the cheese to cover as much burnt area as possible.
Run back in the house to catch the next race until again – you hear your wife nag you to get moving. During this time she should be toasting the stale buns, setting the table, pulling out all condiments, chopping tomatoes and onions…and if you are super lucky she will be pouring you a CC & Ginger.
Take your time getting back out to the BBQ and remove the dogs from the grill and bring into the house…you will notice some more burnt spots. This is when you know they are done! IF and only IF aesthetics are important to you… these burnt areas can simply be removed by pulling the burnt pieces off.
Yell at everyone to get to the table and then wait for it…
“Steve…these are the best-burnt dogs ever”
I am not even kidding….this is his recipe!
Enjoy your backyard. Please leave a comment below and let me know if you have done any updates to your own little piece of heaven.


No Comments