

The house was clean, laundry and groceries were done. Steve was going to Woodbine to watch our horse run and he would be gone for the entire afternoon….HEAVEN…I get the house to myself.
It was a stunning day and I thought no better way to enjoy it than to be outside.
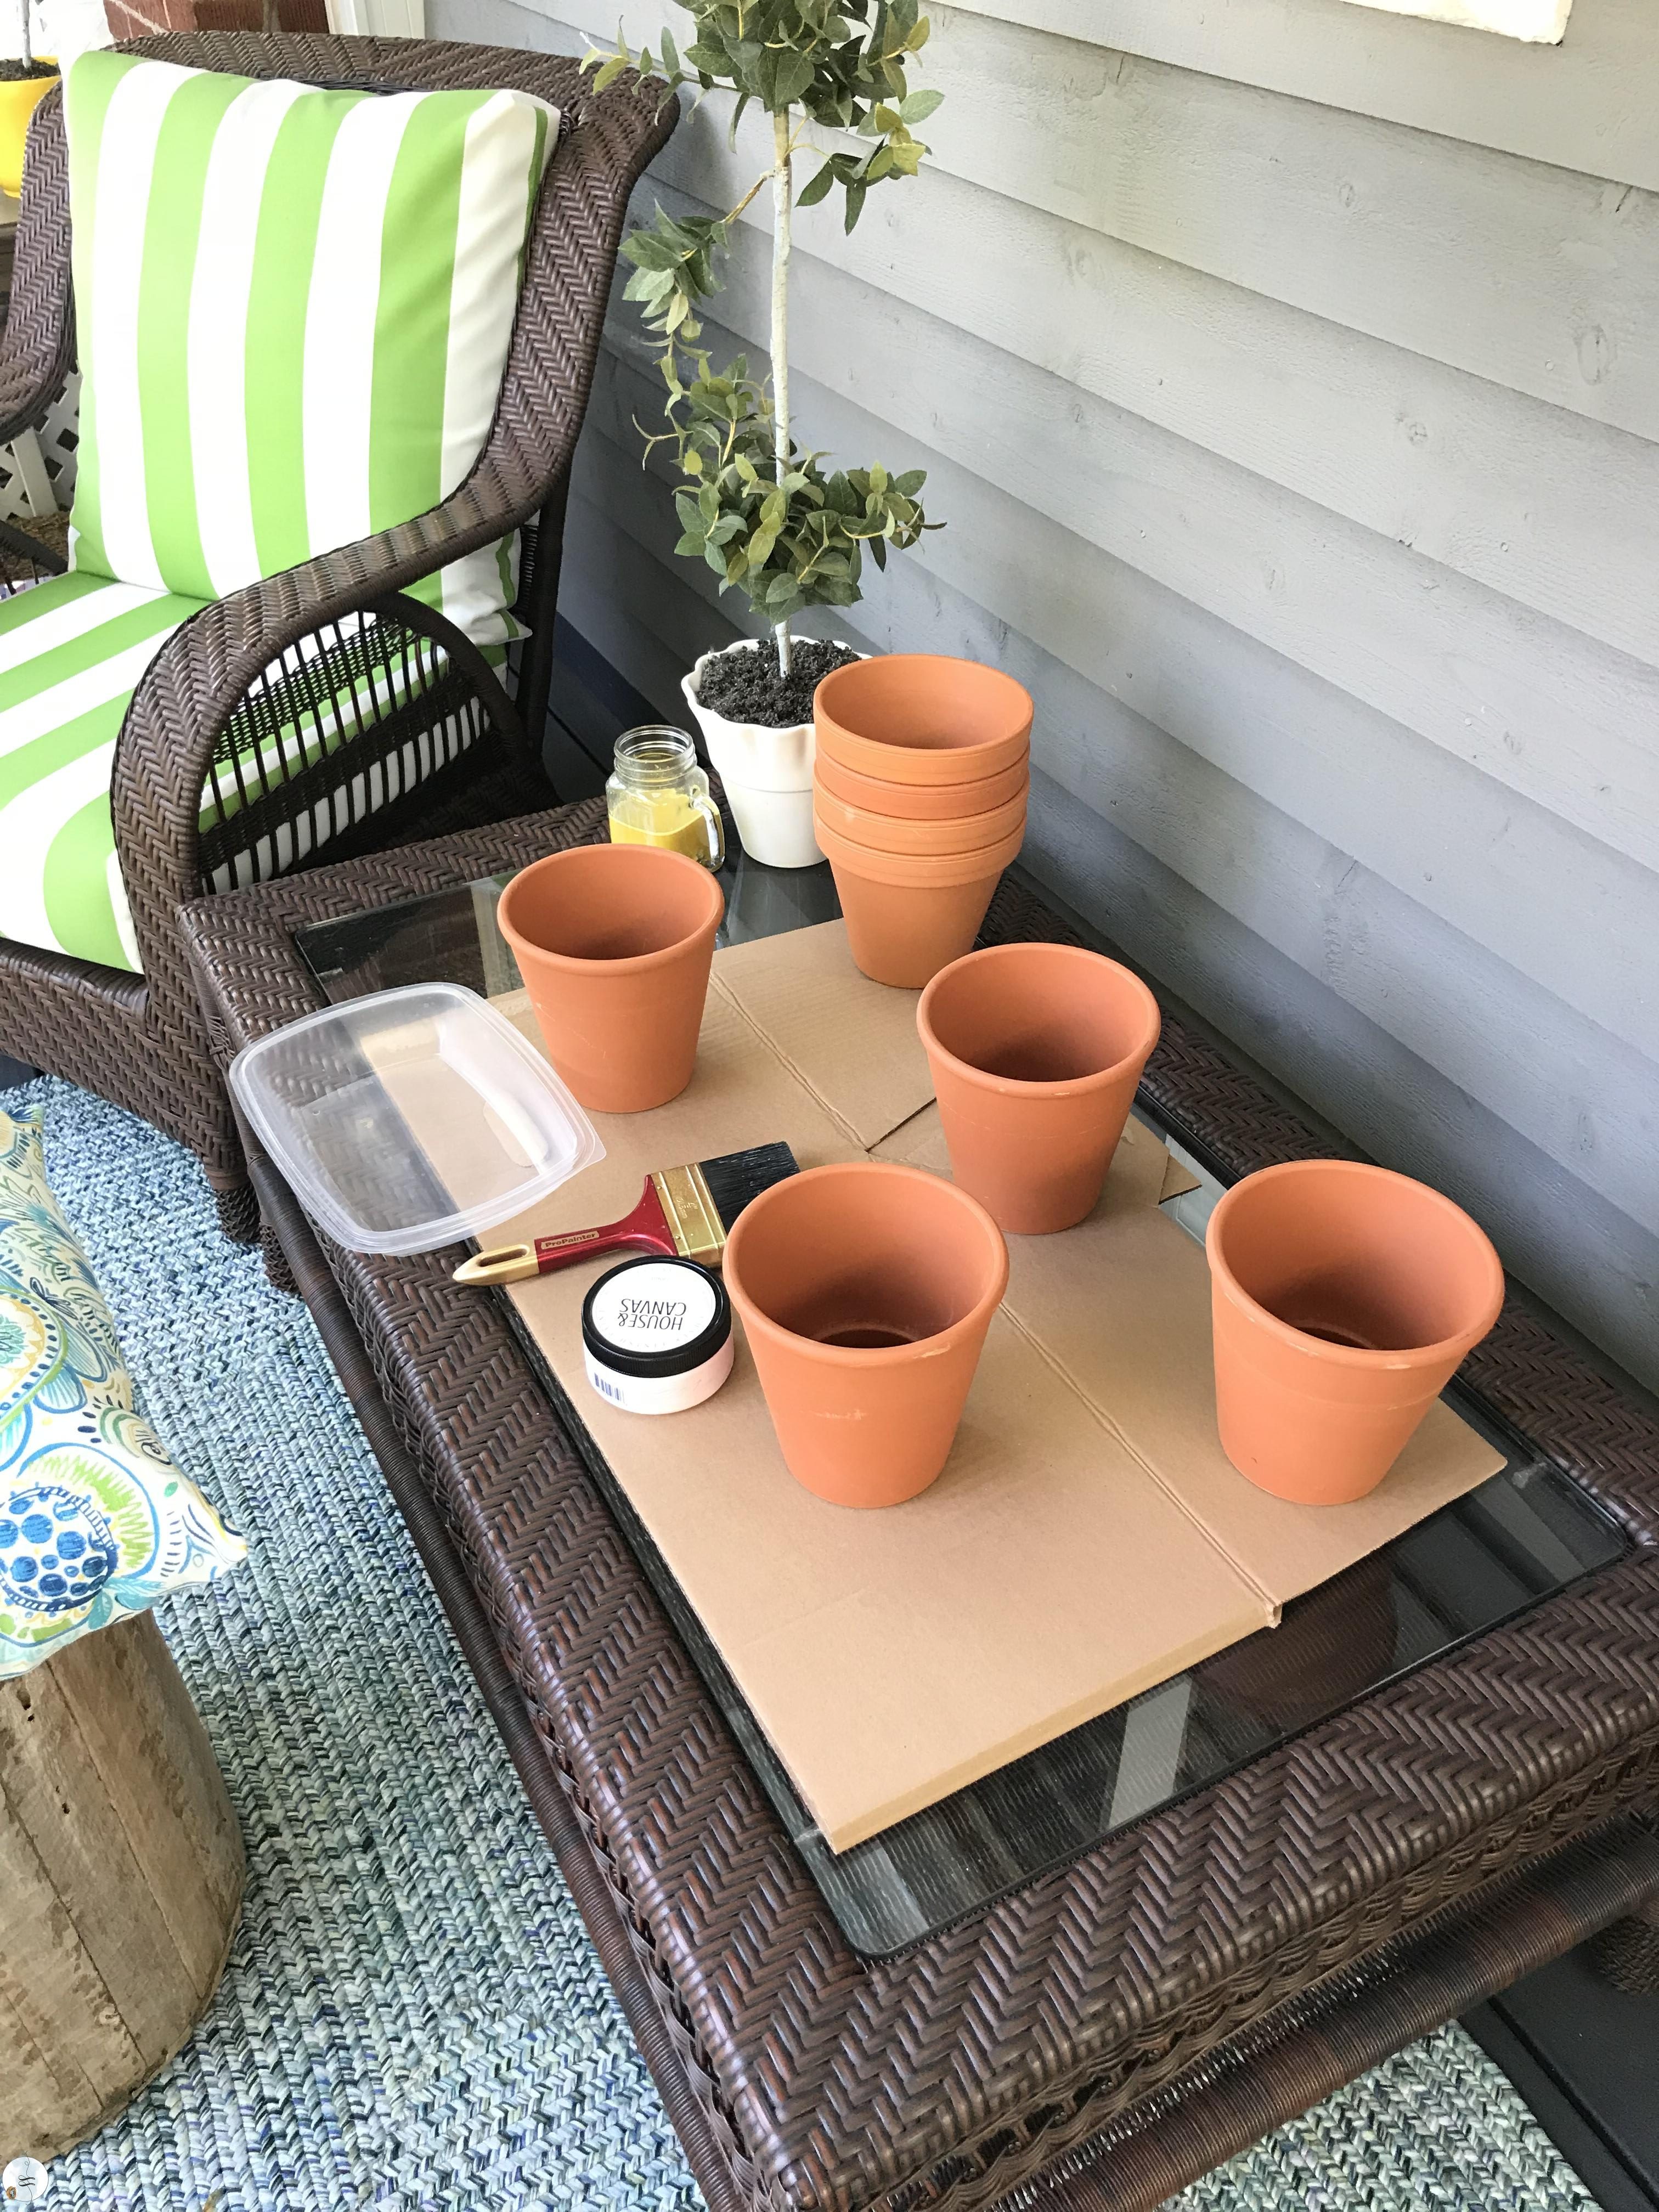
I had been wanting to paint some flowerpots for a while. I already had everything I needed so it was a bonus not to have to run out to get supplies.
I first saw the flower pots in a local shop and couldn’t believe the price tag on them…not kidding when I say $30+ EACH depending on the size. I bought my pots at the local garden centre – about $2.50 each. The pot of paint cost $14 and I had the paintbrush. So given the cost why NOT do it yourself? You might think “I’m not the crafty type” or “I’ll probably screw it up” I guarantee you this is a no-brainer simple Simon project.
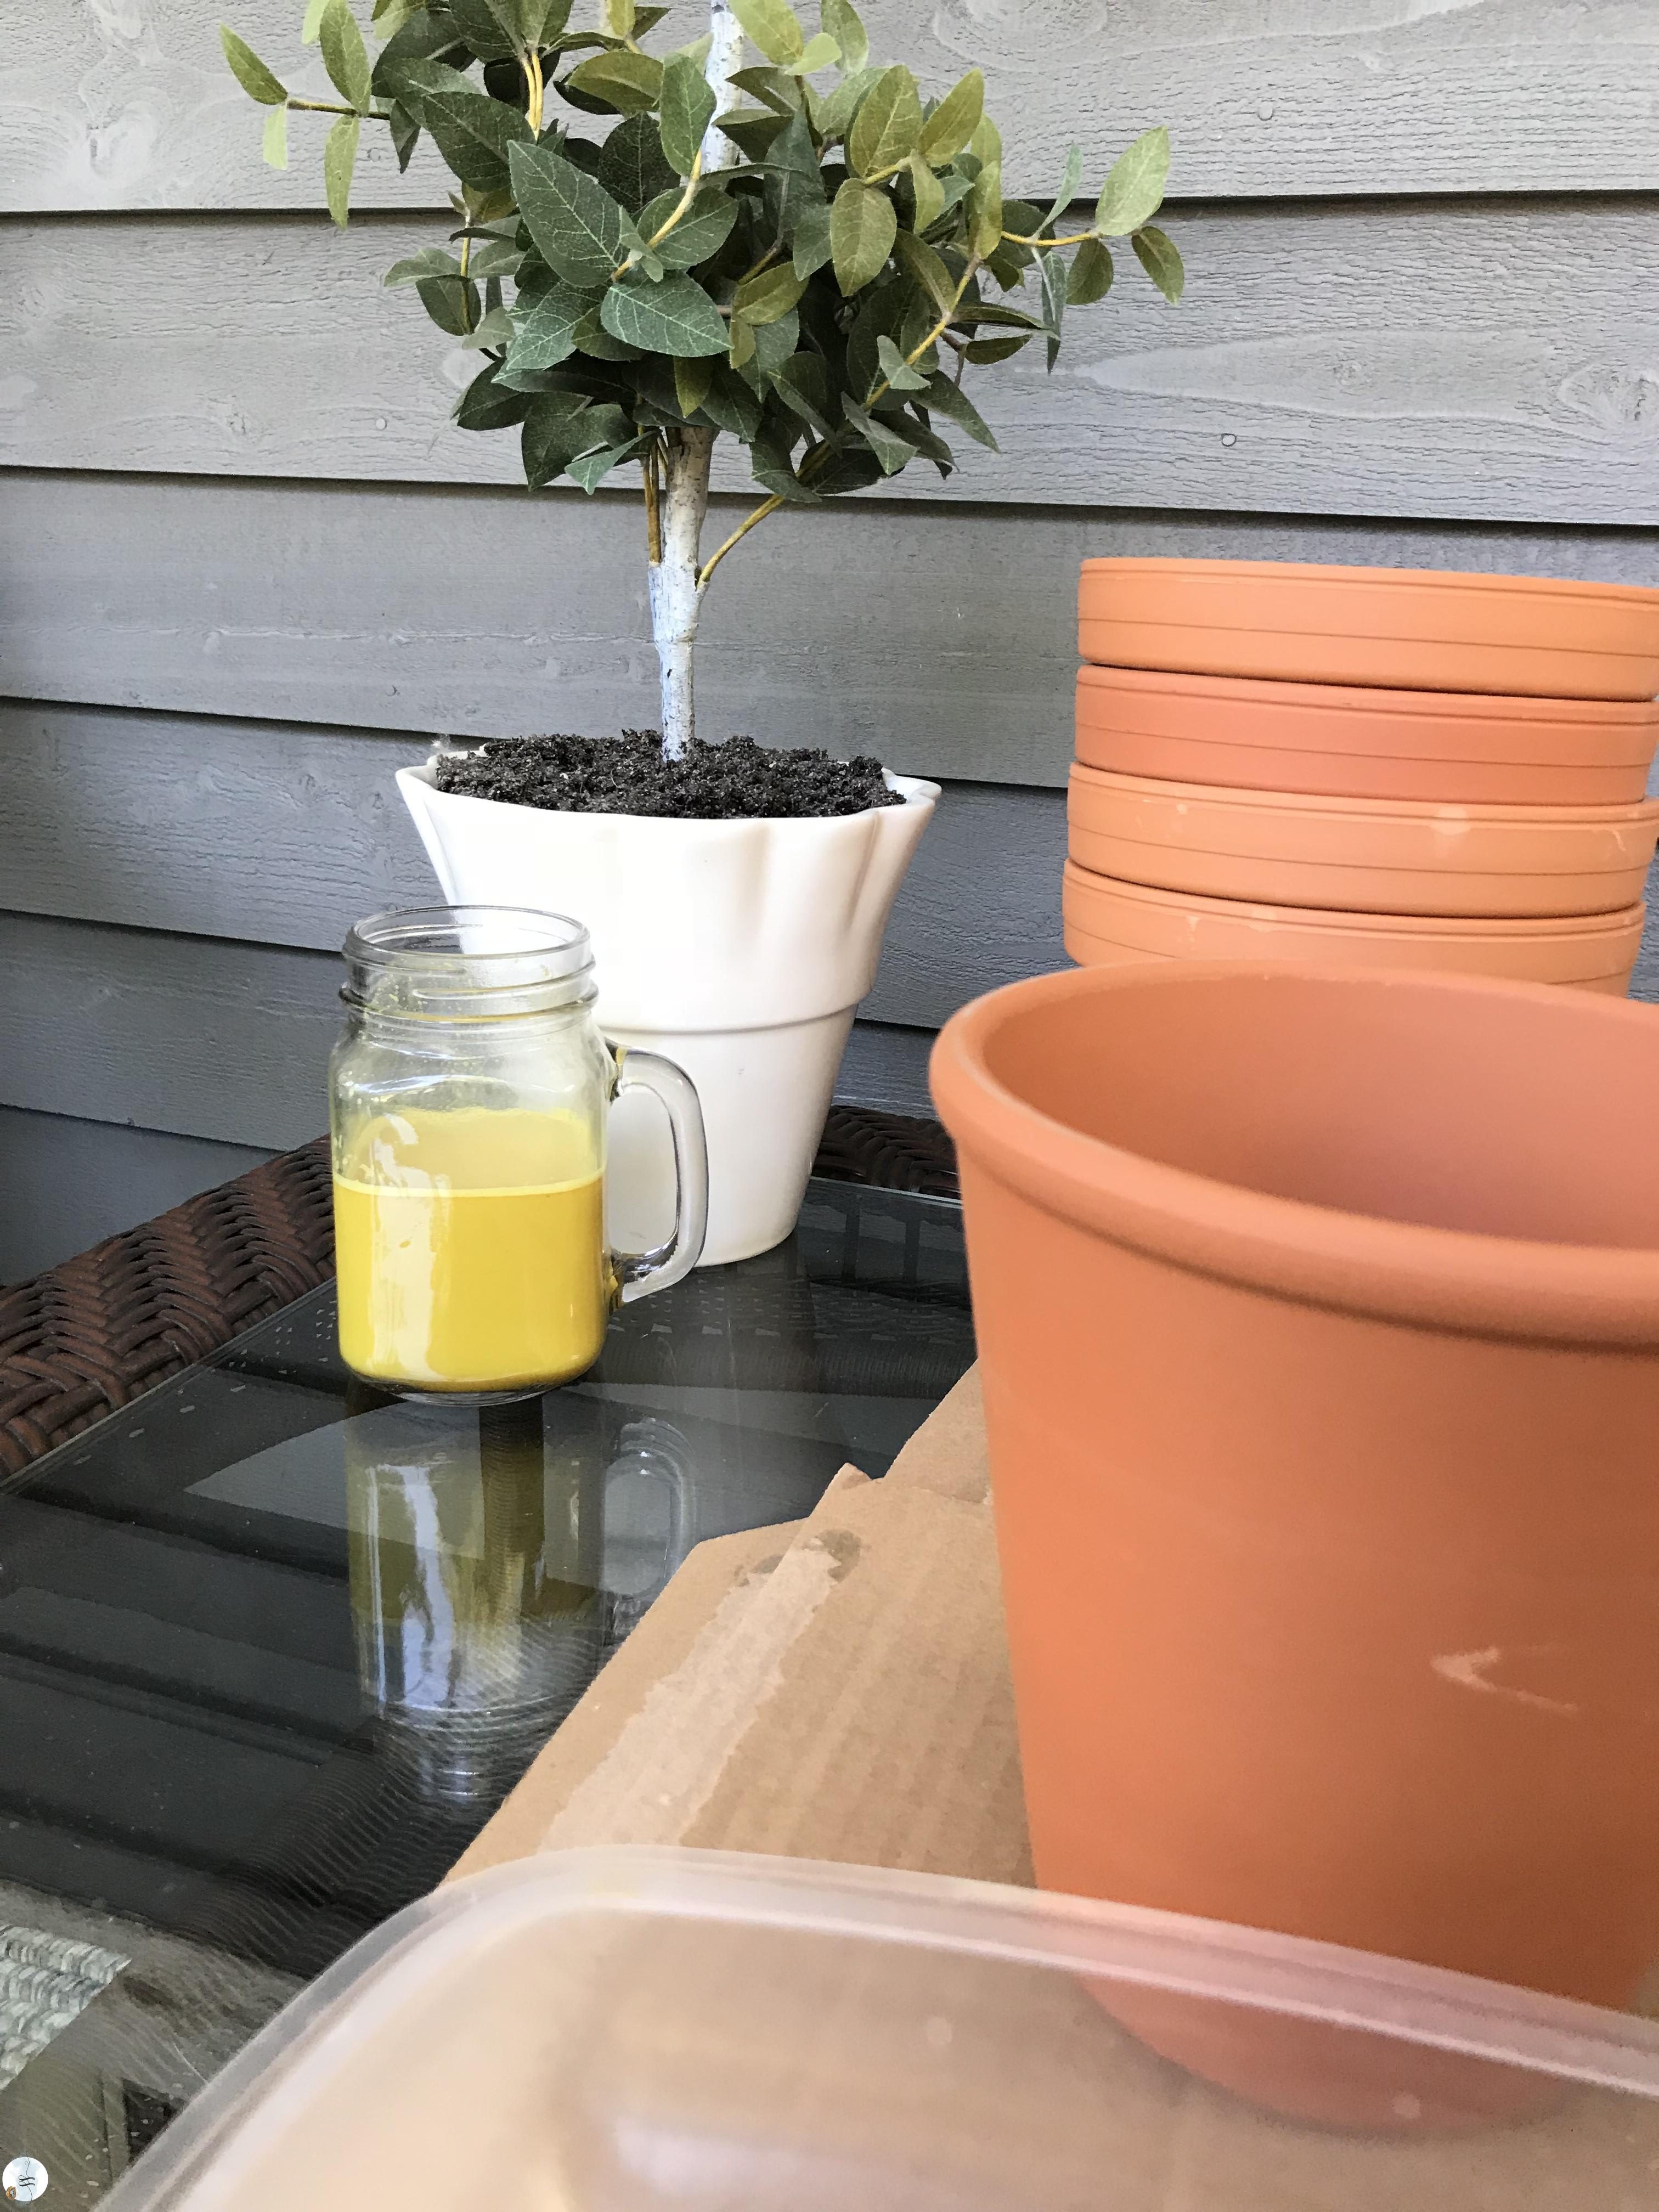
I made myself a Turmeric Latte to enjoy while crafting:) This is such a delicious drink. I am going to share the recipe at the bottom of this page.
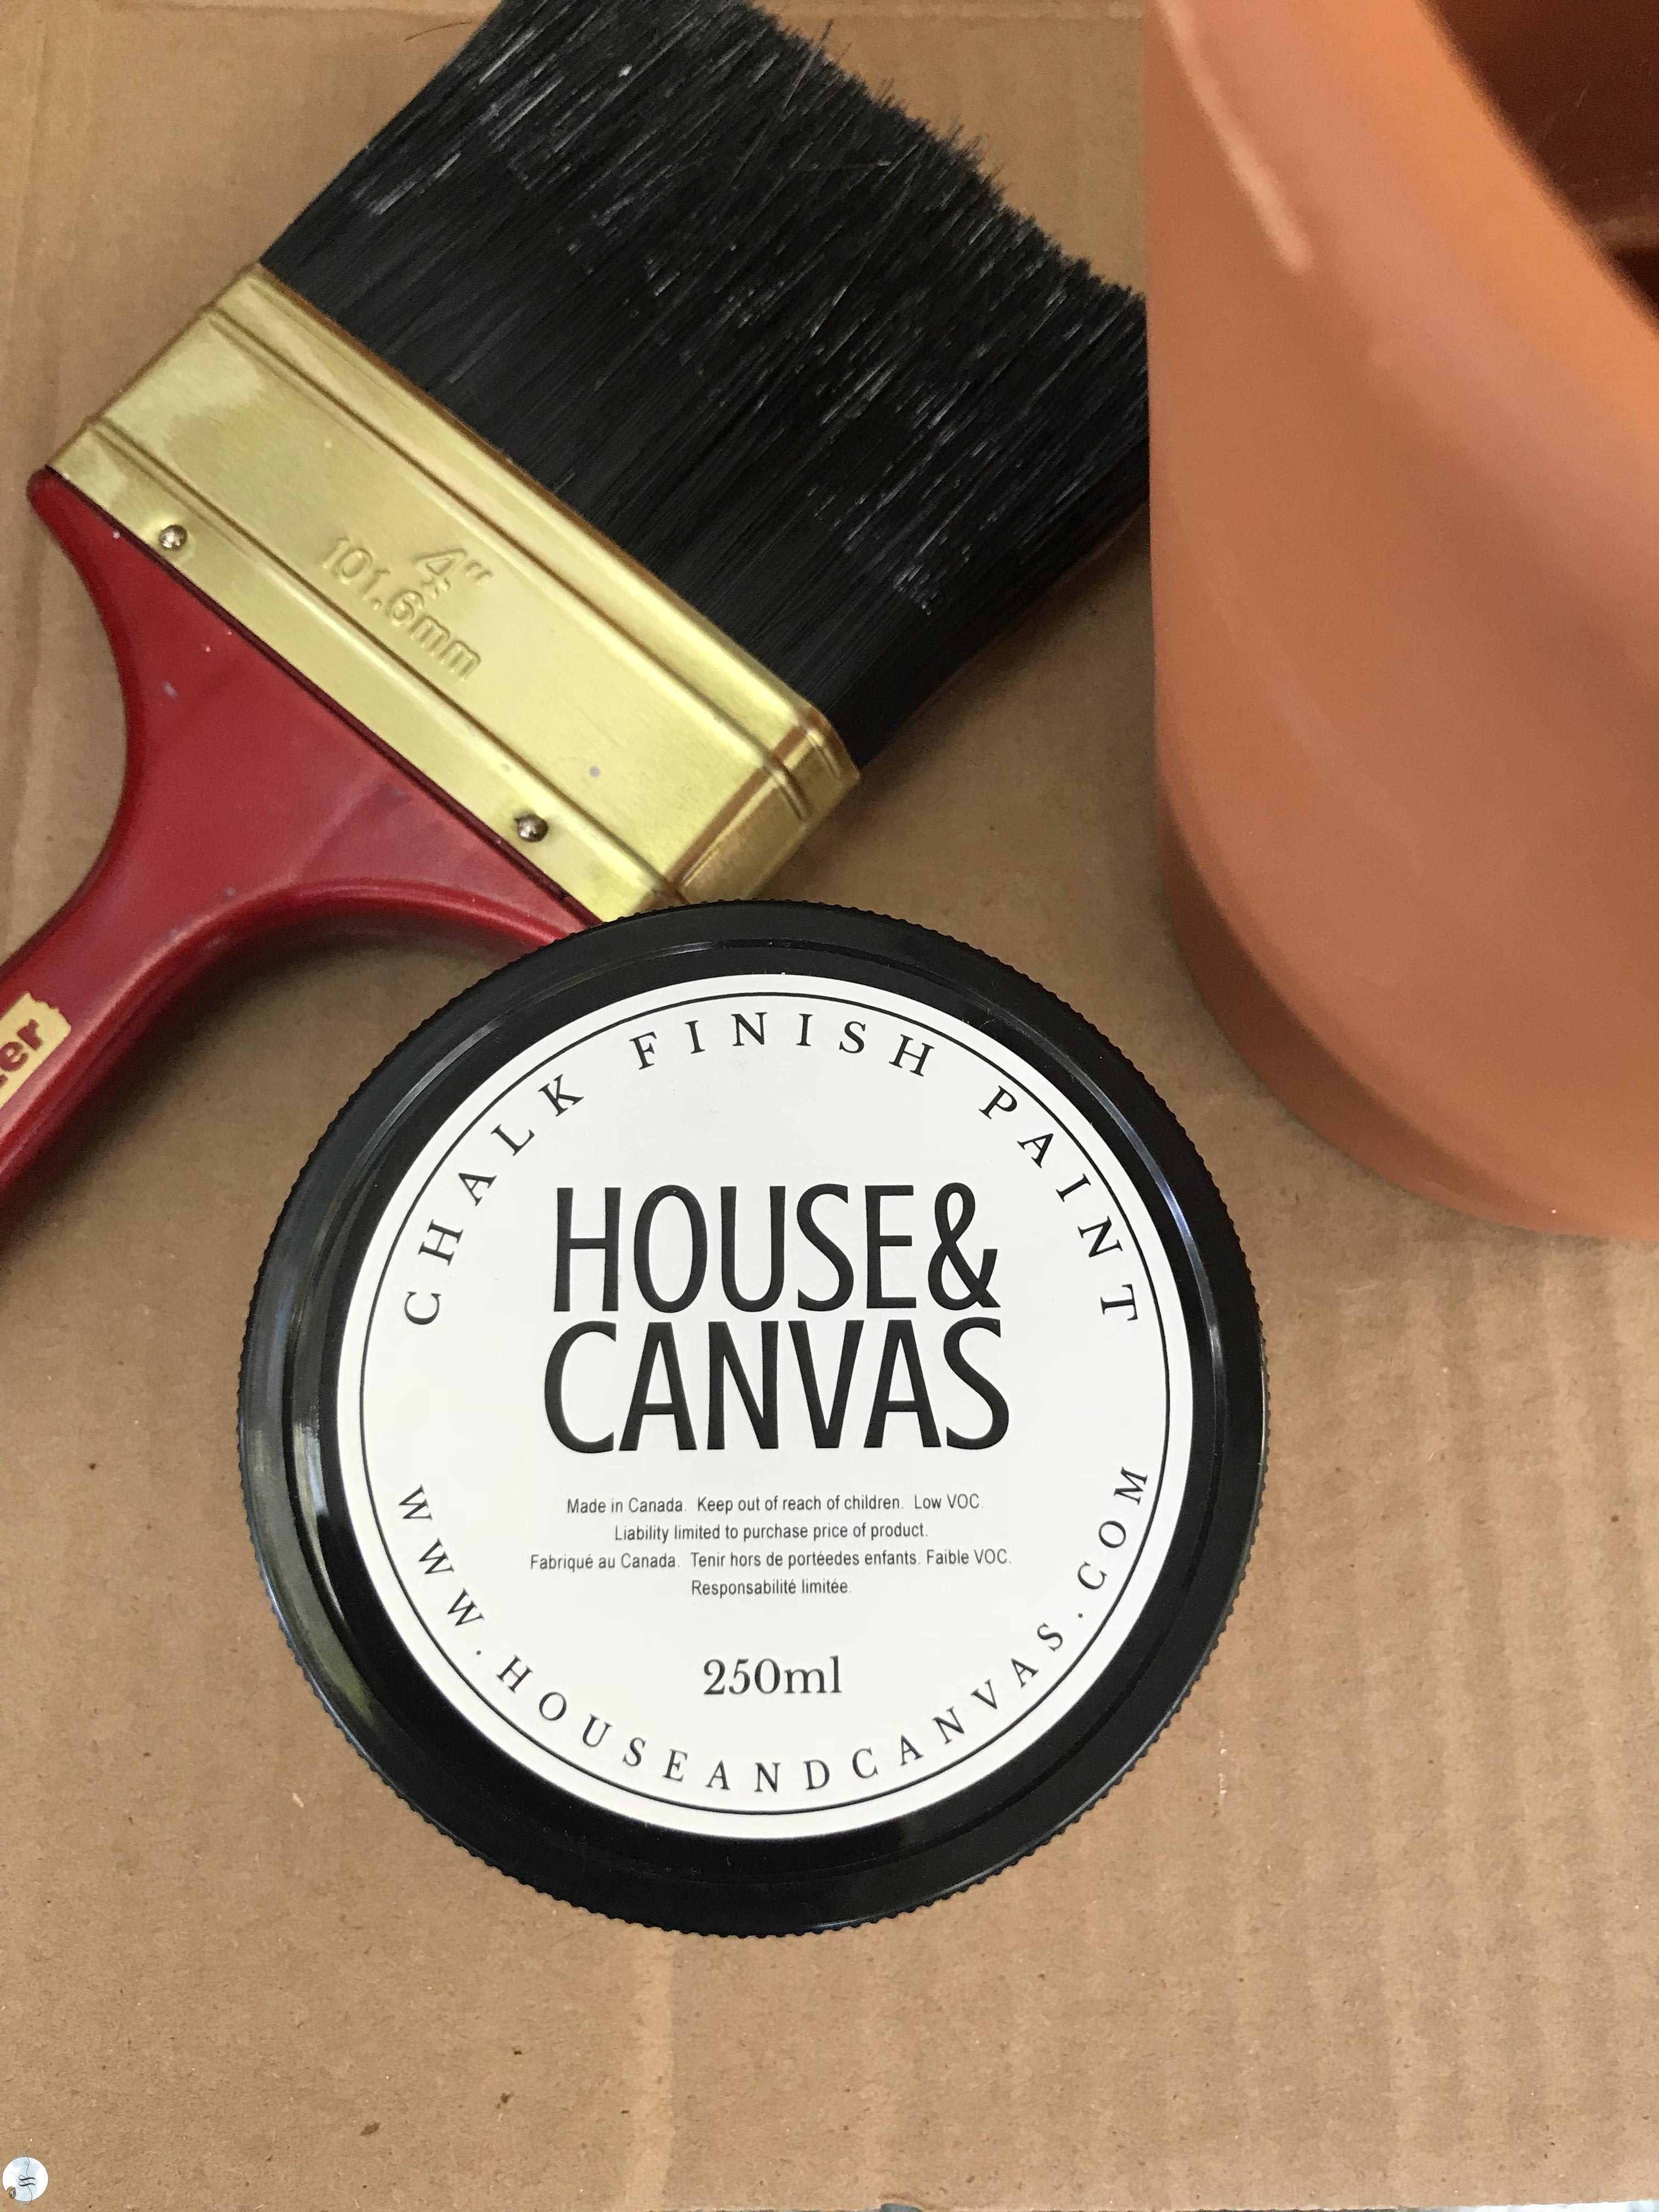
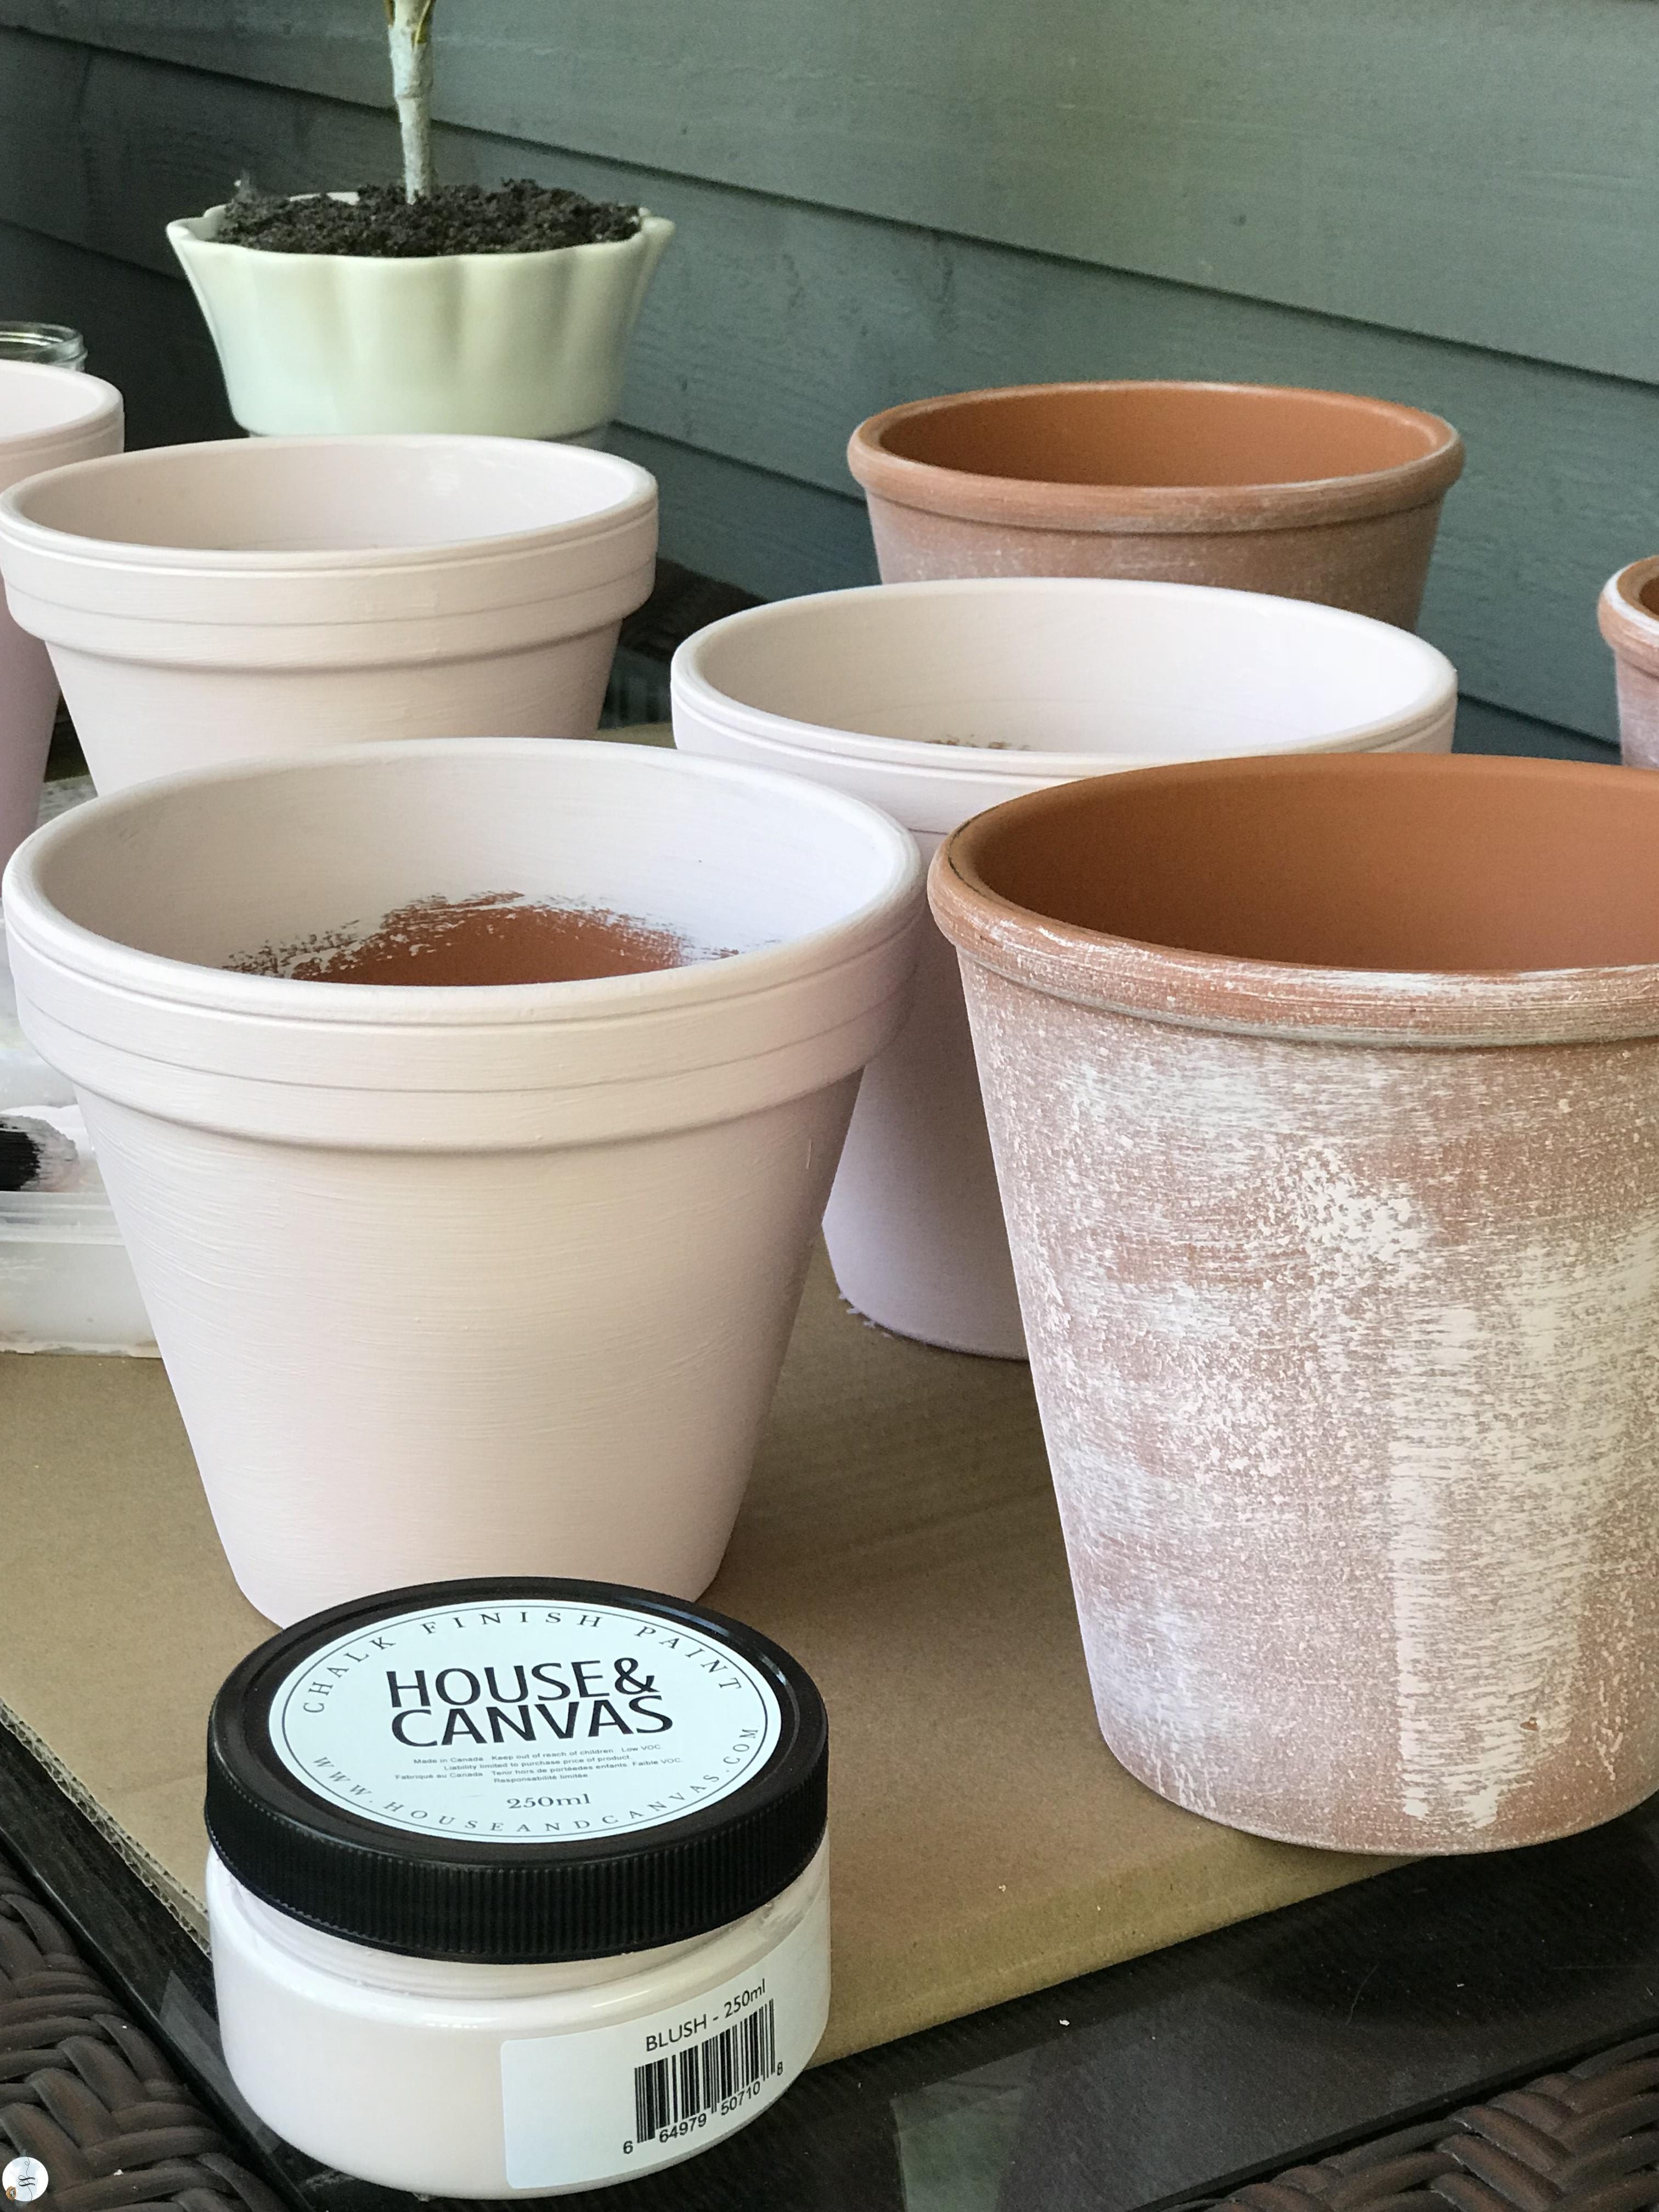
This is the paint I used. It is from a store in Burlington called House and Canvas. Really cute store with painted antiques and some catchy little things. This is her very own line of paint and she has some really lovely colours. Her website is right there on the label.
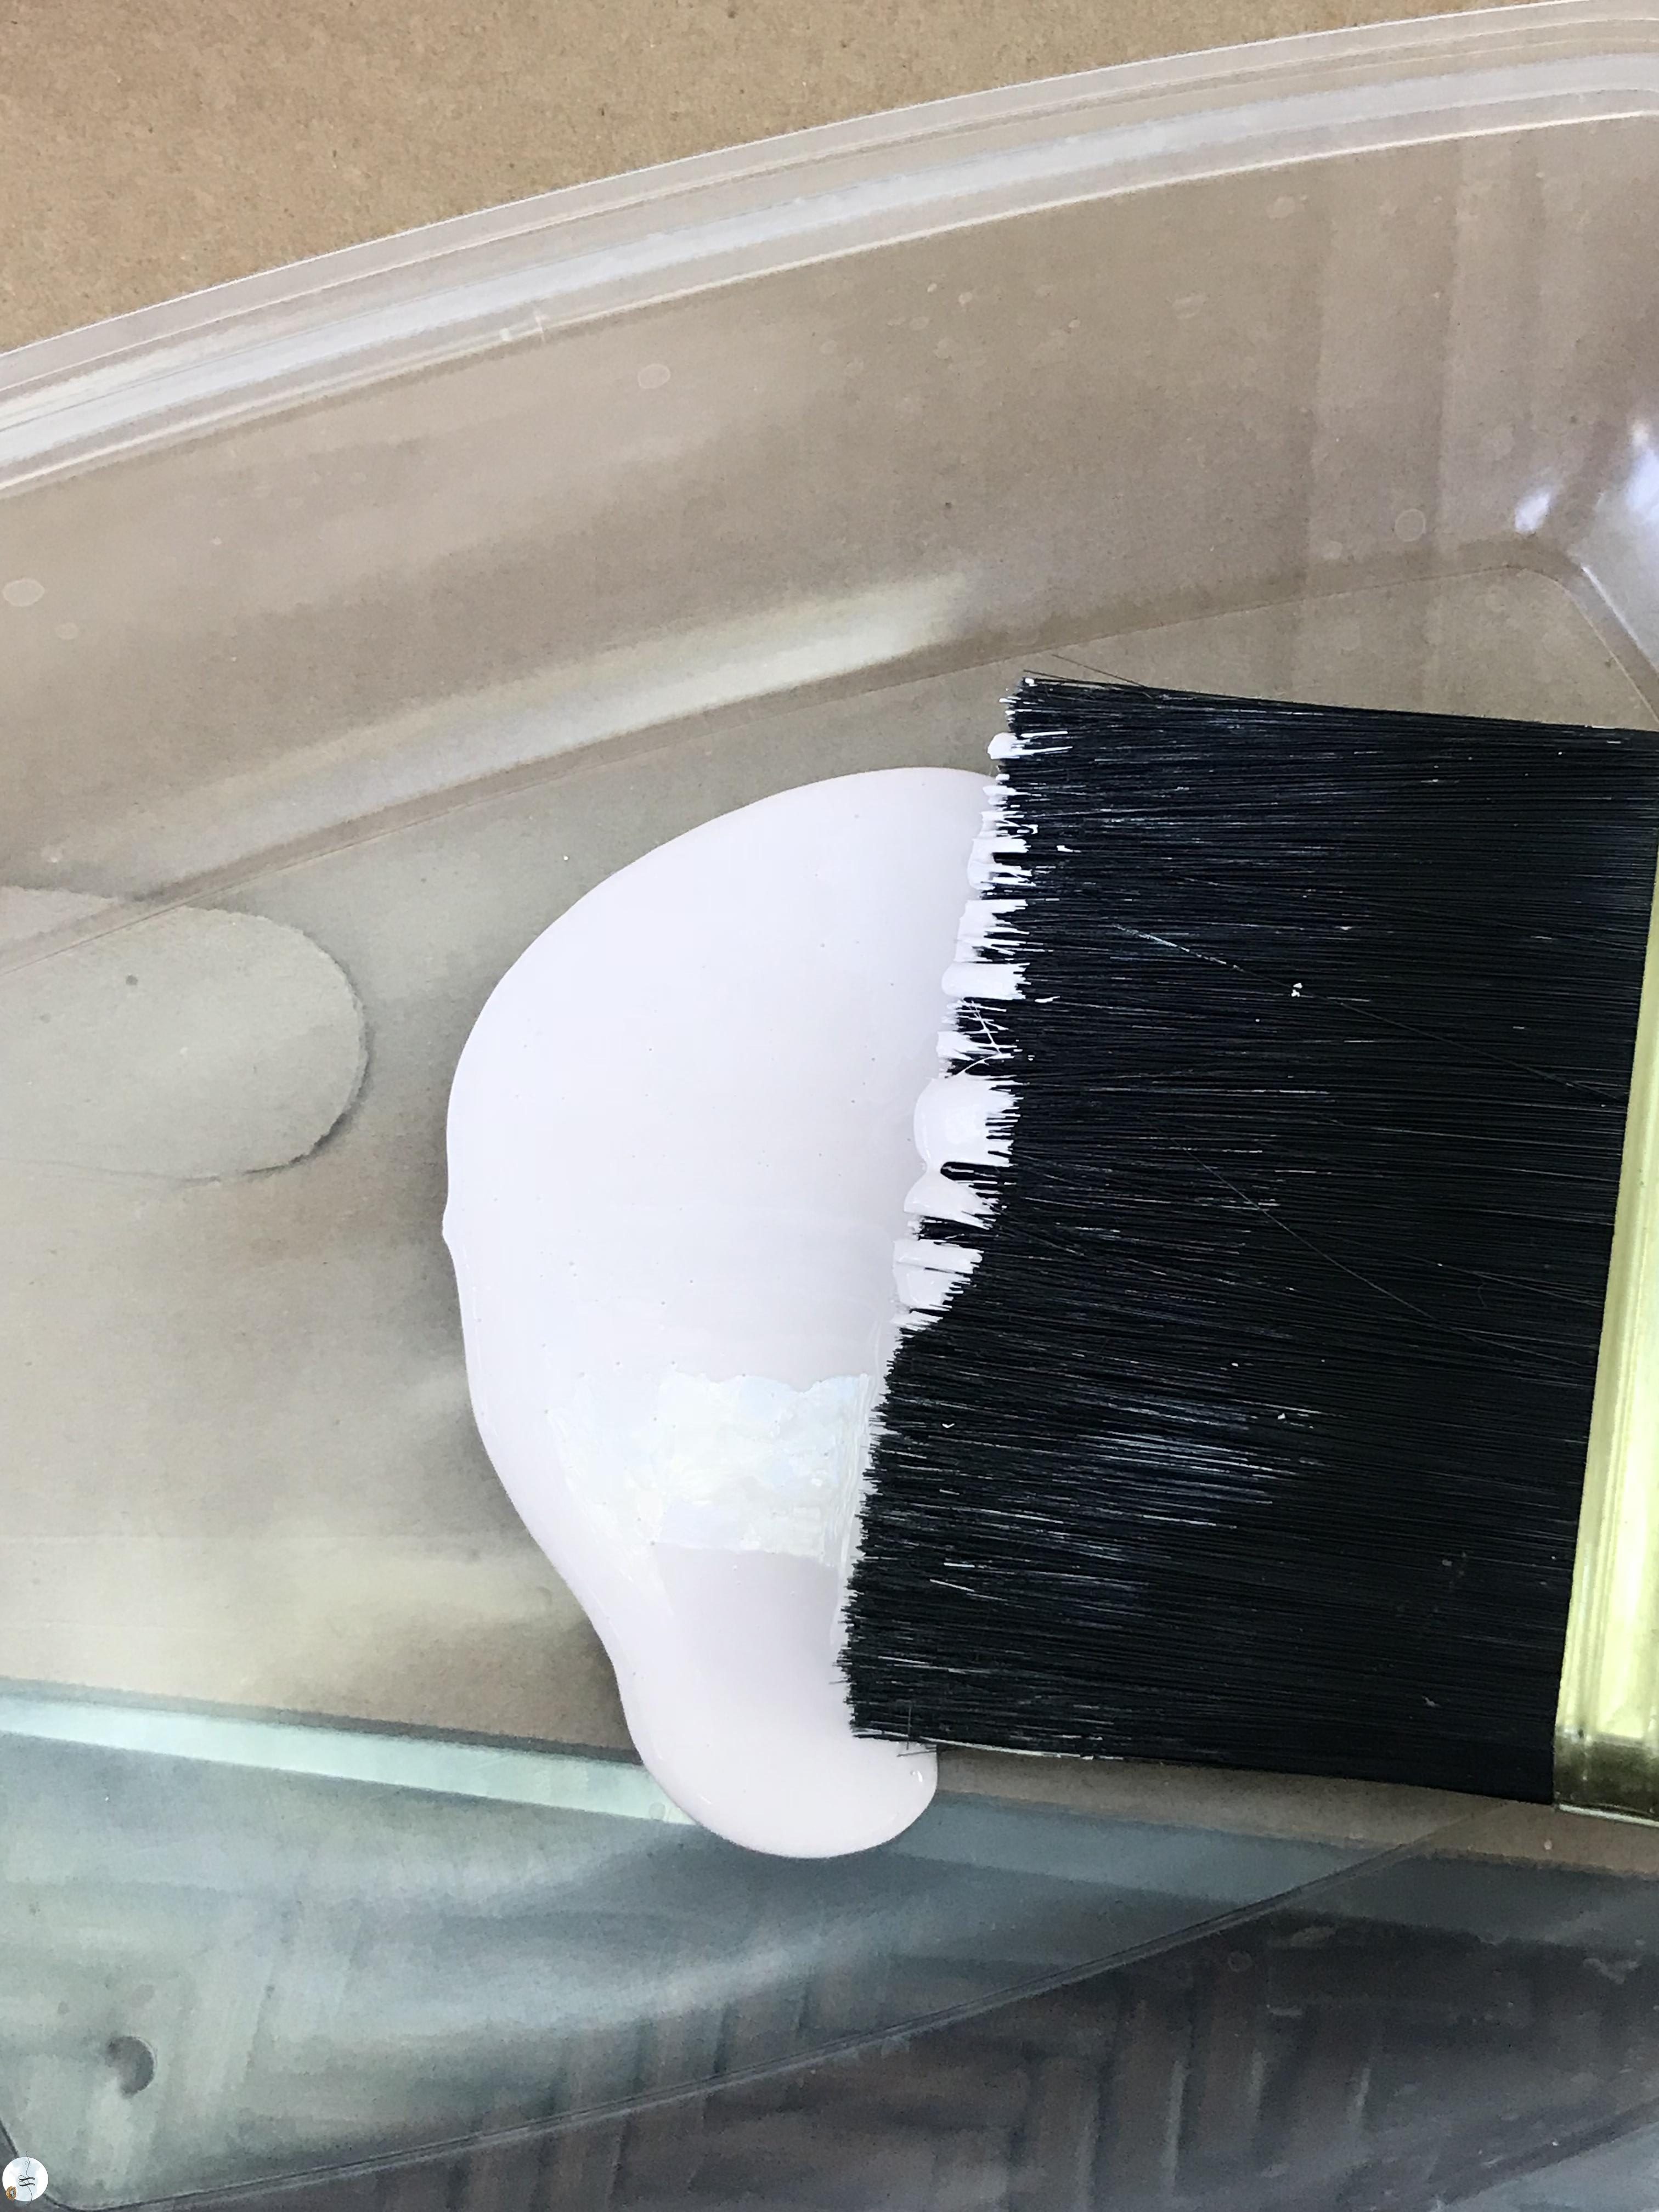
I poured some paint into a plastic container and dipped my brush in. DON’T put too much on your brush.
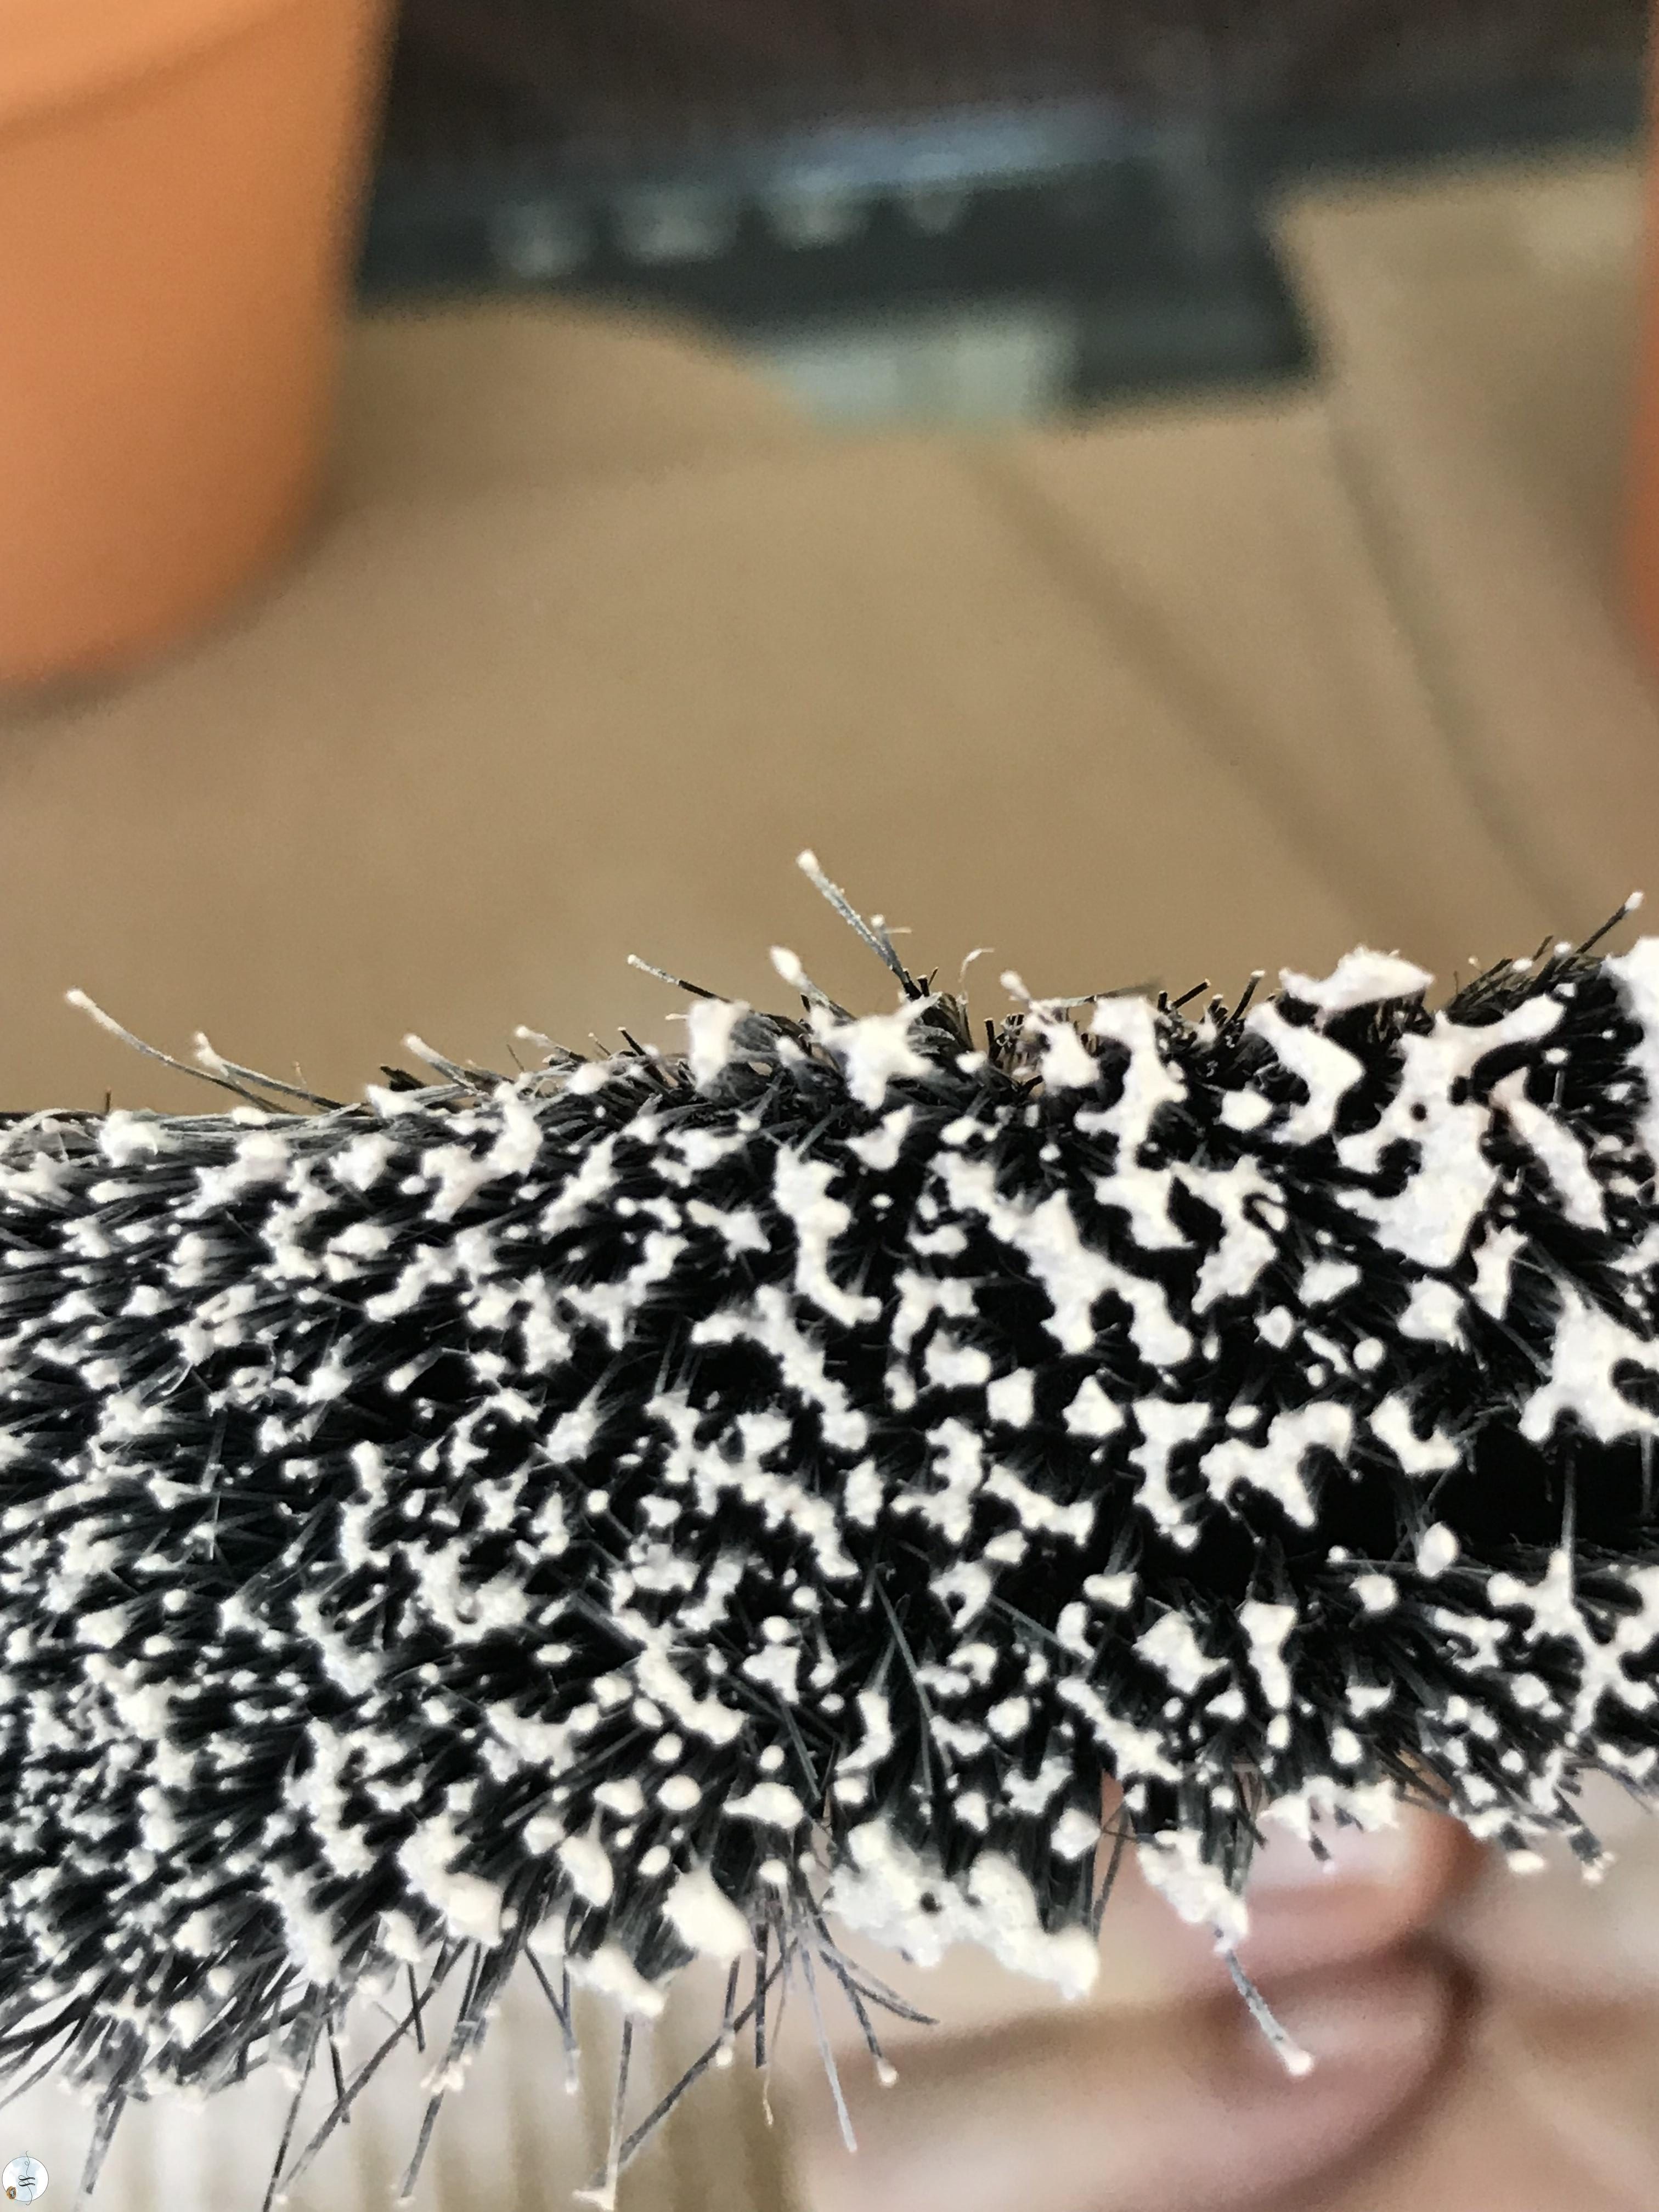
You can see that I hardly touched the paint and I still had too much on.
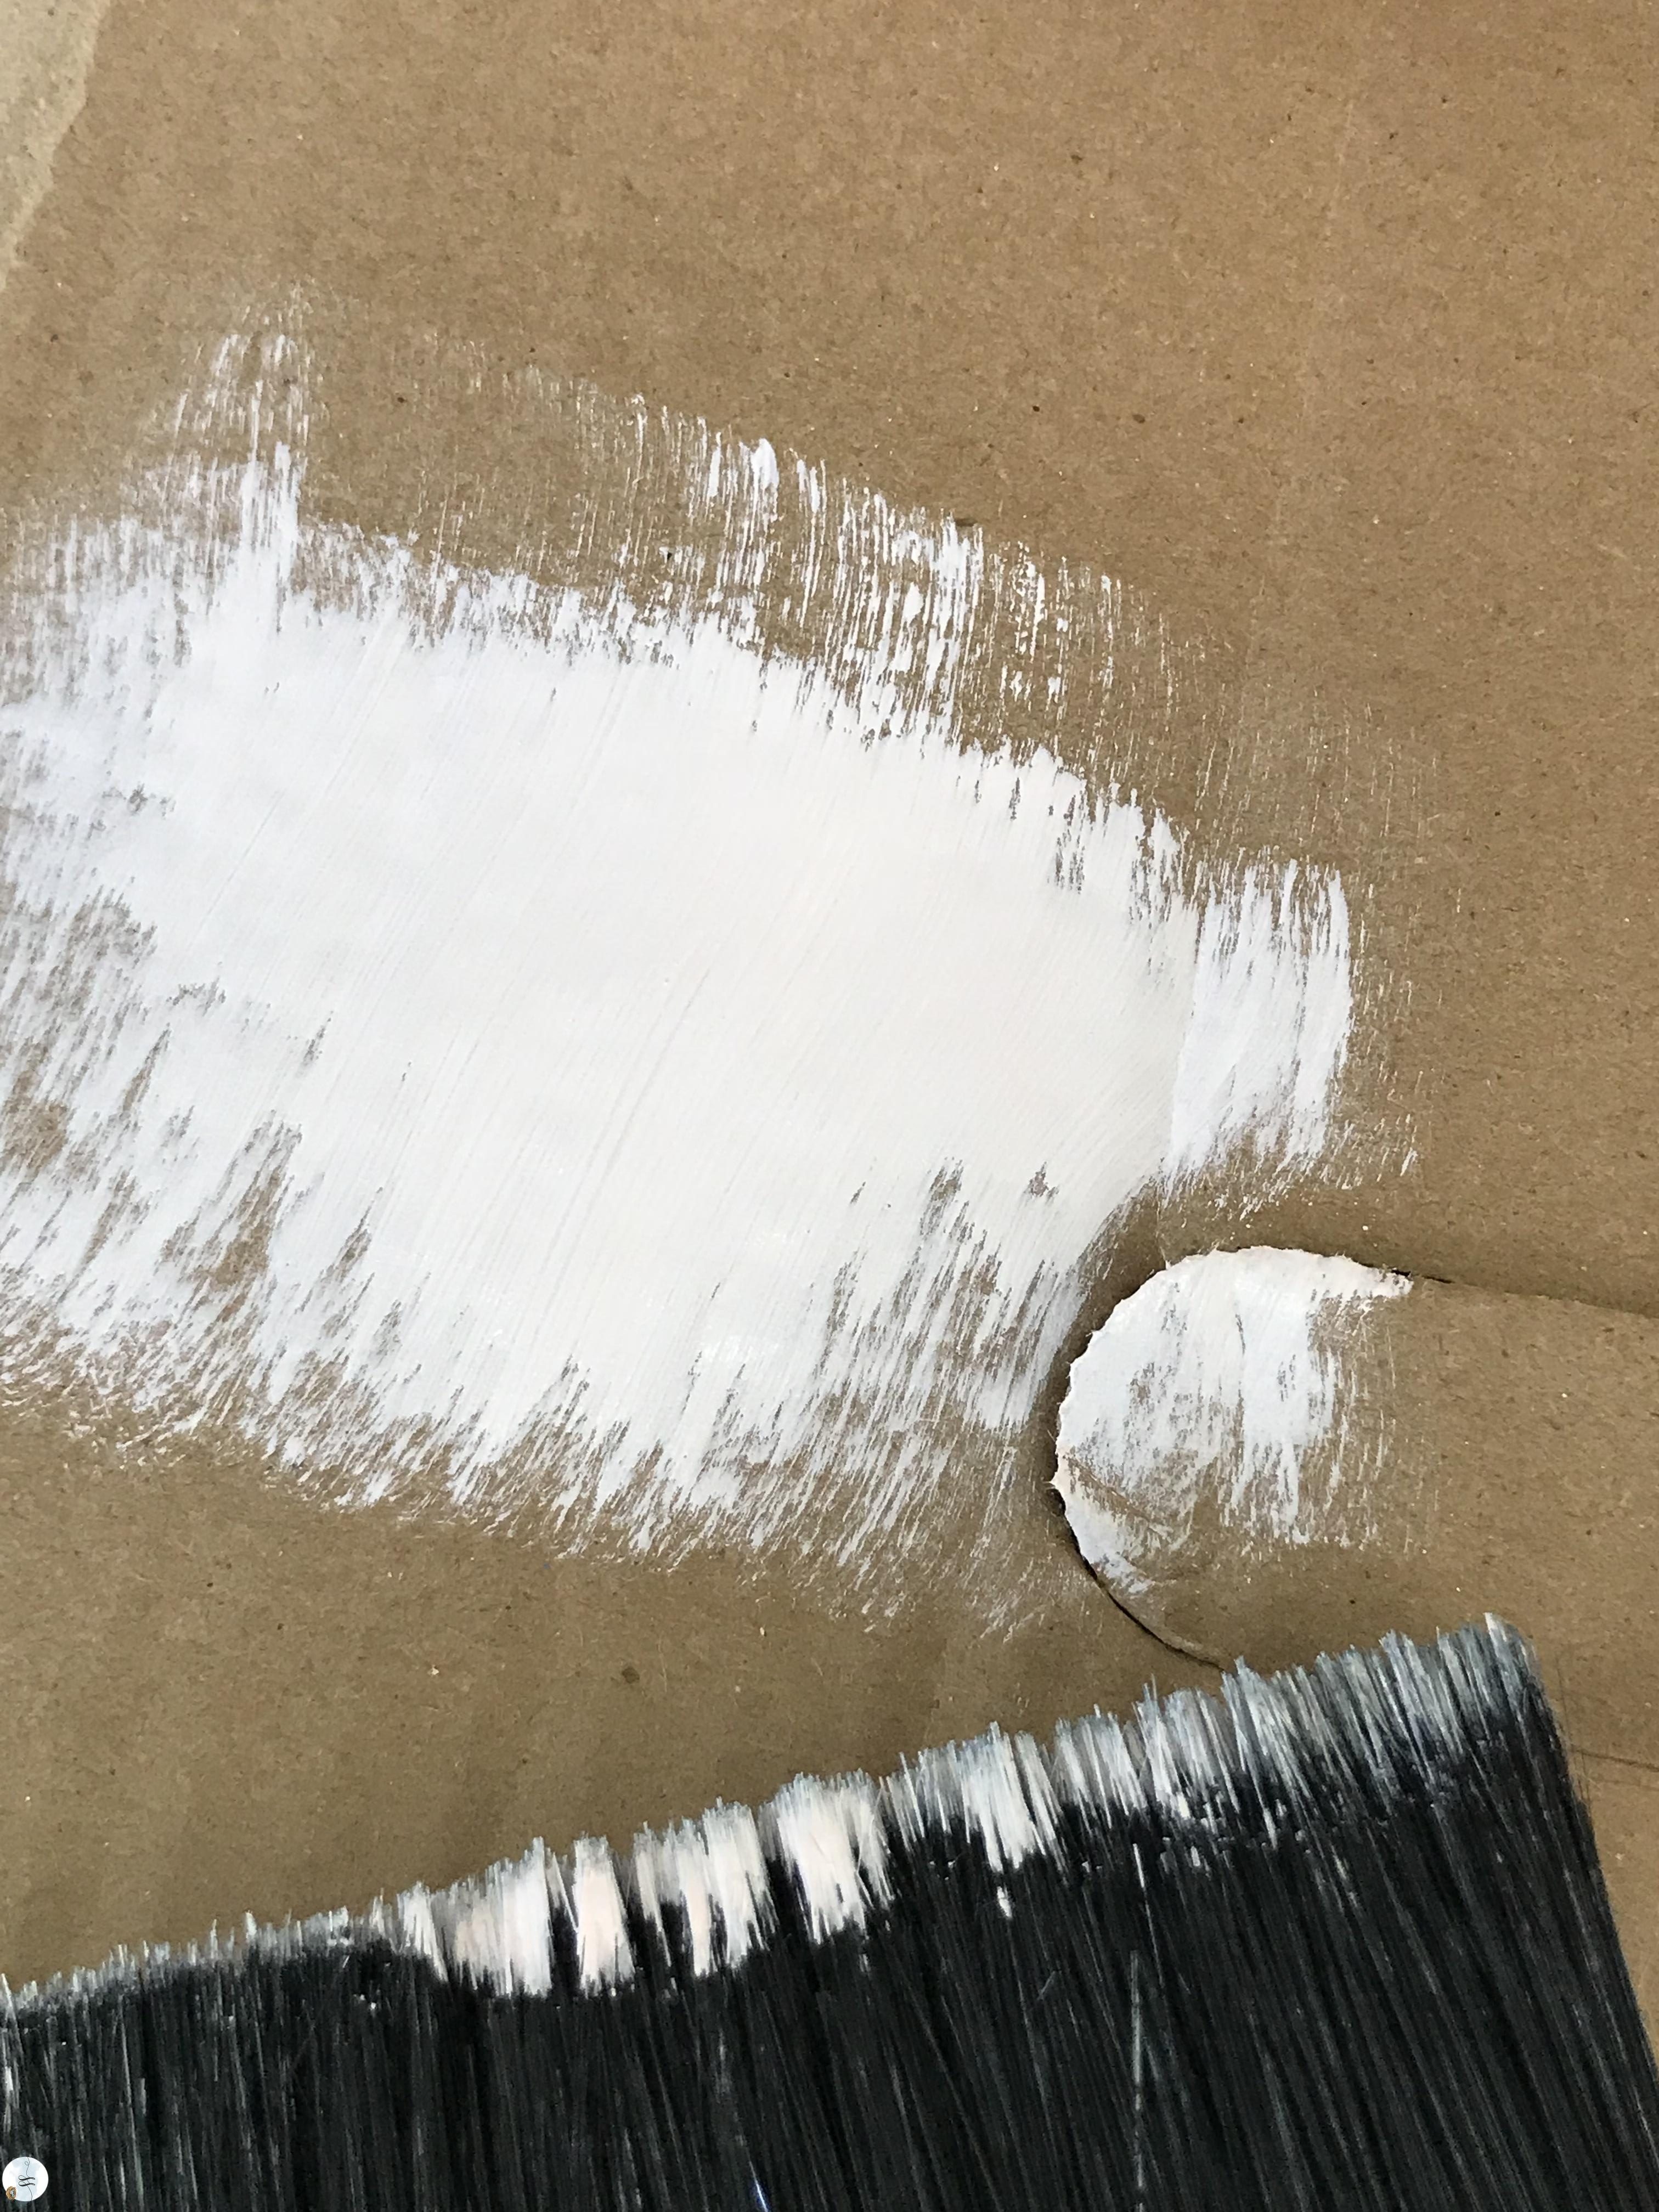
I brushed a lot of it off before I went near the flowerpots….you can see in this photo that the pots would have come out a solid colour as opposed to the ageing process I was after.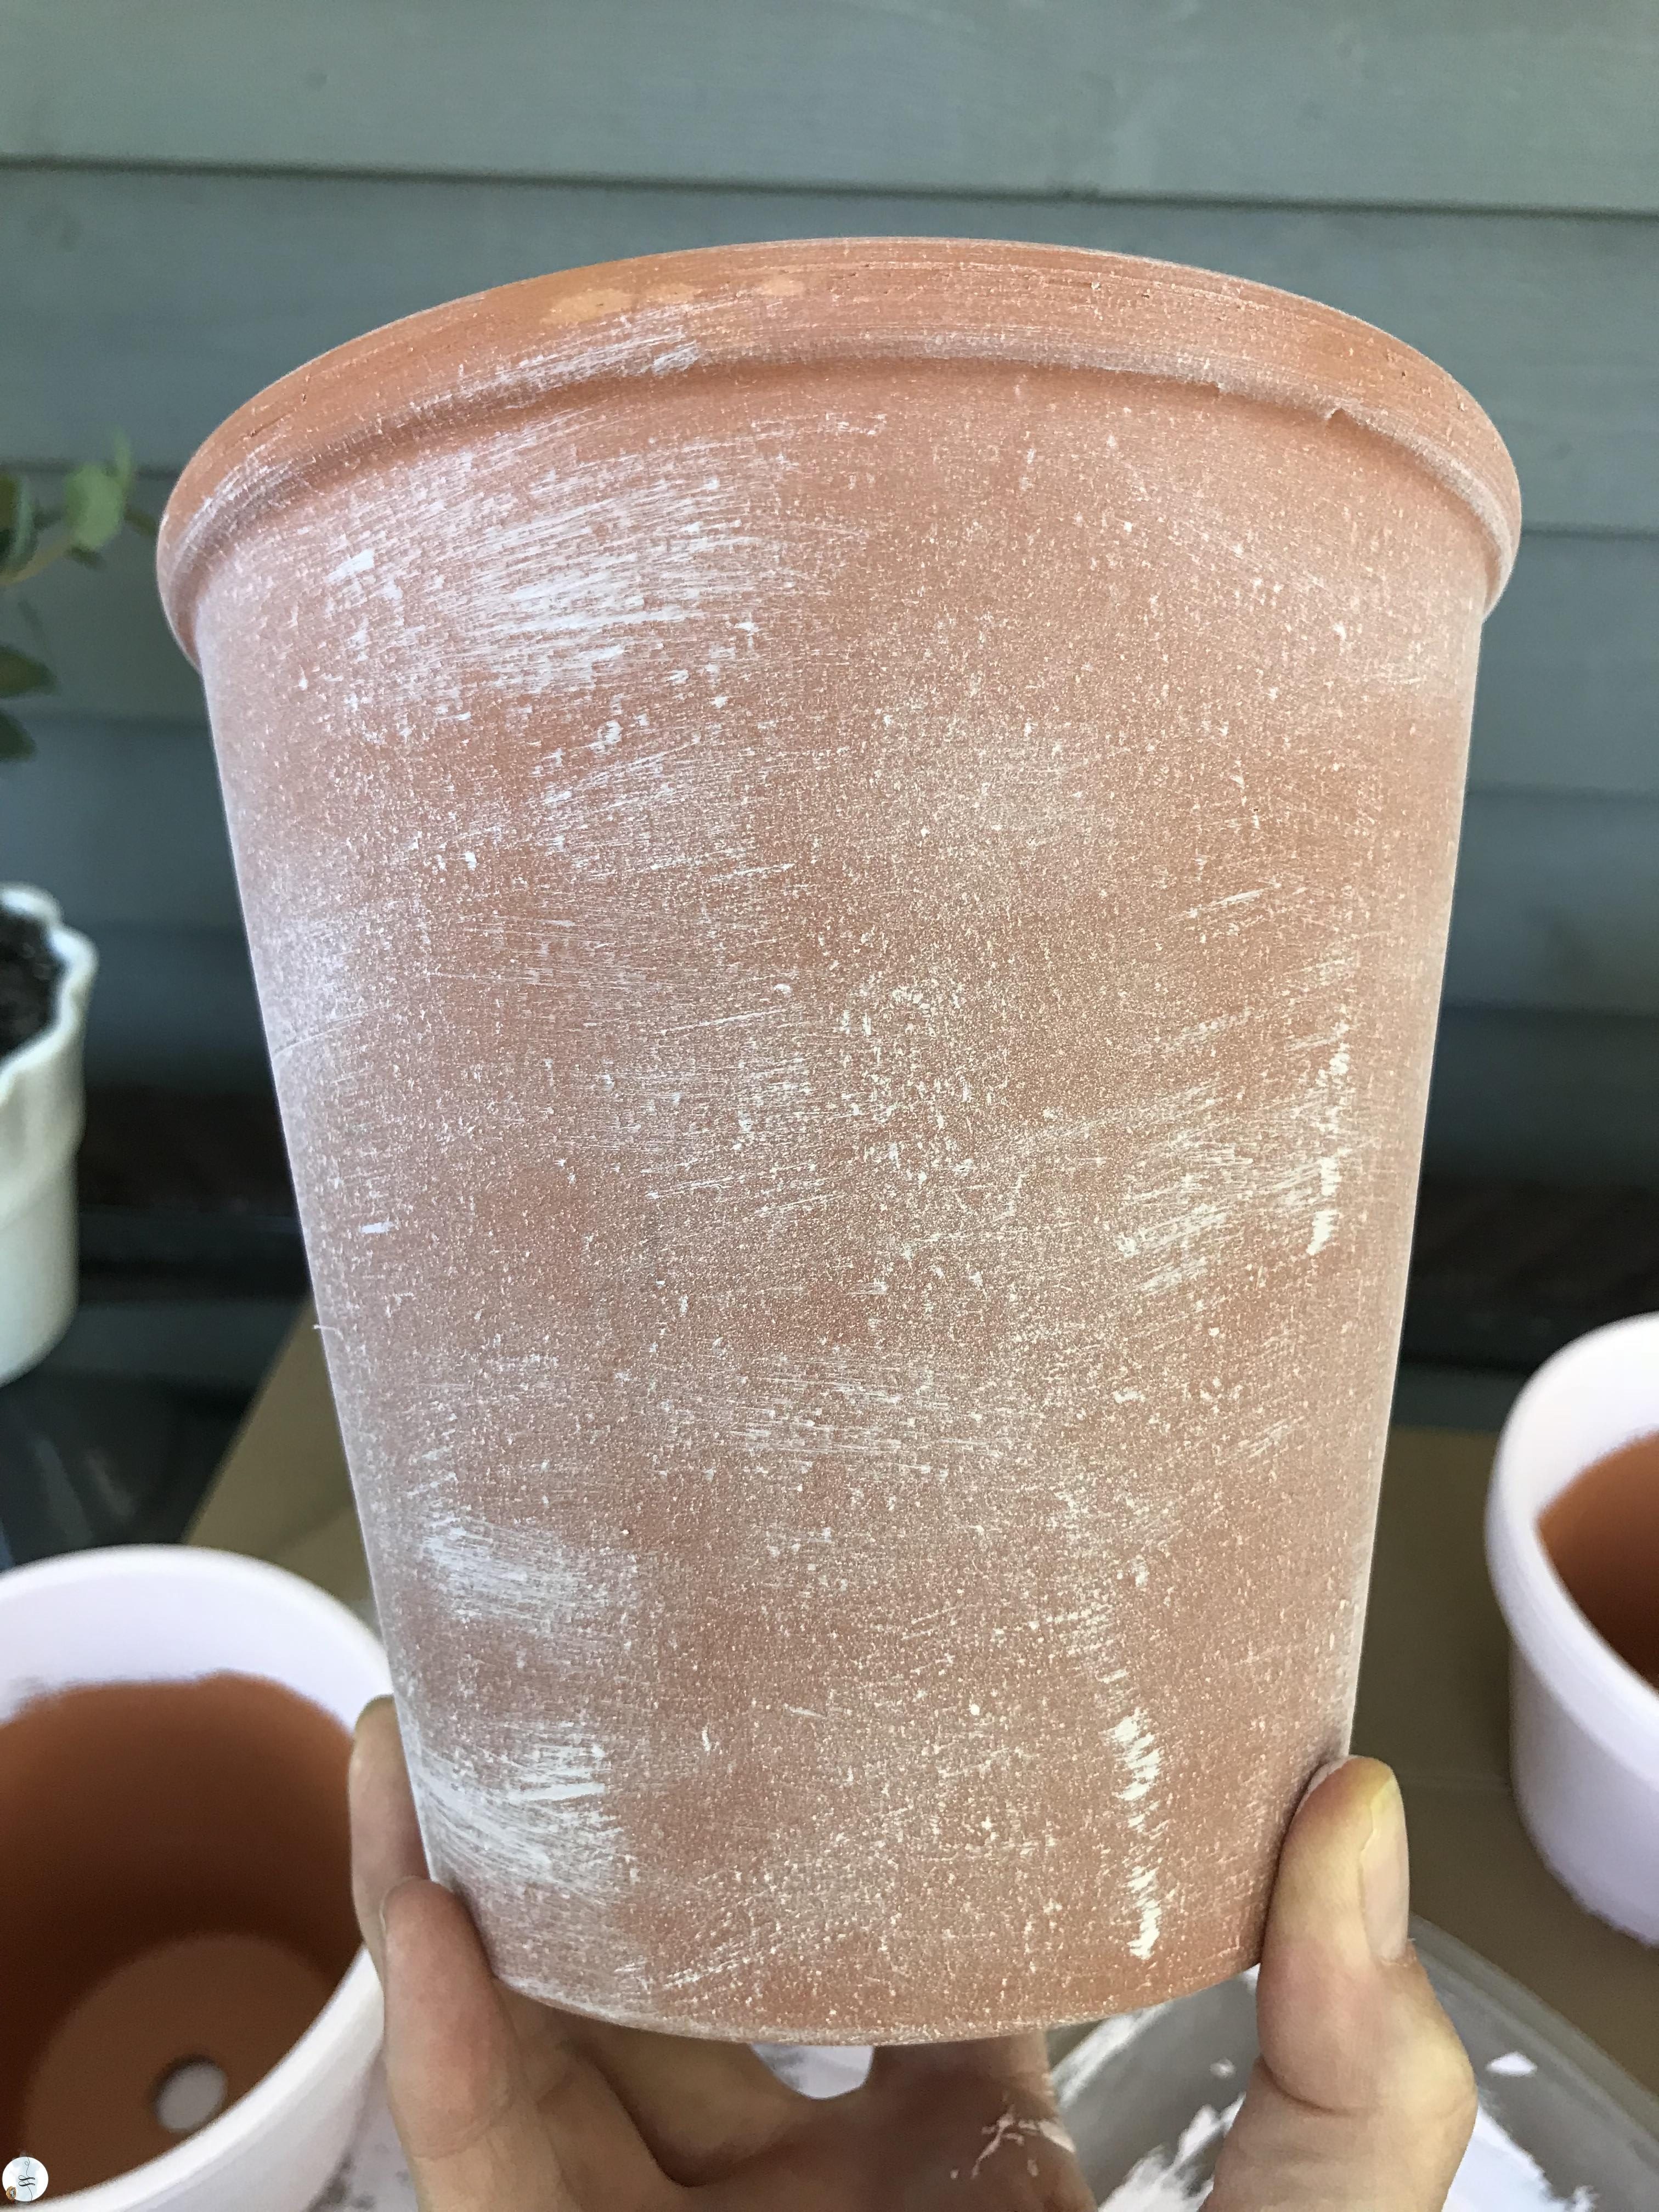 It took minutes to do a pot. You can see some of the brush strokes but nothing to worry about. Once the flowers are in and the numbers are on your focus won’t be the same.
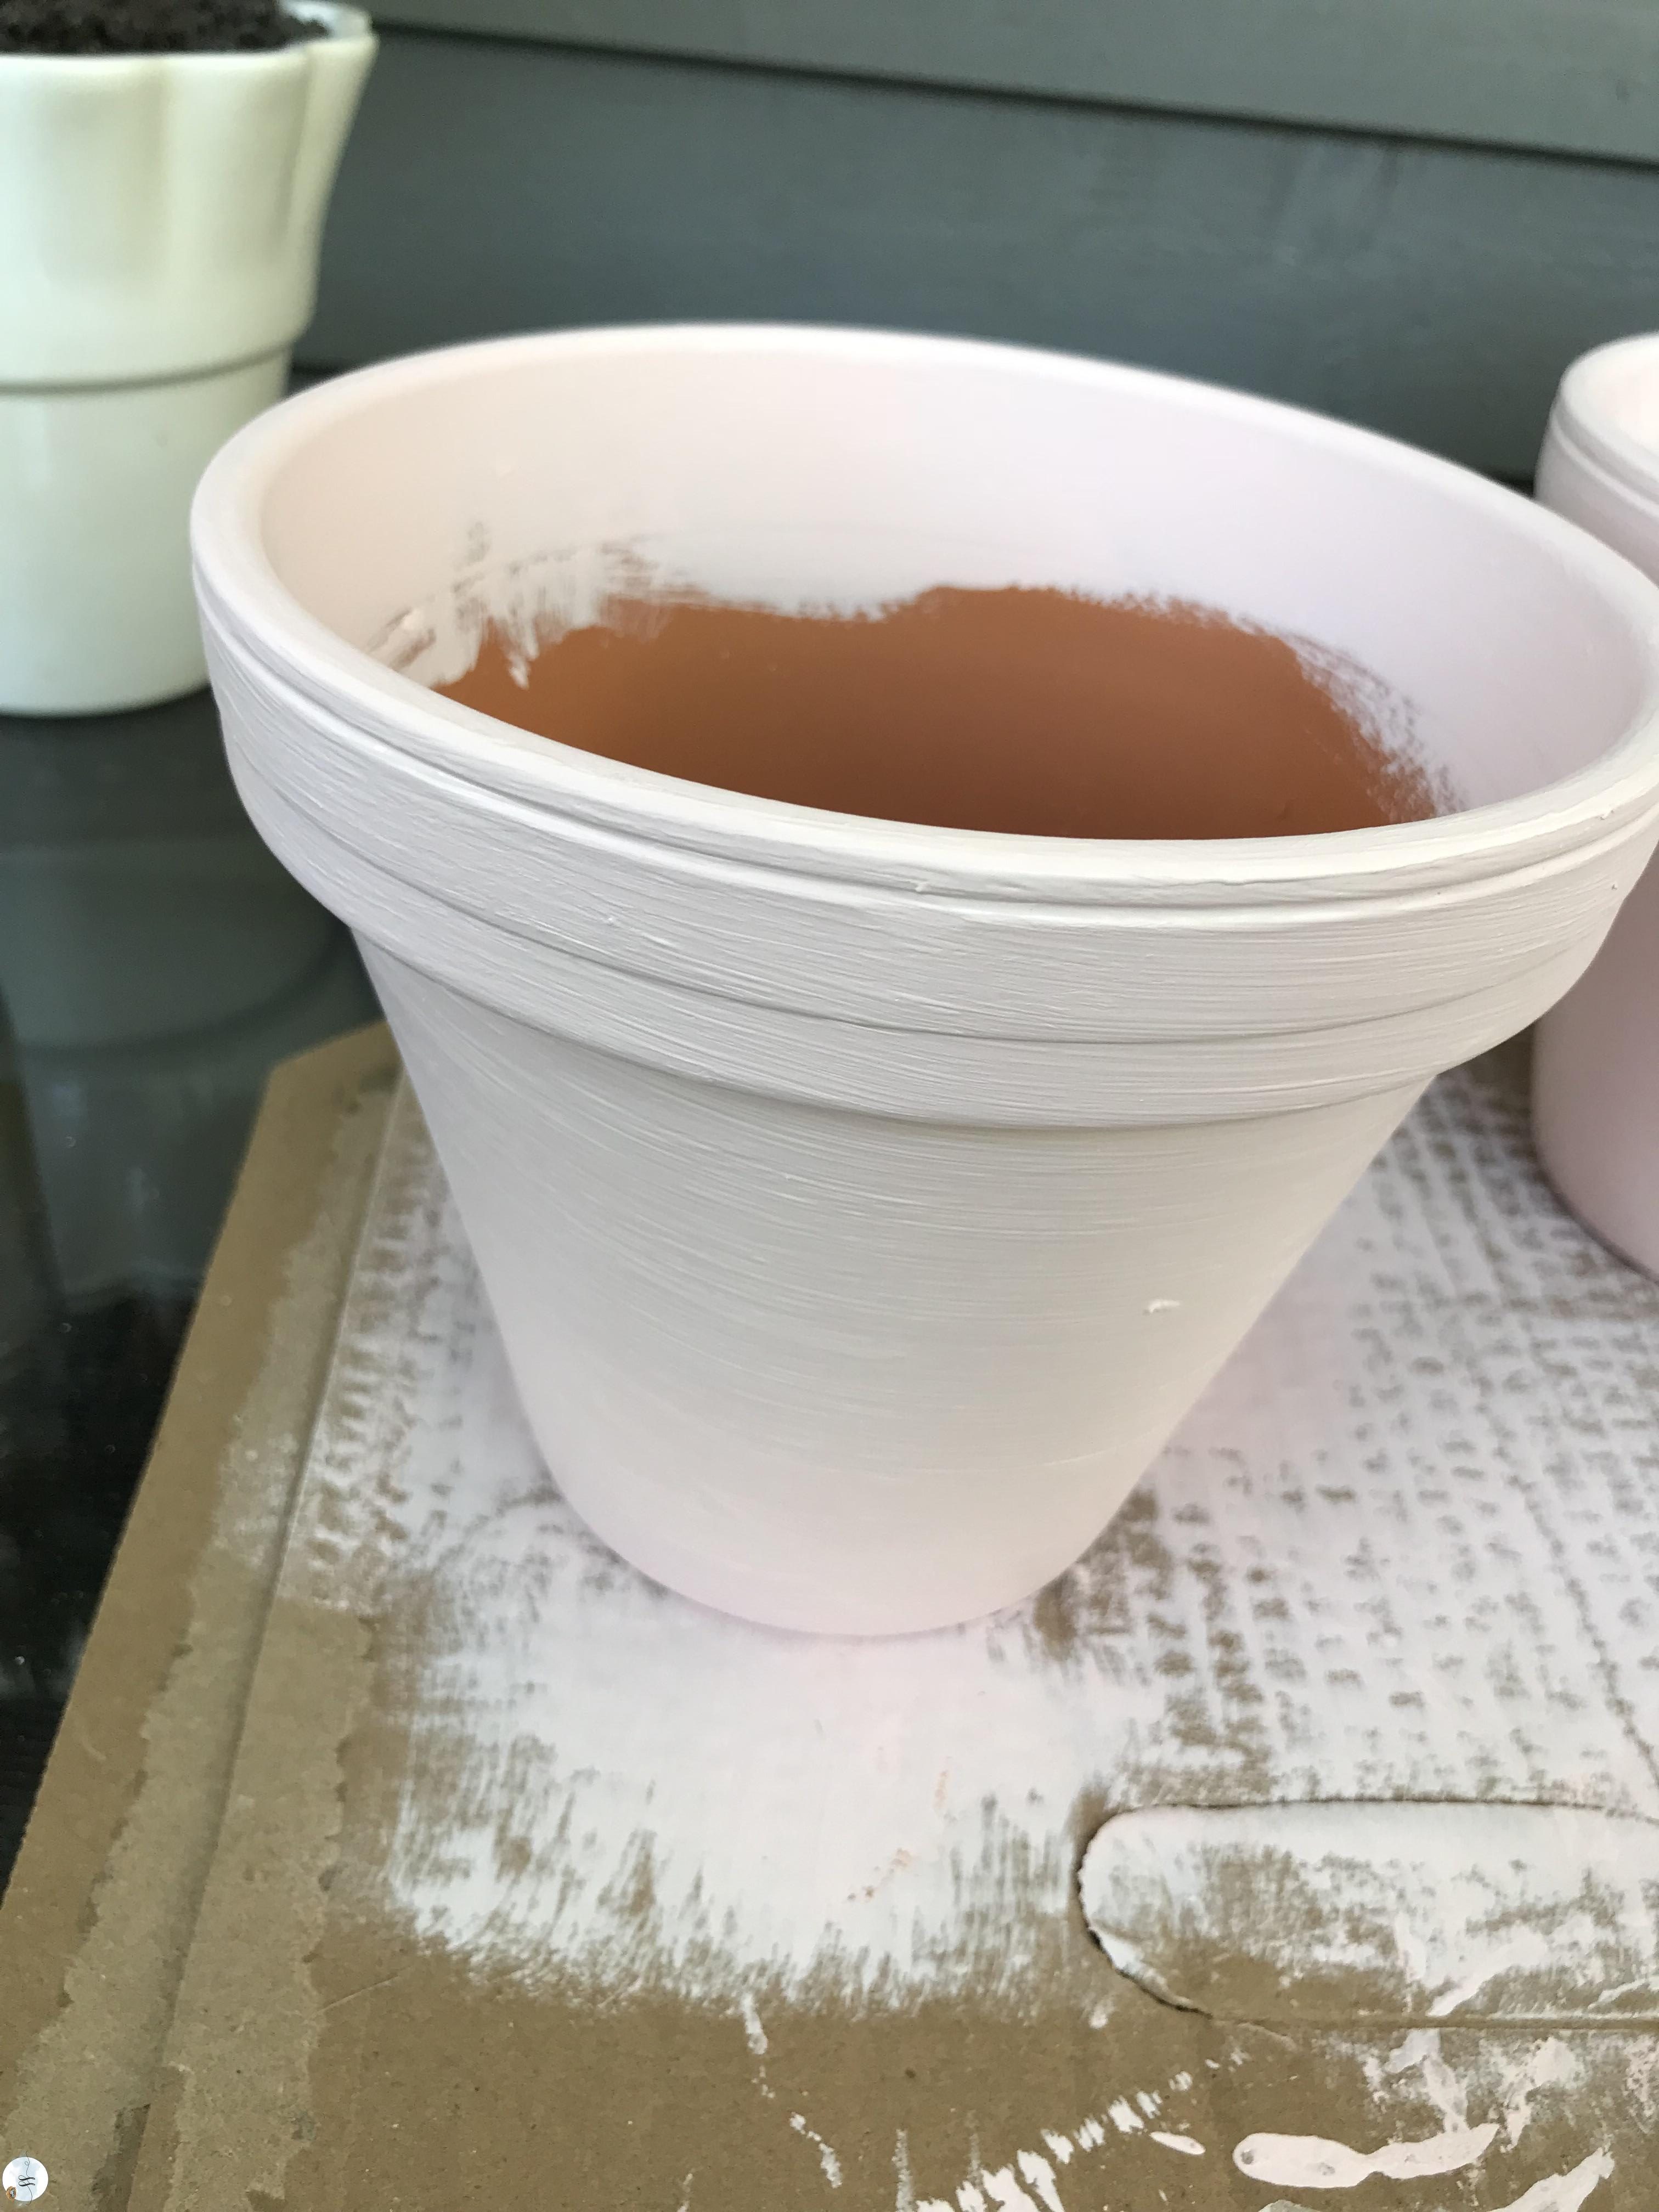
I did 4 pots solid pink as well.
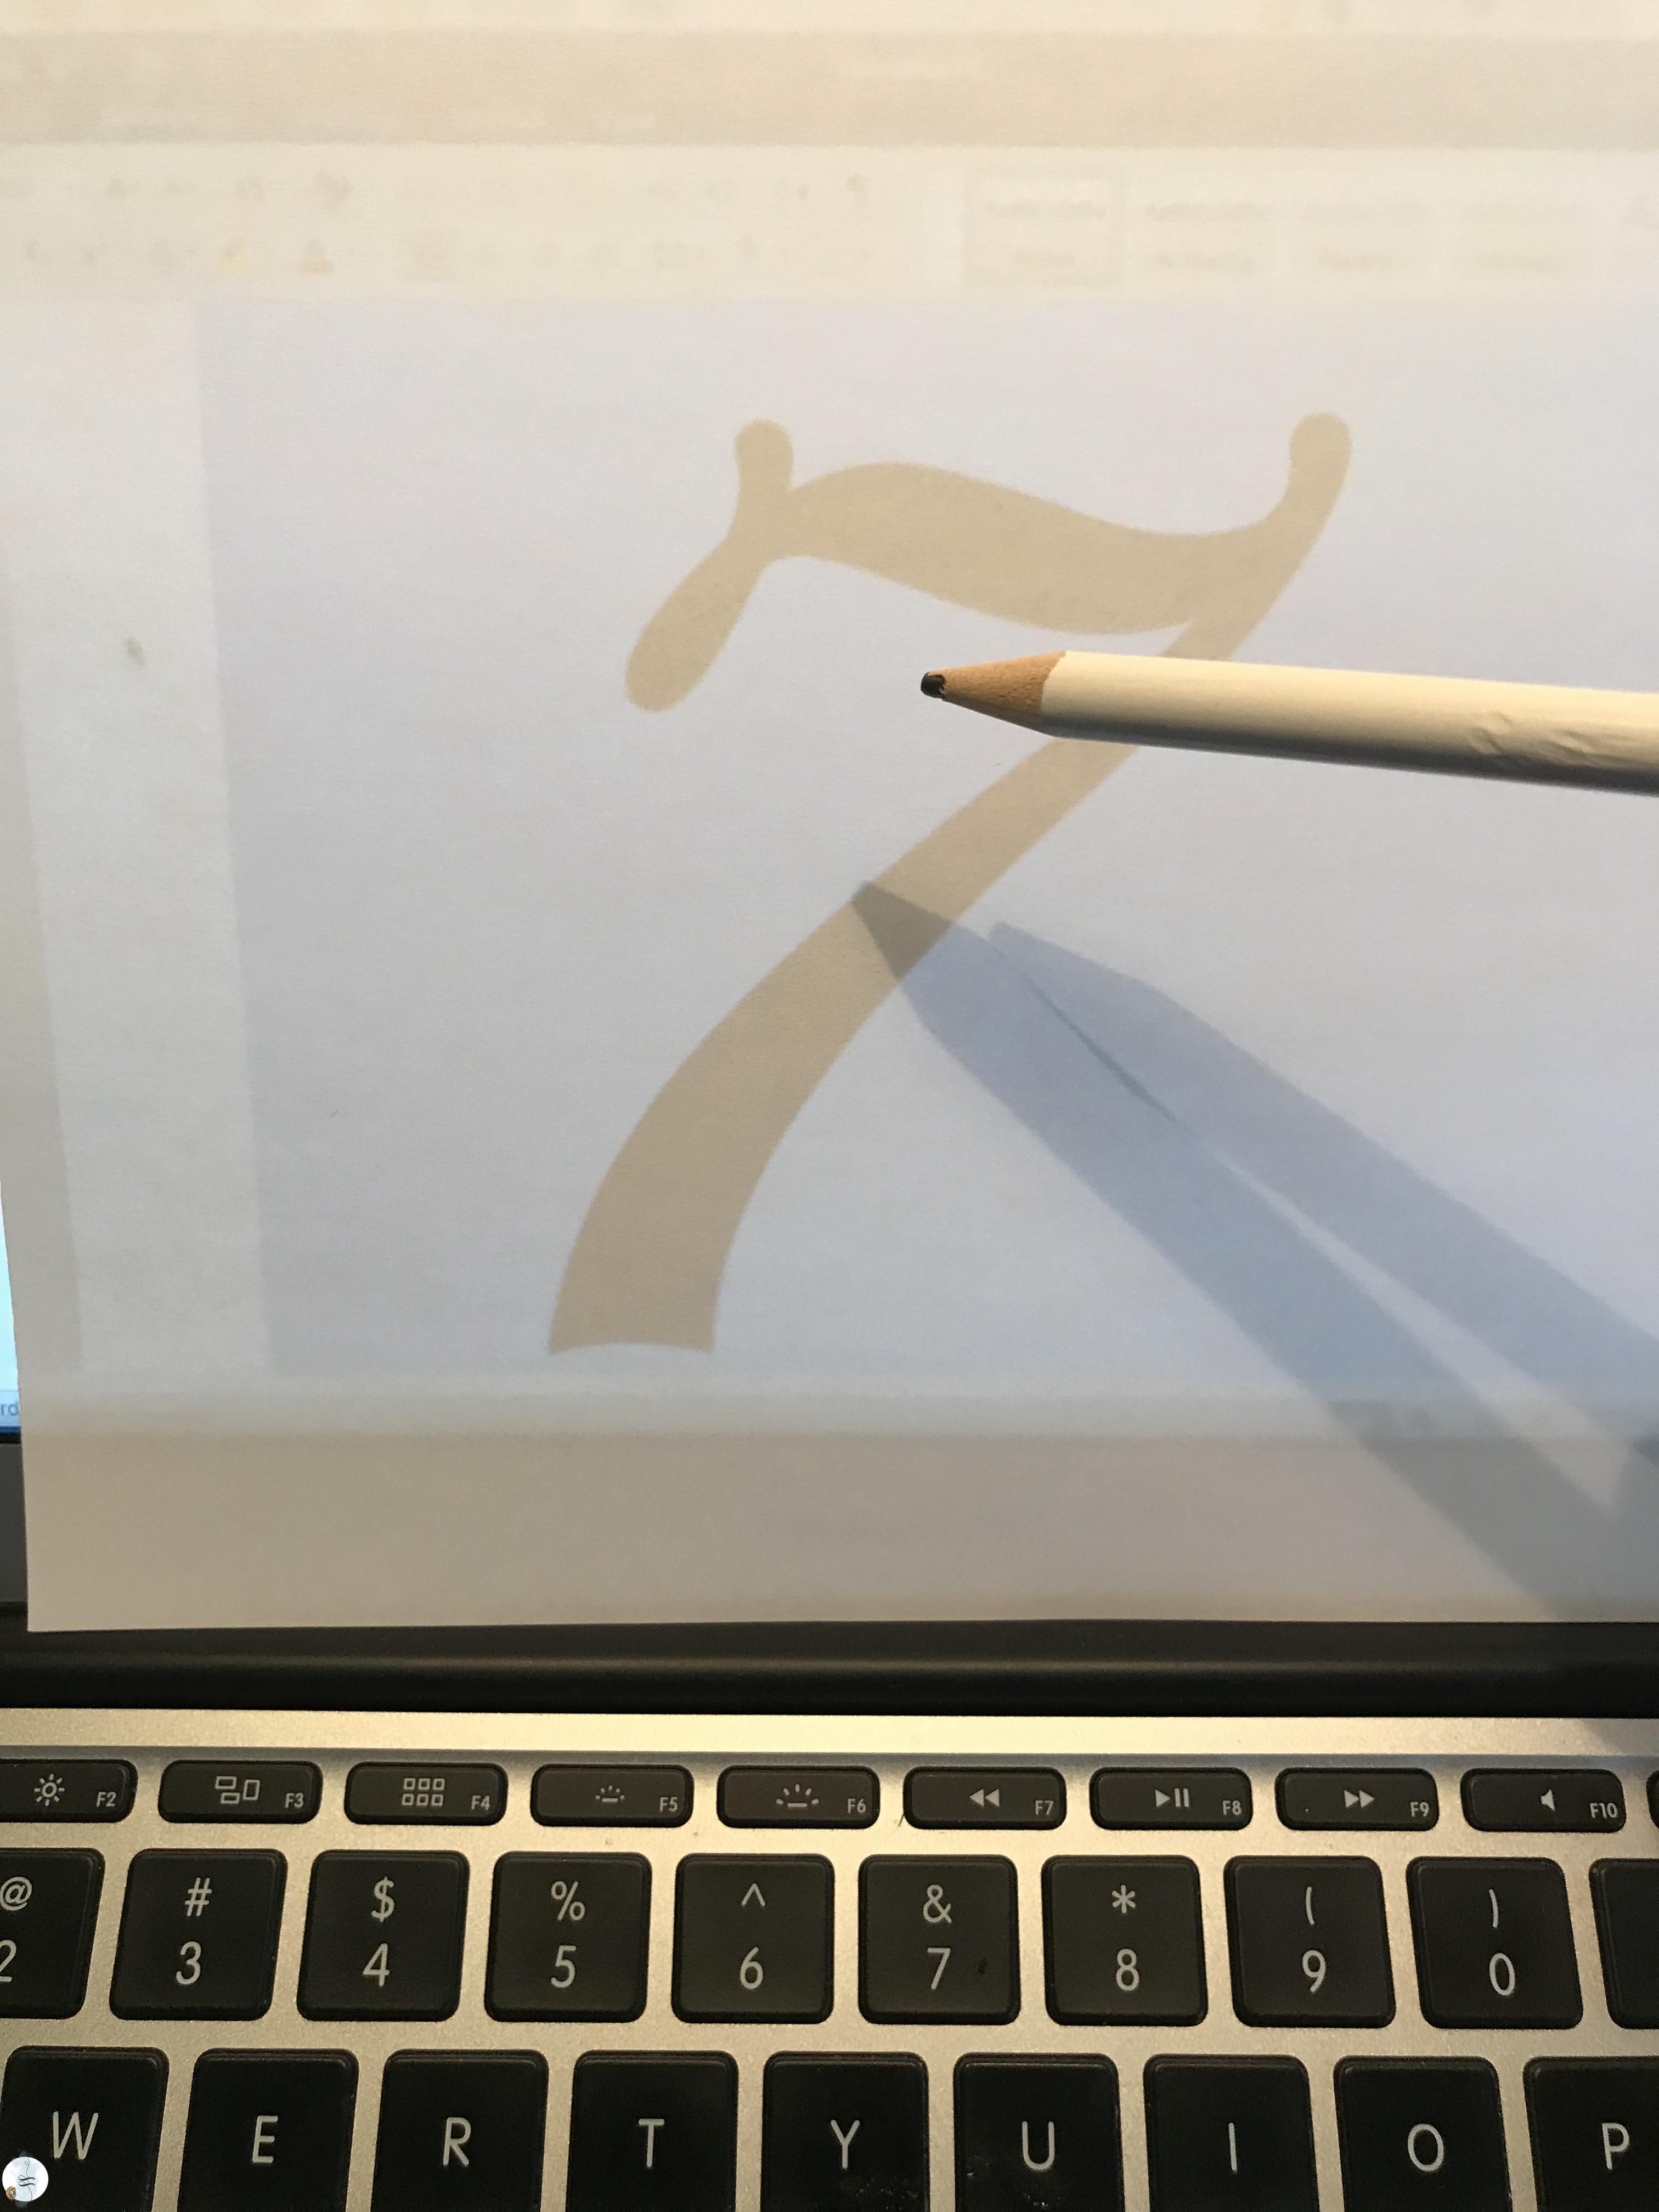
By the time I was finished the 4 solid painted pots, the others were completely dried and ready to have the numbers applied to them. Admittedly I suck at caligraphy on every level. I recently purchased a book to learn…but I think it will take a while to get the hang of it. I cheated….I opened a Word document on the computer and found a font that I like. I sized it to what I wanted and then simply put a piece of paper on my screen and traced the numbers.
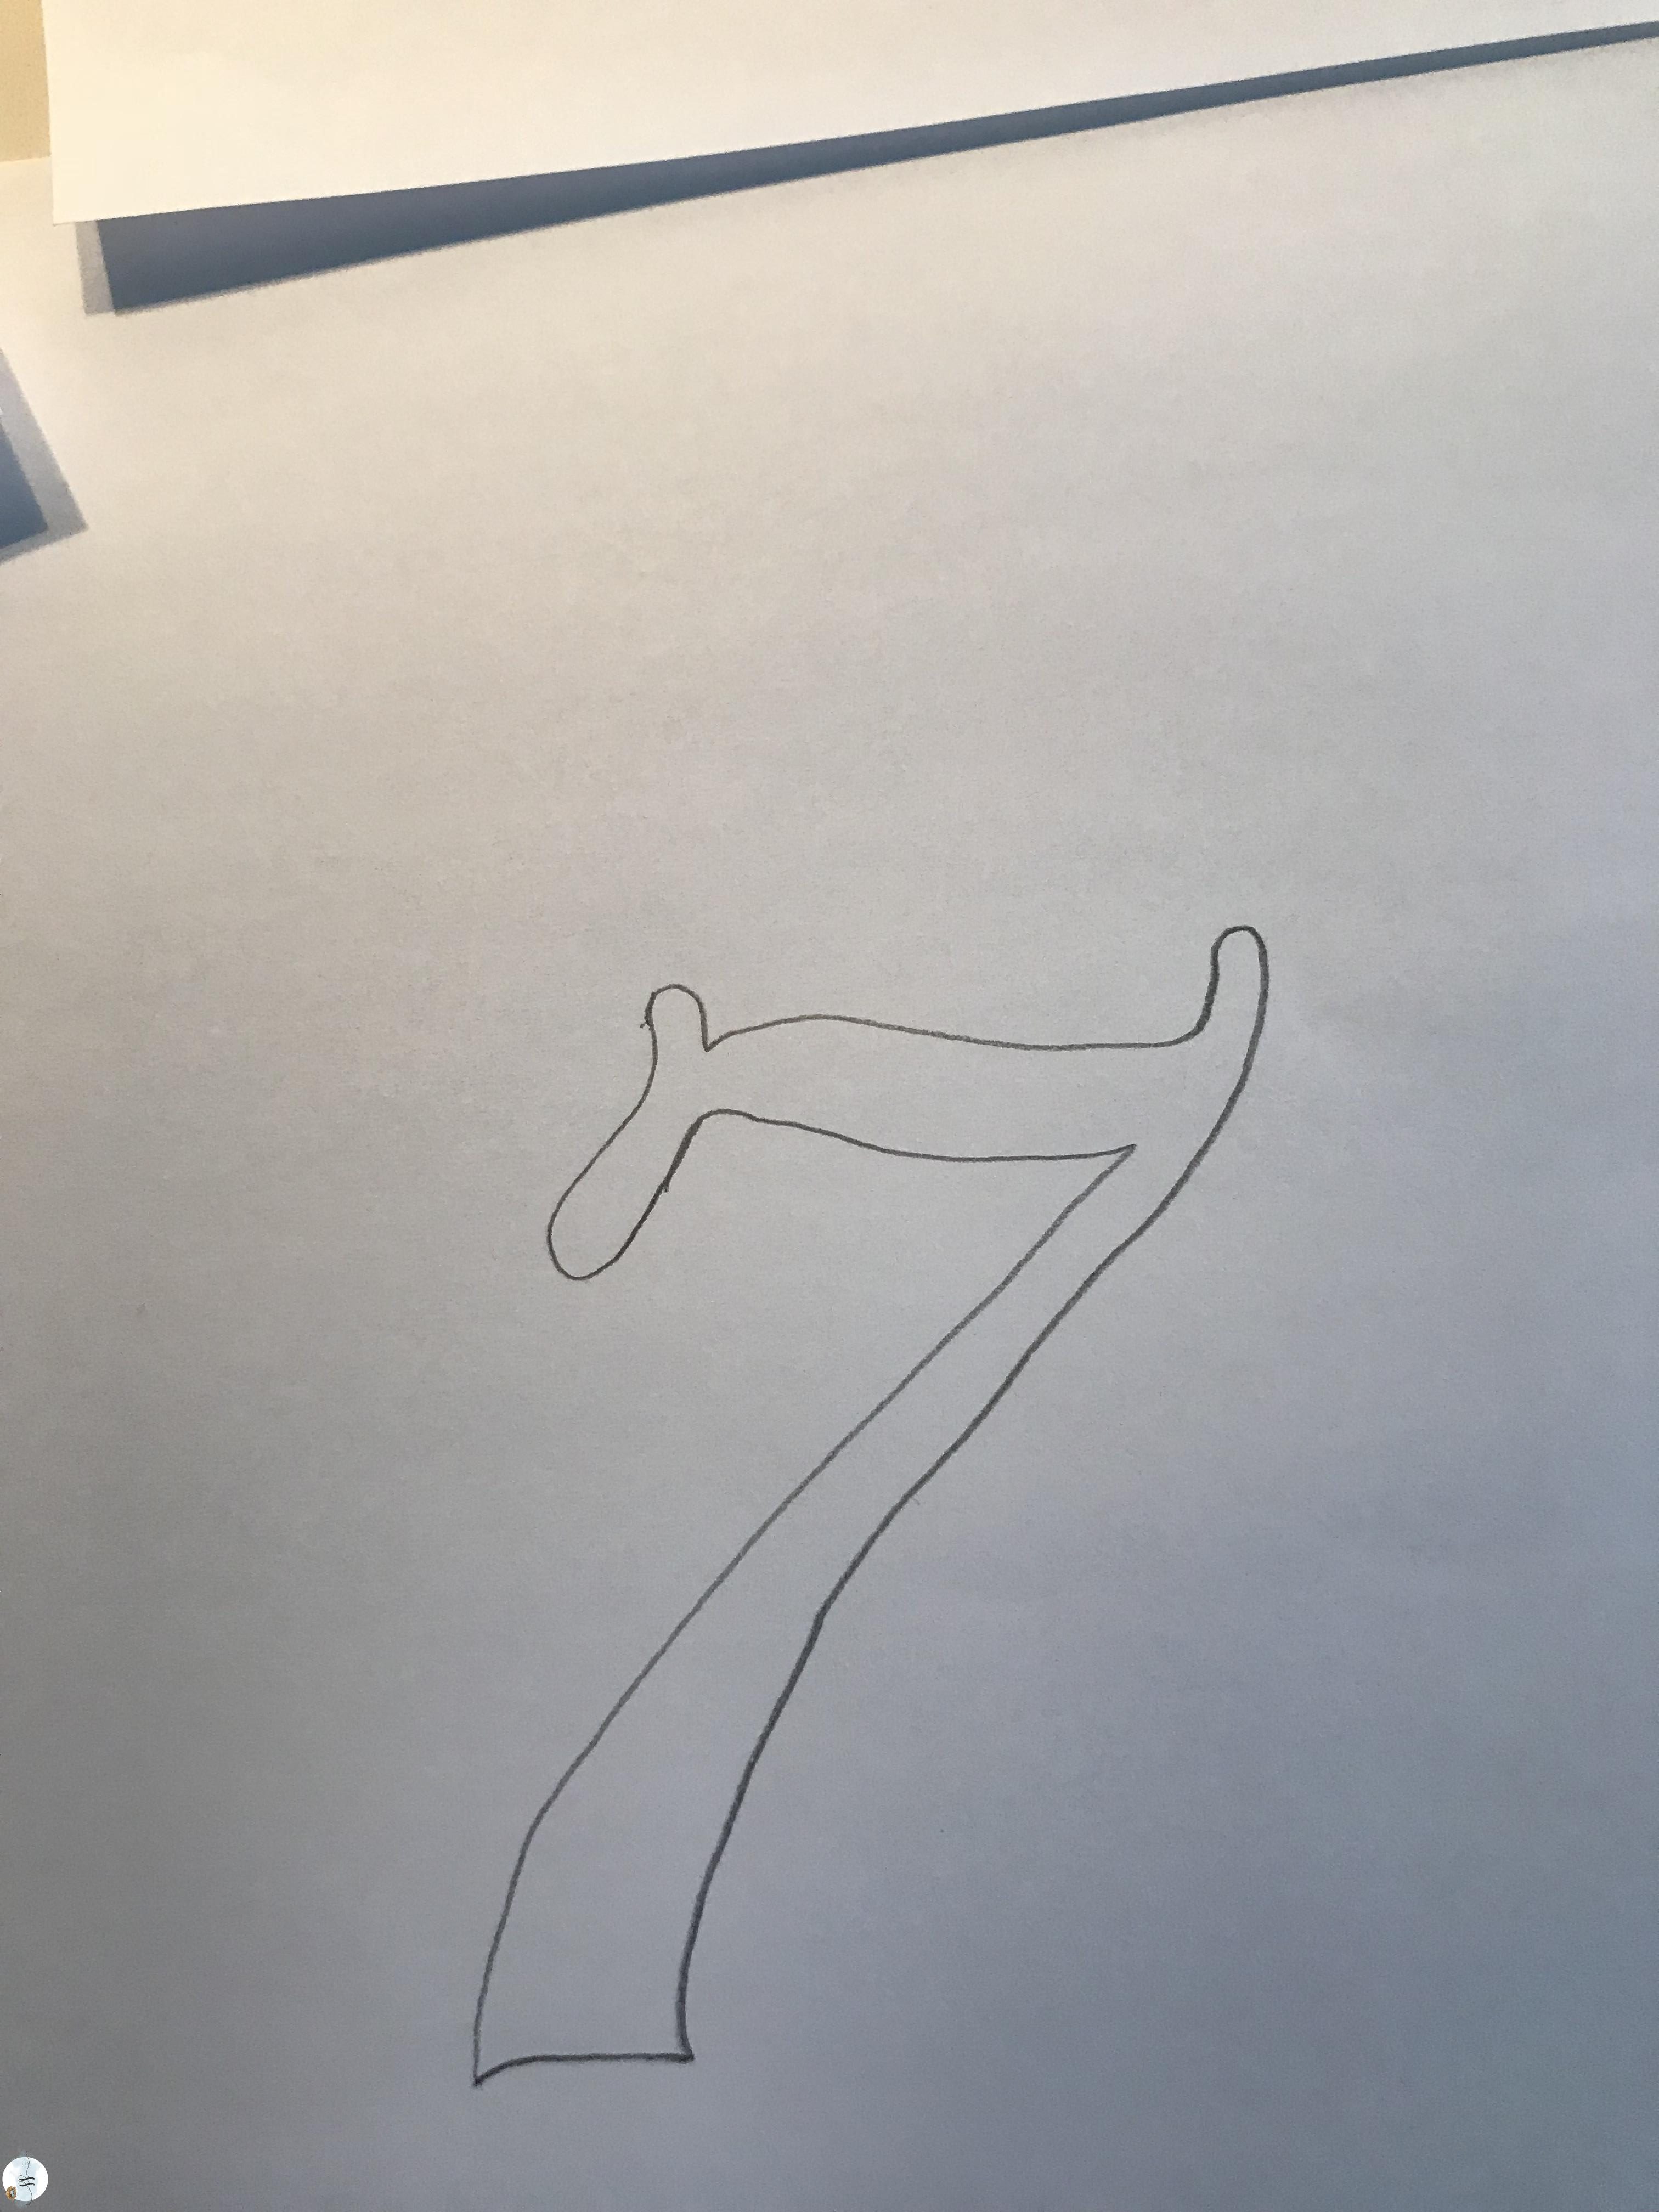
It’s not perfect but this won’t really matter either. I told you…this is a simple DIY project. Lots of room for little imperfections. Once I had all the numbers traced I grabbed my scissors and cut them out.
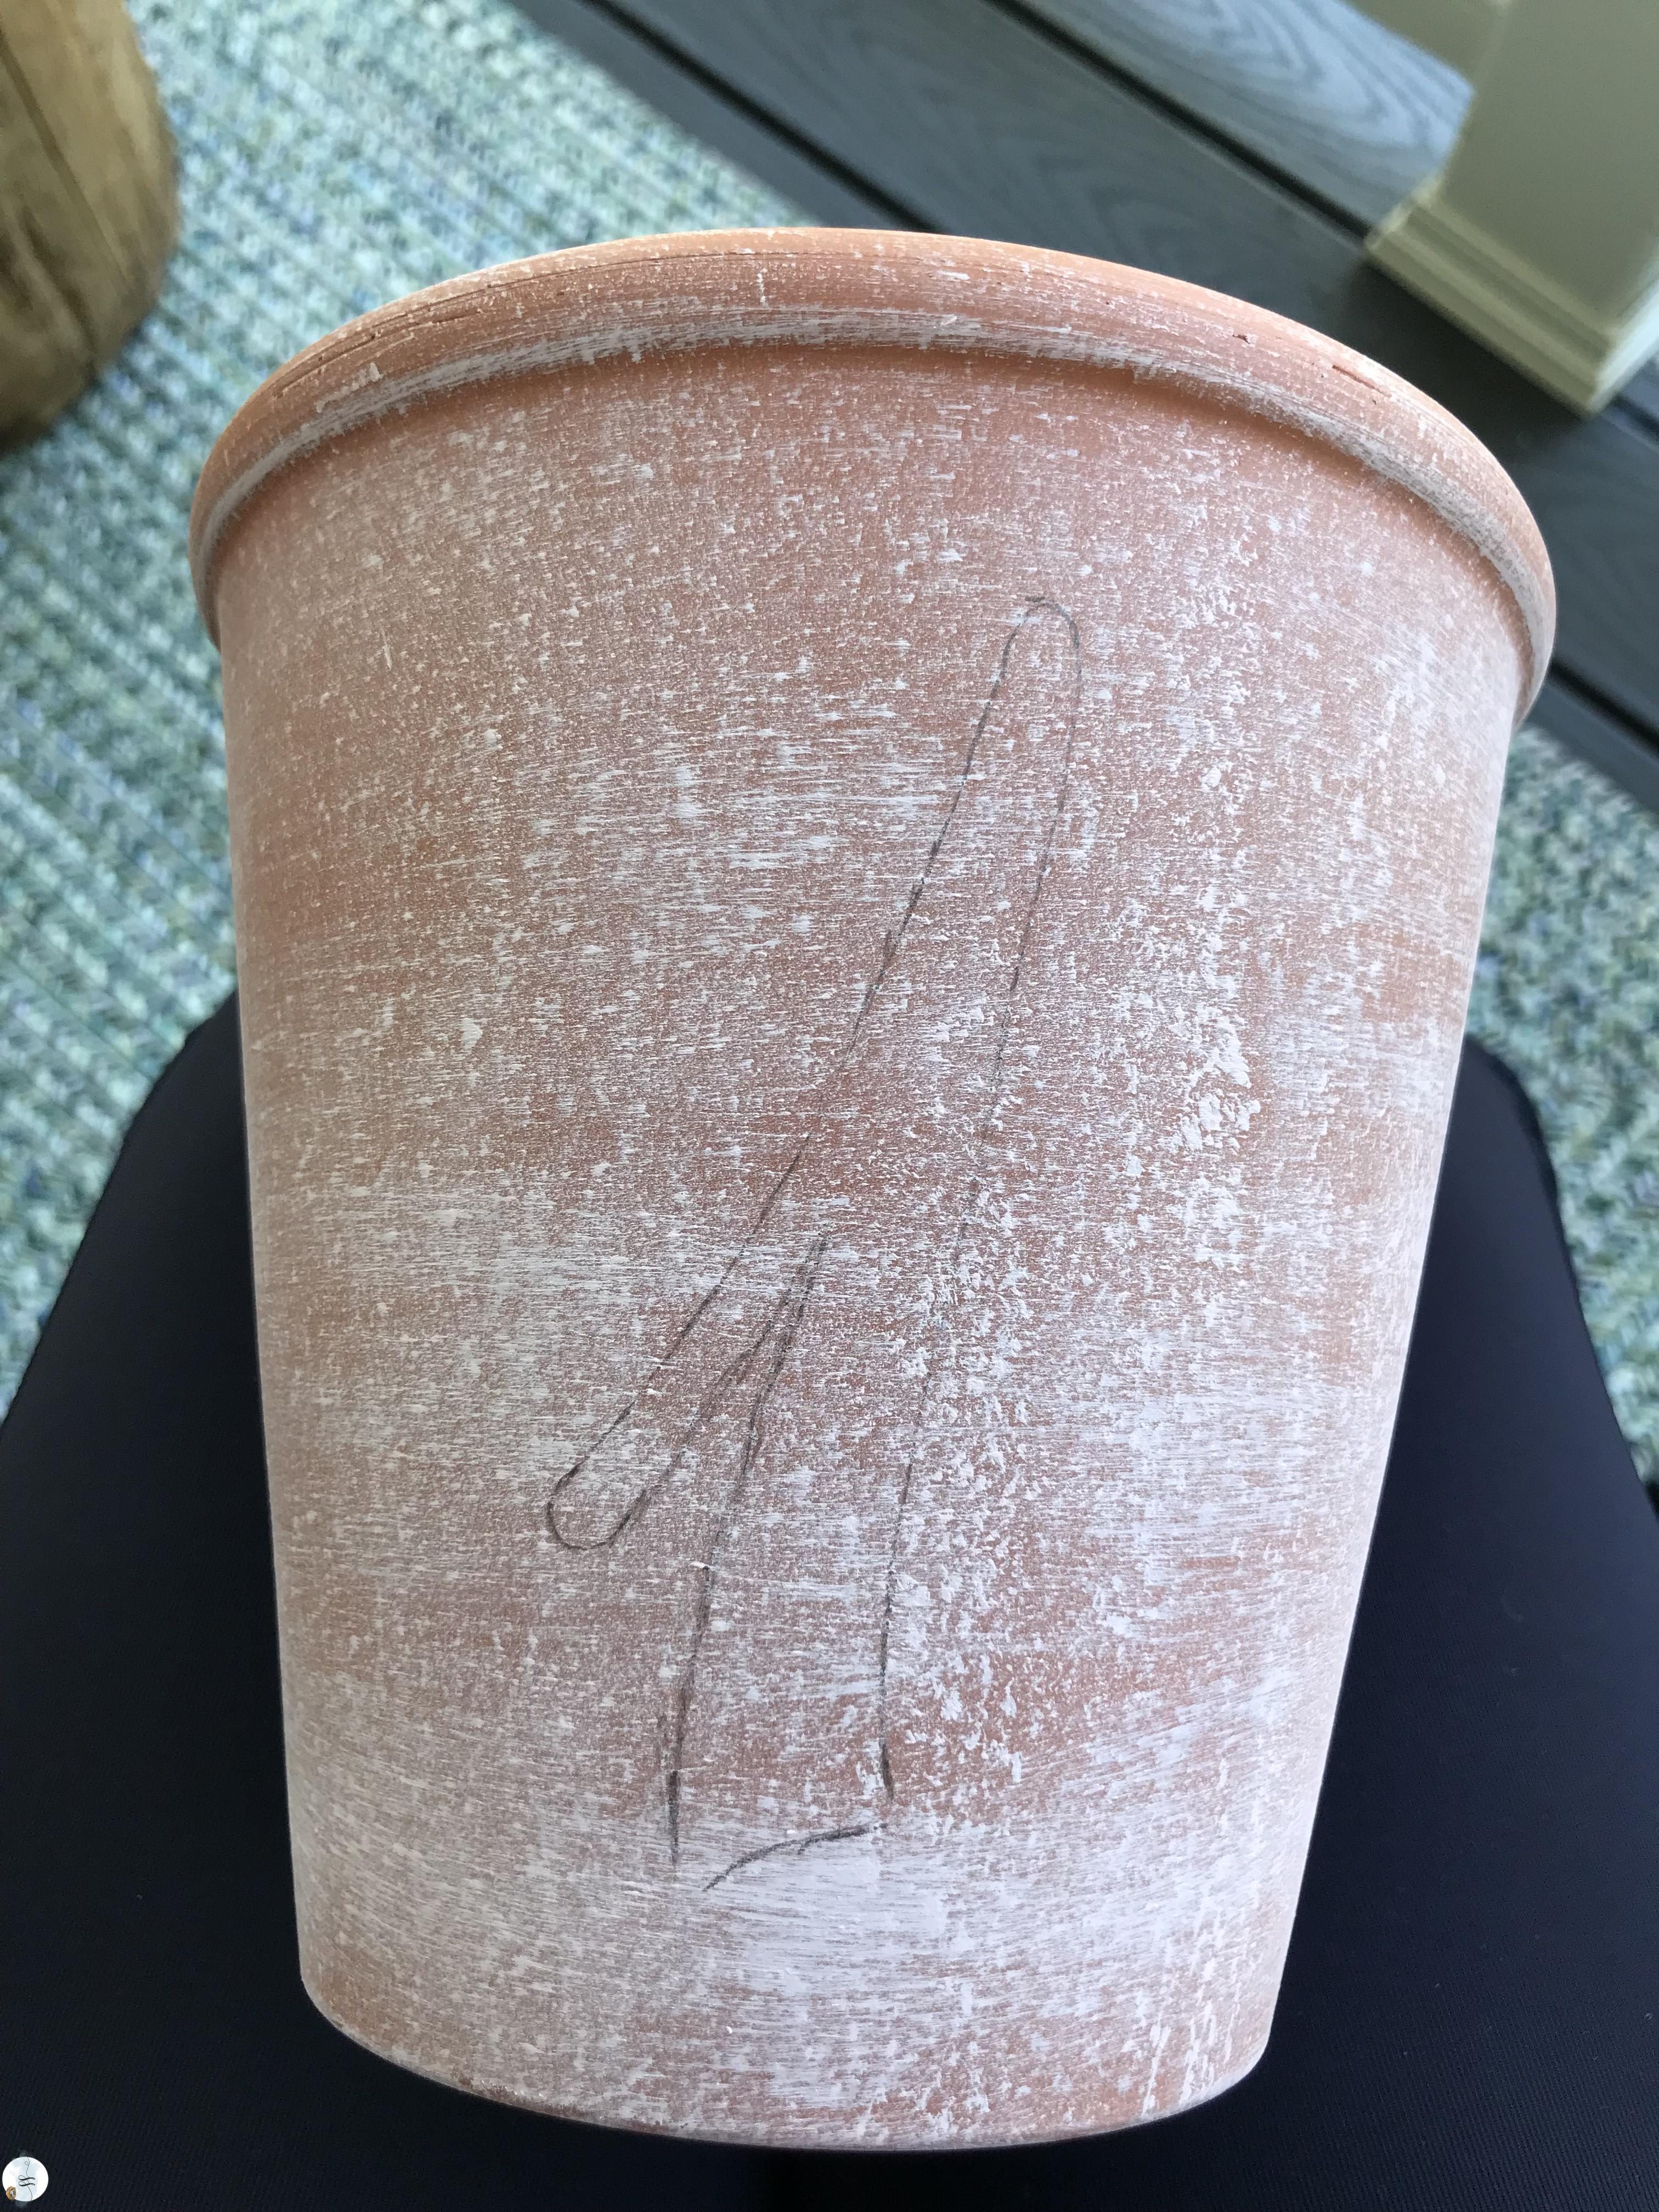
I laid the cutouts on the pots and traced them again using a pencil.
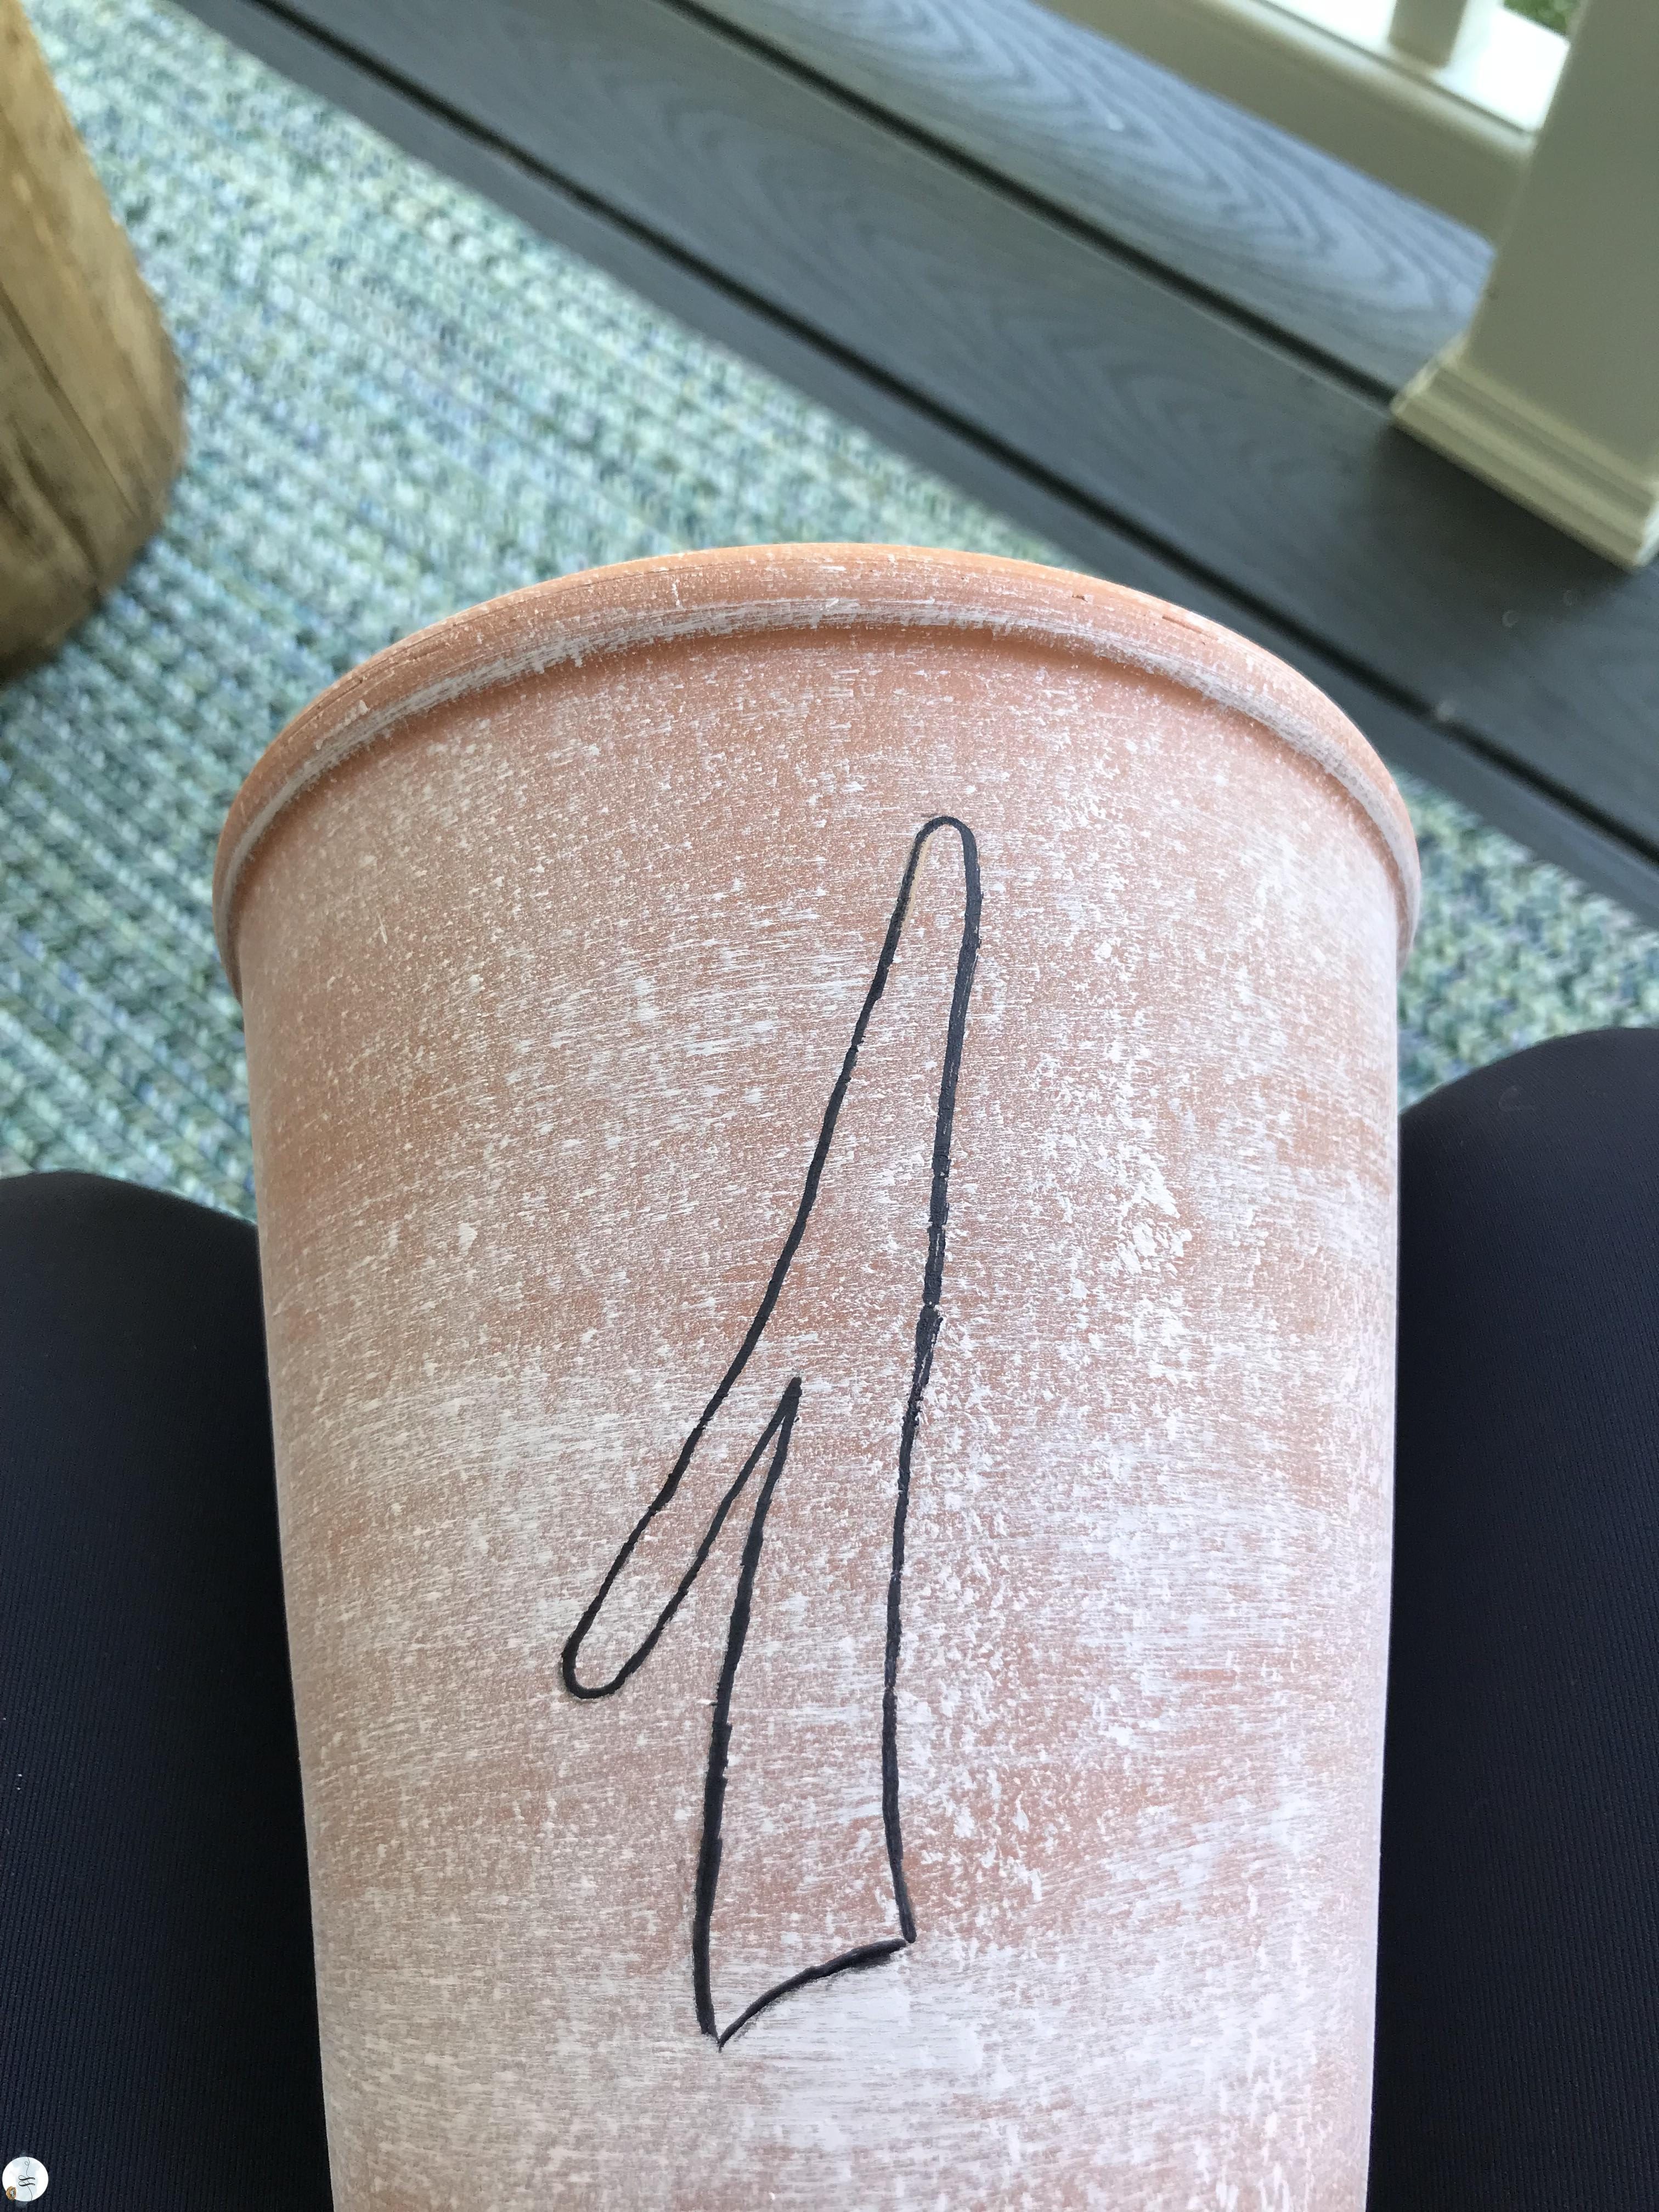
When I was happy with the pencil tracing I retraced with black marker.
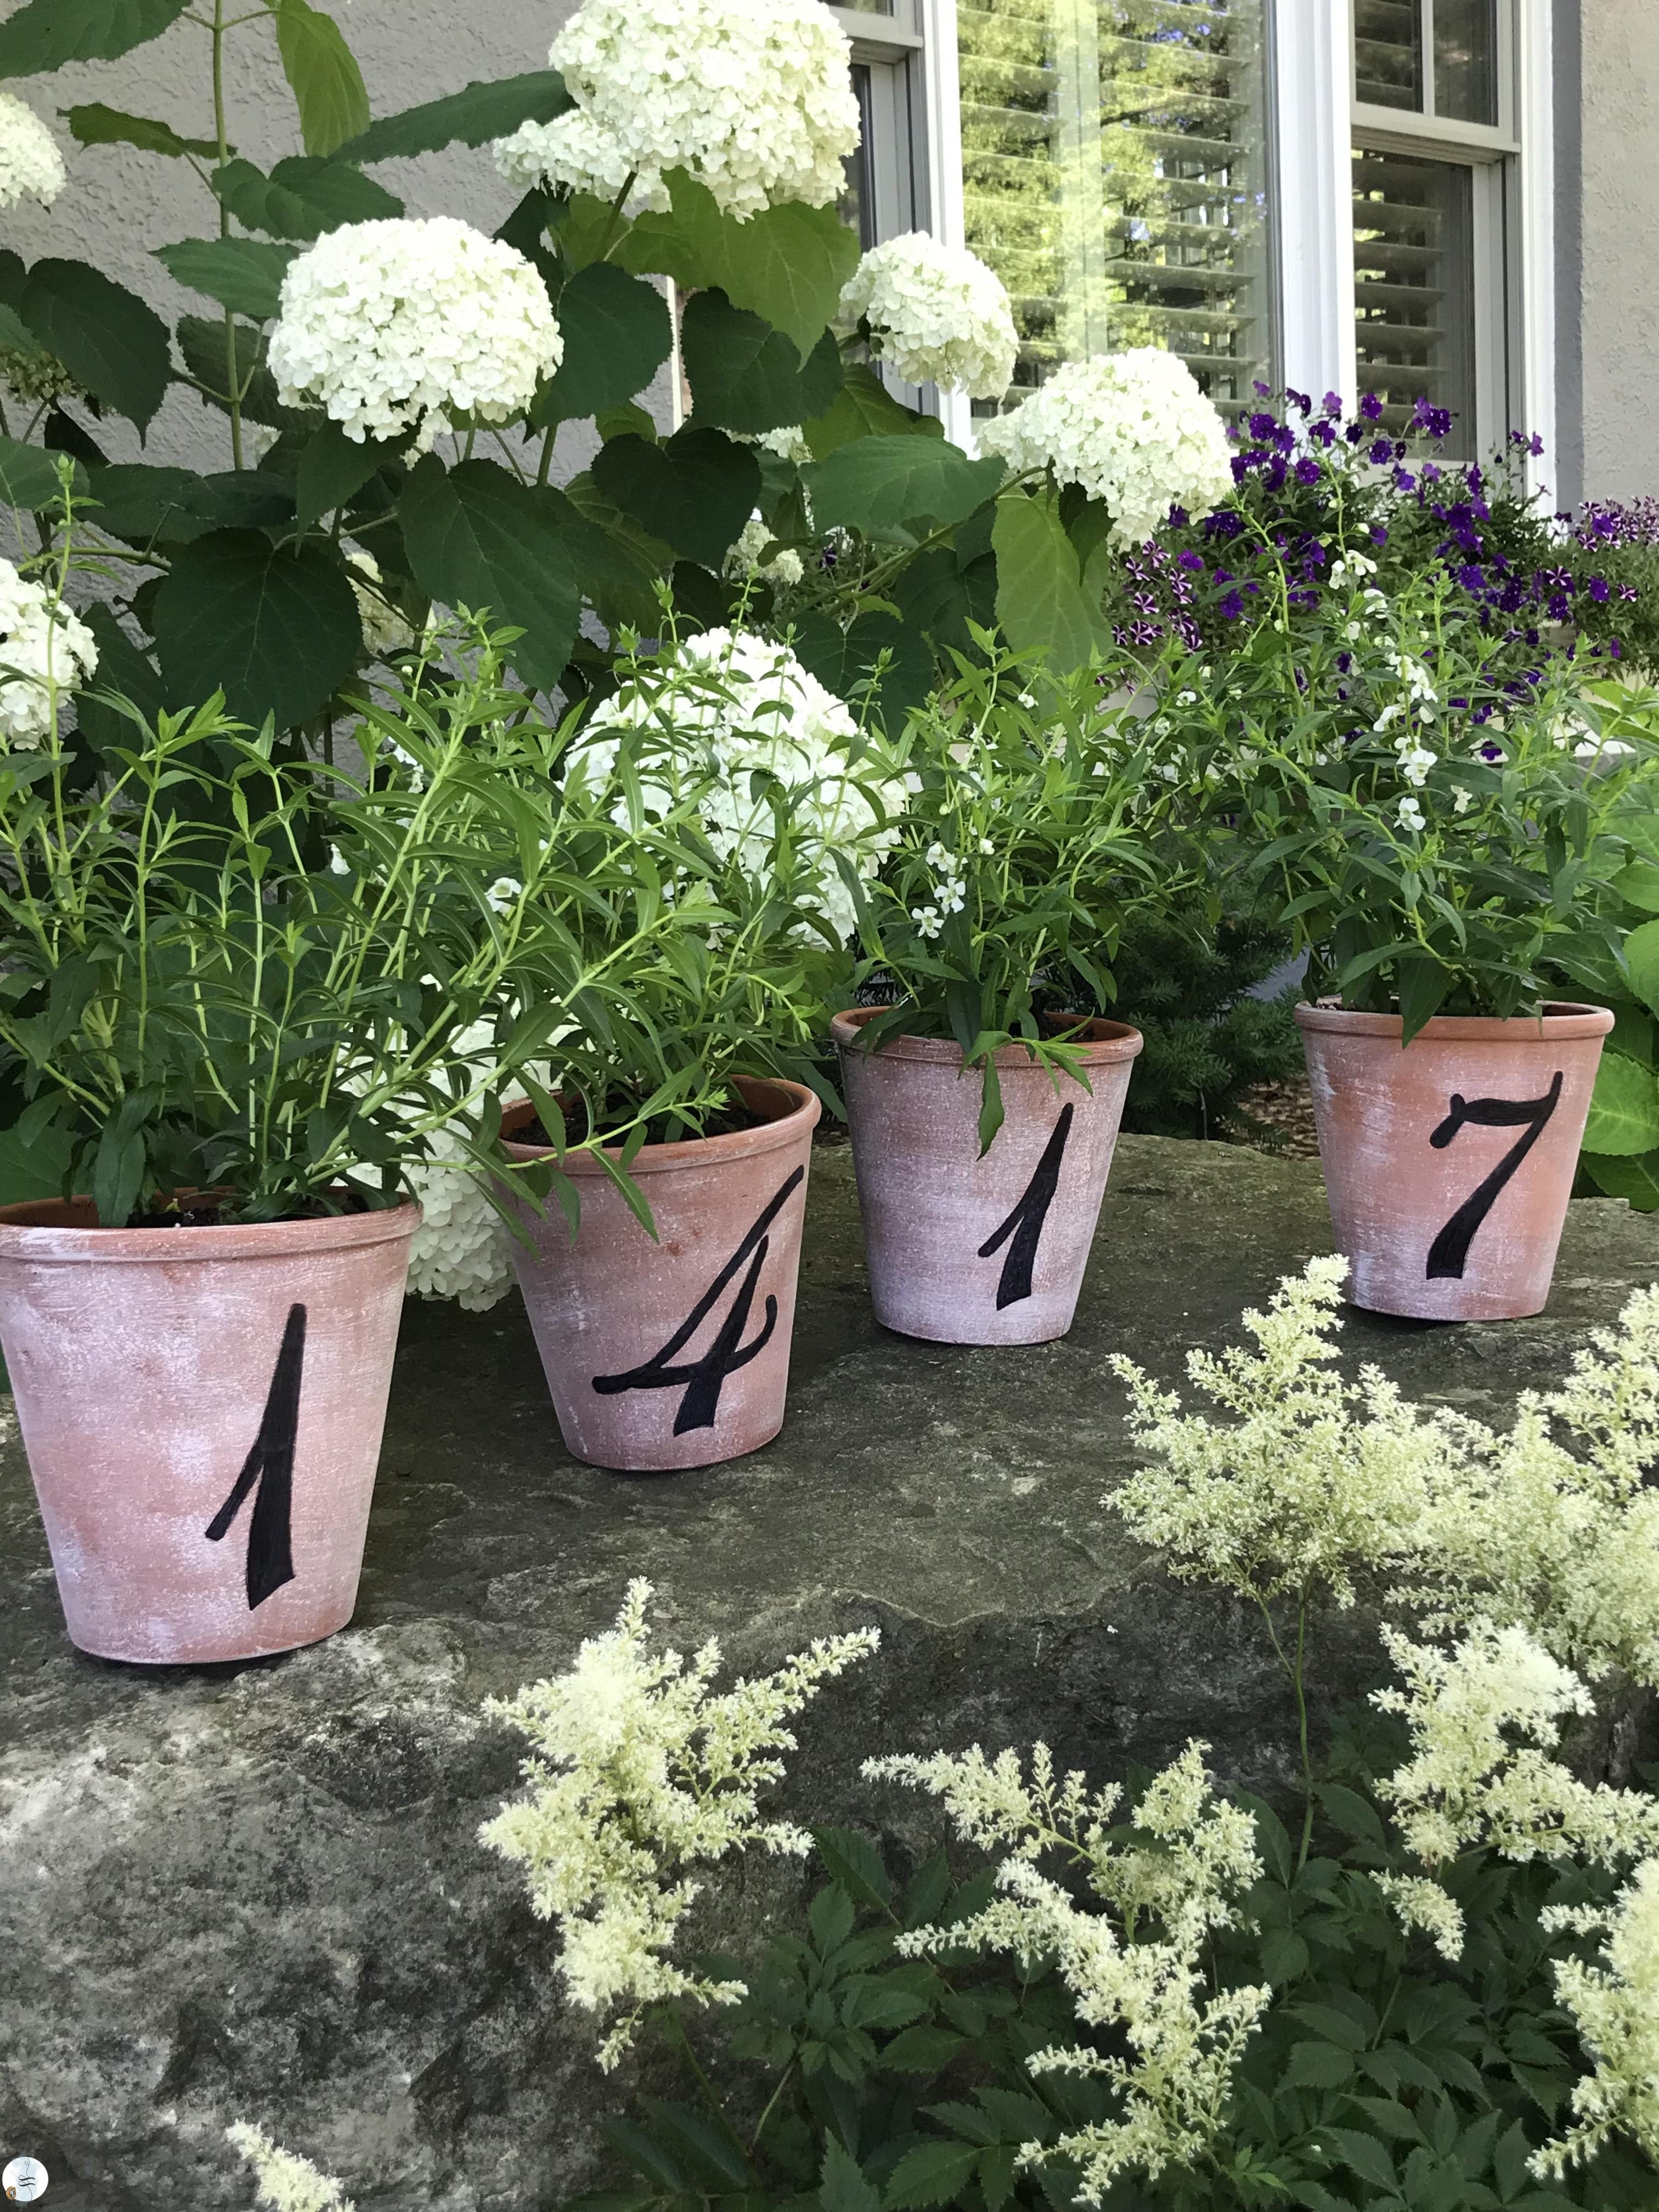
And voila….done! I love them…what do ya think? Do-able right? These would be cute with herbs in them as well.
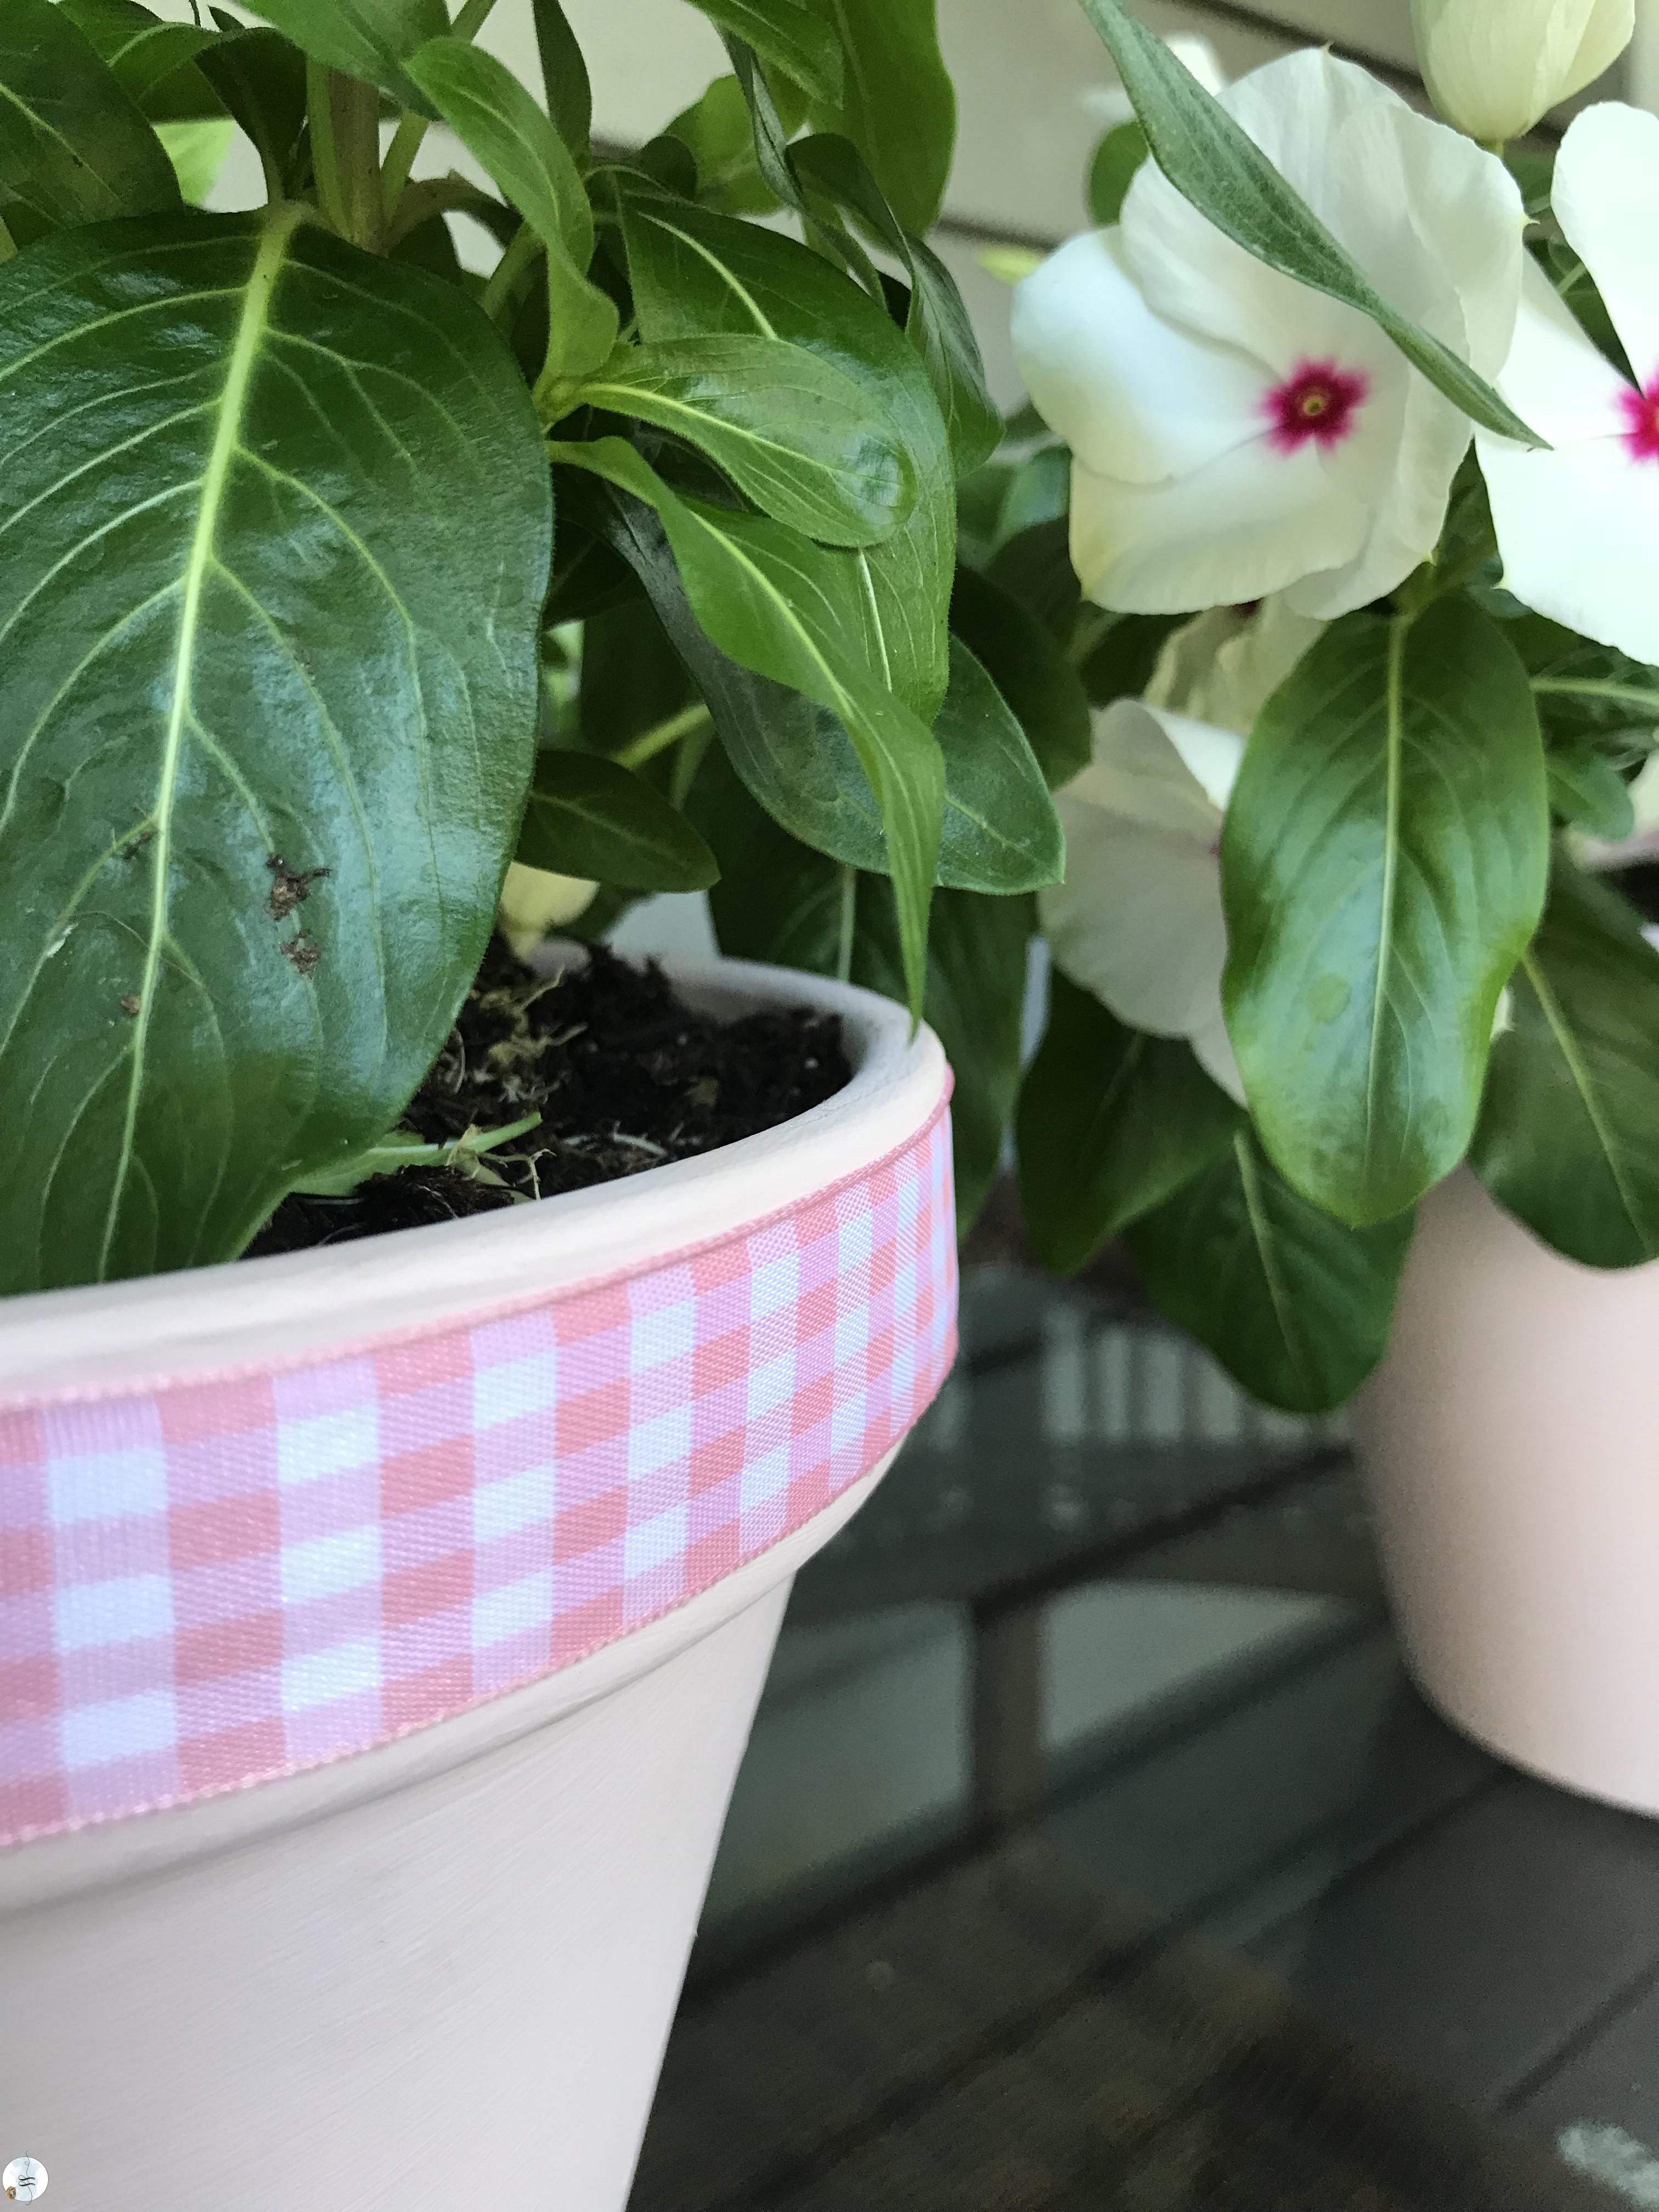
On the solid coloured pots, I added ribbon around the top.
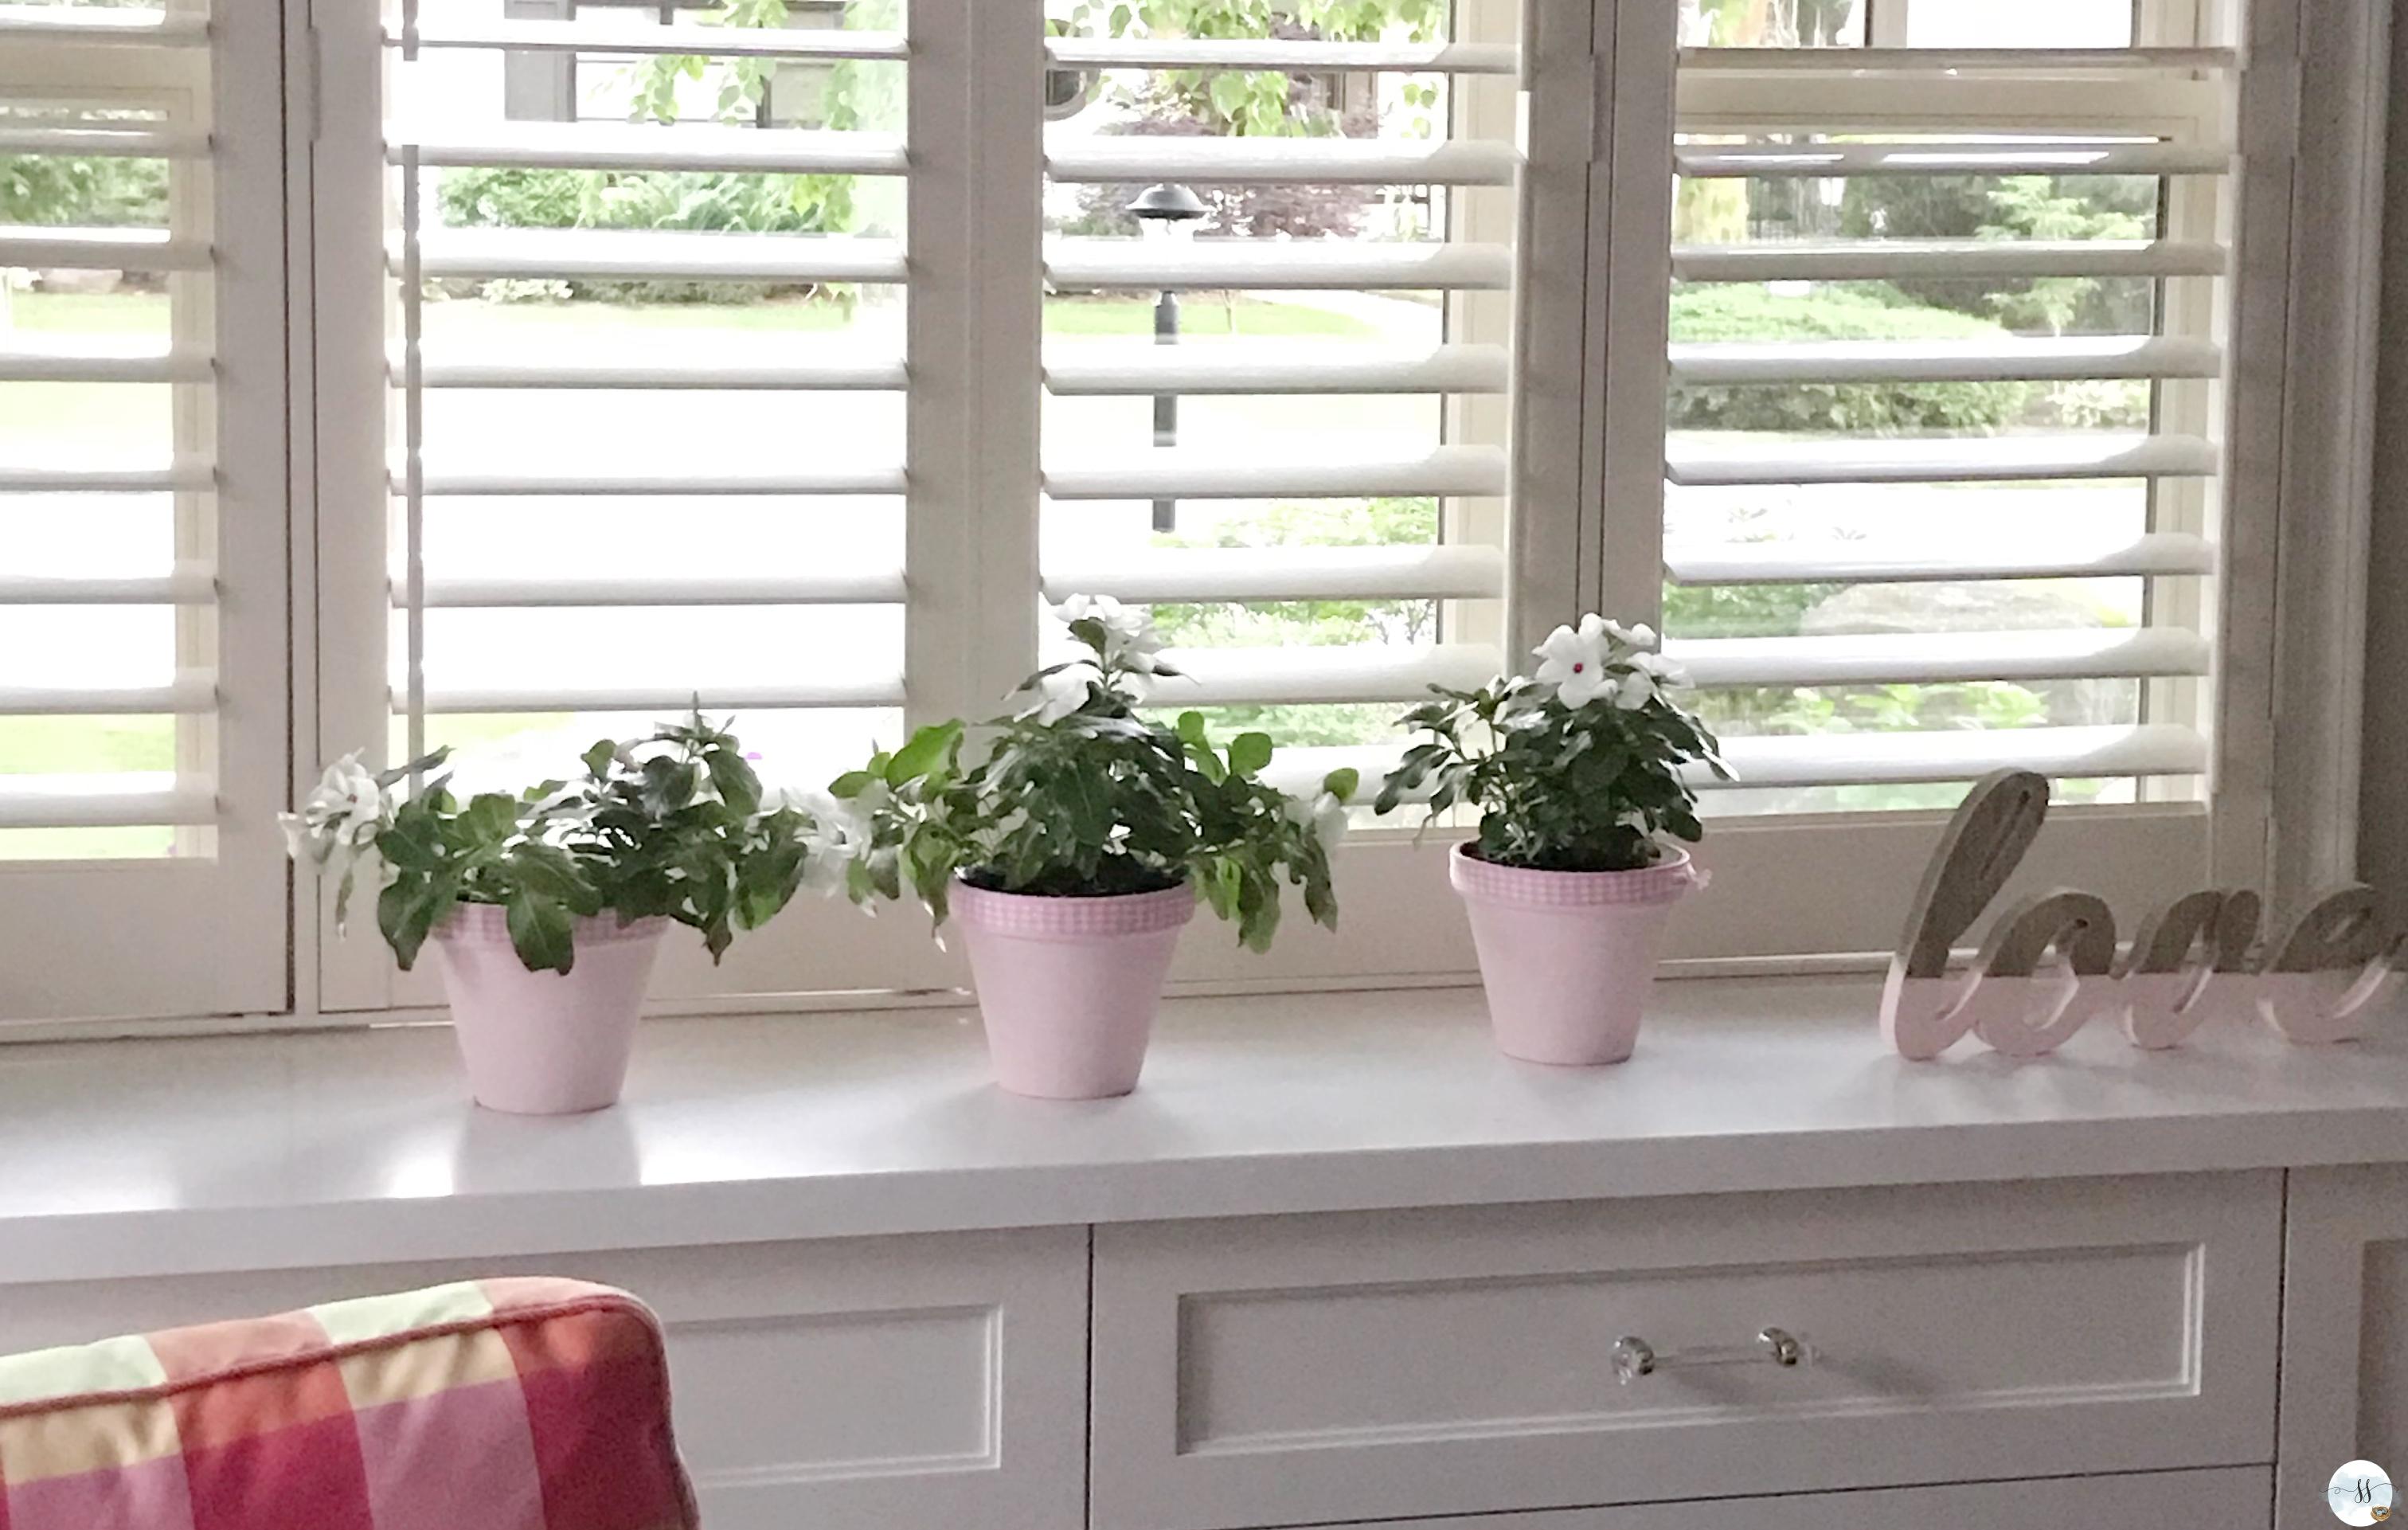
I brought these inside and placed them in front of my large kitchen window…a nice sunny spot.
The fourth one is for my secret garden. I am pretty sure these will be moved around a lot….I am thinking of making some mini ones to sit on my windowsill above the kitchen sink.

There are a few other DIY projects that I am planning on doing. I went out and bought the supplies for everything so that when the perfect day presents itself it’s all available. I find when I have everything on hand there is more chance of getting the project done.
Puttering around is therapeutic for me, I feel myself letting go when I bury myself in a project I’m working on. The world goes quiet for a brief moment. DIY is a growing trend and I don’t see it stopping any time soon. If you want to do something and just don’t know exactly what….go to Pinterest. You are sure to find something there that will tweak your interest. Give it a go and share in the comments below what you did:)

Here is the recipe for Turmeric Latte I promised you.
- 2 cups milk (coconut milk, almond milk or cashew milk – turmeric is fat-soluble and absorbs into the body better with fats)
- 1 tsp turmeric powder
- 1/4 tsp ground cinnamon
- 1/8 tsp ground ginger
- 1 tsp vanilla extract
- 2-3 tsp raw honey (sweeten to taste)
- pinch ground black pepper
- Add all ingredients to a blender and puree for about 10-15 seconds.
- Add to a stainless steel pot and warm turmeric latte on a low-medium heat until heated to your desired level of hotness (I like mine extra hot).
- Remove from heat and pour into mugs.
- Use an electric milk frother to get a latte consistency. (I put my back in blender for a couple of seconds)
Enjoy your homemade turmeric latte (golden milk).


No Comments