

Hey guys….hope you are all doing great whether you are in the sunny south or battling out those brutal temps north of the border!!
This post was meant to go out last week but as luck would have it my photos would not load from my phone to my computer! I swear…I did something in my past life that prohibits me from using any technology! I have a little tech-devil that sits on my shoulder and waves his little pitchfork just to mess me up!
Onward – With Valentine’s day coming up I thought it would be fun to try my hand (again) at DIY flower arrangements. As luck would have it there was a class being offered in our community by Alice’s Table.
Our teacher was such a gem and brought a lot of enthusiasm to our class. I have already signed up for the next two classes.
As you will see below I took a lot of photos. As we moved through the class I tried to take a photo of each step so that I would remember how to make these on my own.
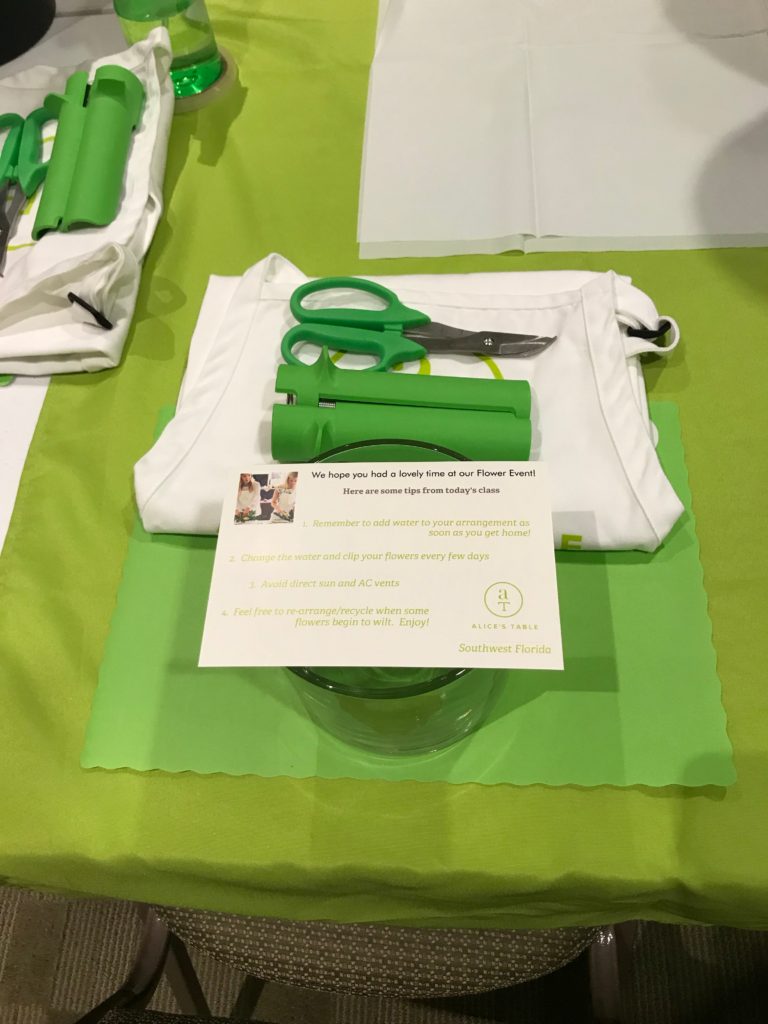
At each place setting, we were supplied with the necessities….apron, snippers, watering can, rose strippers, clear tape and green florist tape (not in photo) and a small glass vase that Alice mentioned were available at our local dollar store…and you know me…I love the dollar store.
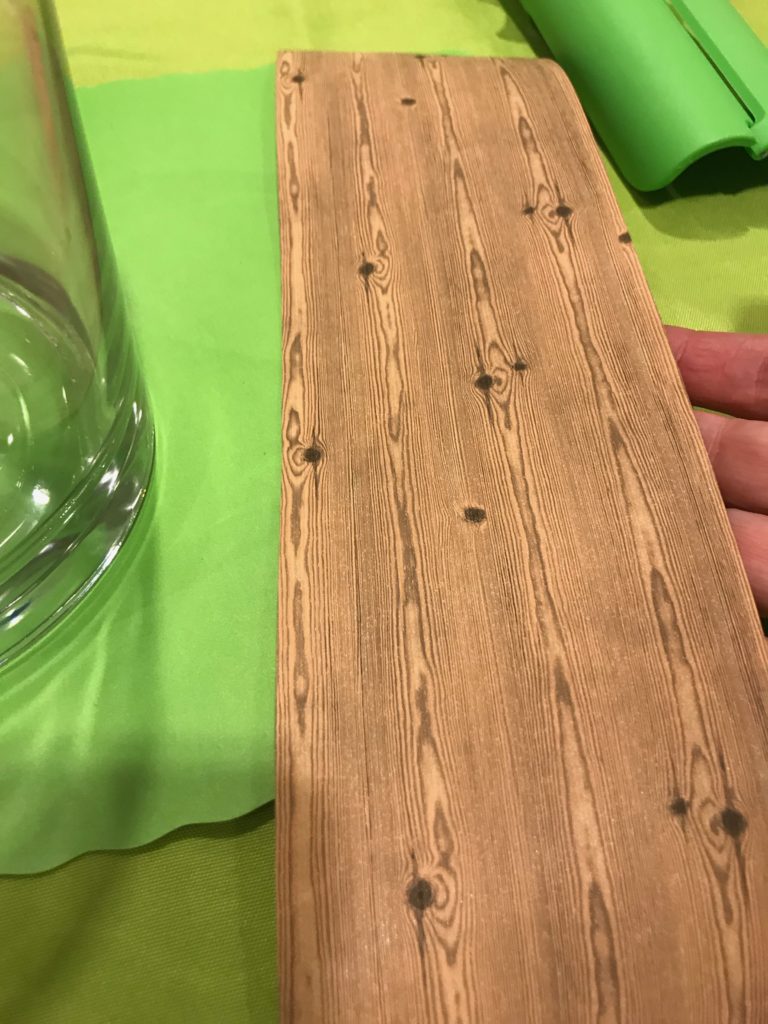
This is waterproof ribbon….did you even know there was such a thing? The great thing about this is that when this arrangement is kaput I can simply wash this ribbon and pat it dry…I can reuse it in another arrangement. It’s made in Italy and is available through Royal Imports.
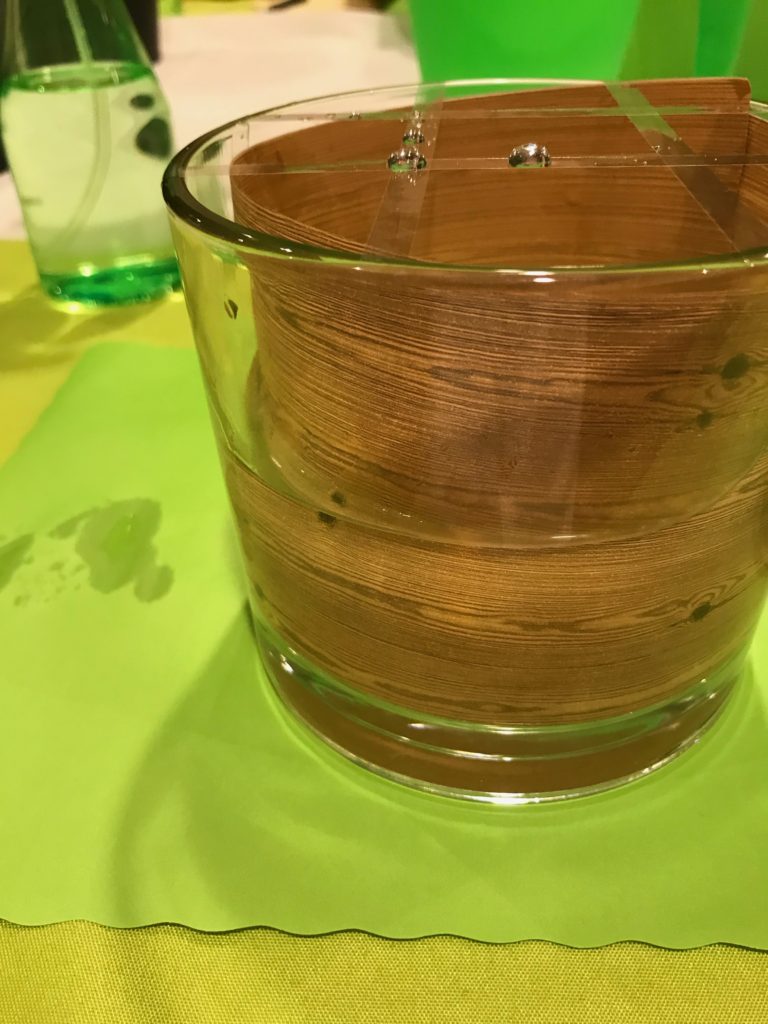
Next, we placed the ribbon inside the glass container, partially filled with water and sectioned off the top with tape. The more sections you make the more controlled the flowers will be…so if I had of used more than this I might have only been able to place one stem per hole as opposed to putting 2 or 3 in each section….there is no right or wrong to it…more of a preference.
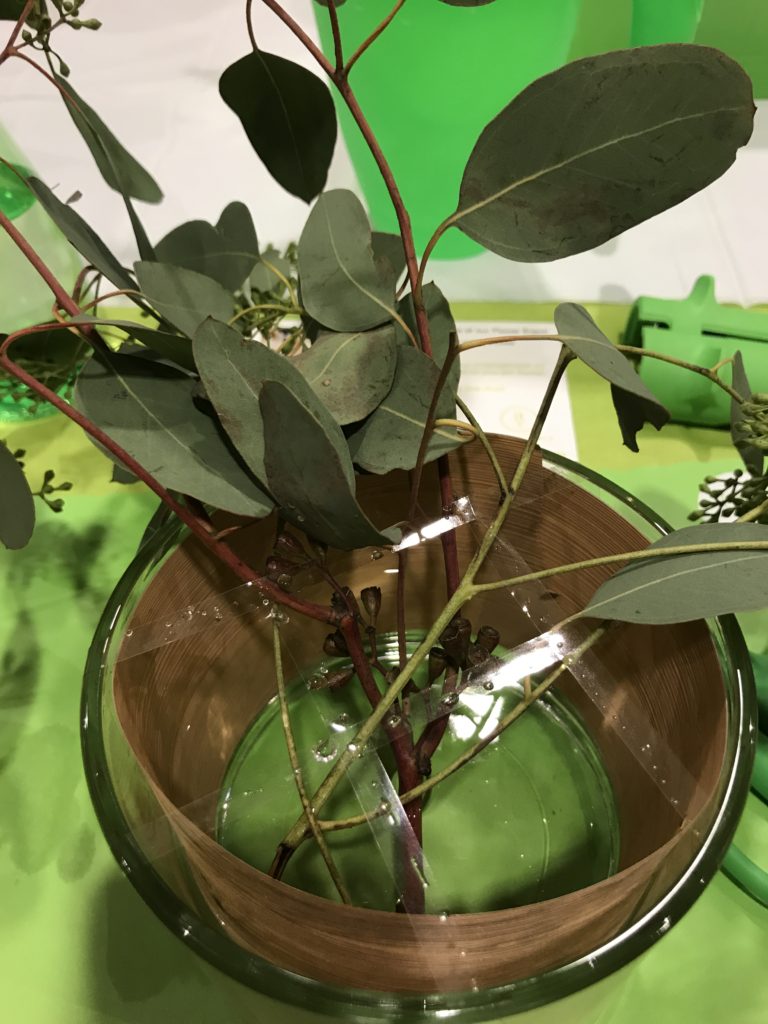
The first thing that goes in is the base of the arrangement…your greens is your frame for your creation. You don’t have to do this step but if you don’t I think you would use a lot more flowers…I loved using the eucalyptus. I chose to leave mine a bit on the long side so that it hung over the sides.
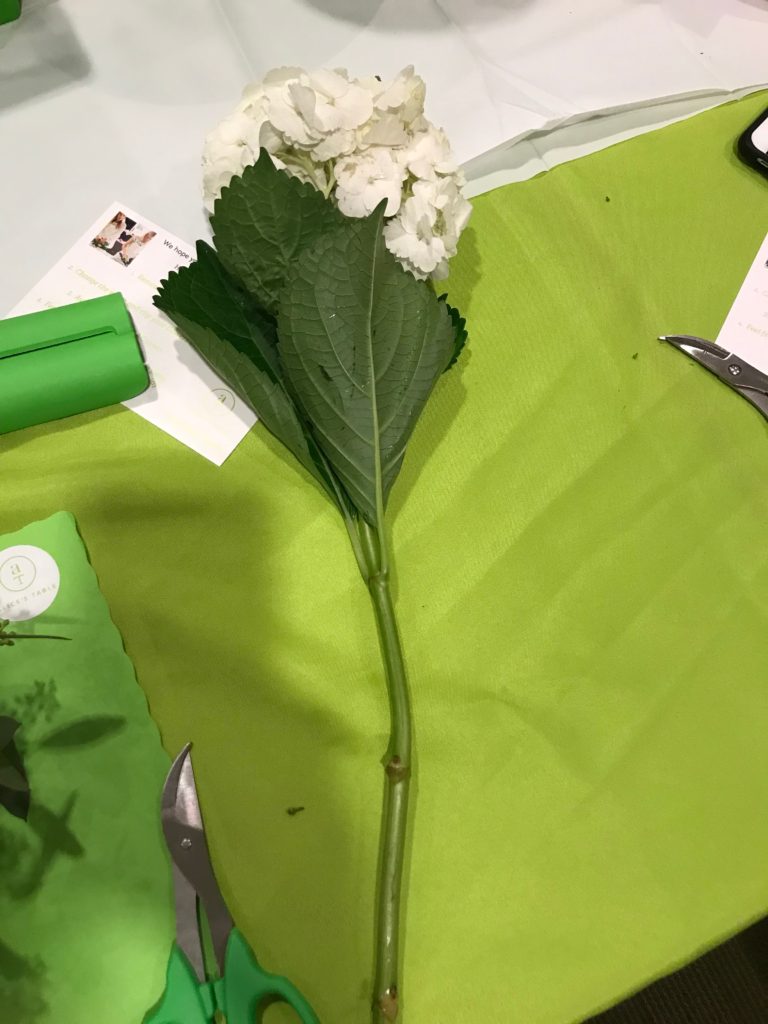
Next we used a single Hydrangea as the show stopper. We removed all but one leaf.
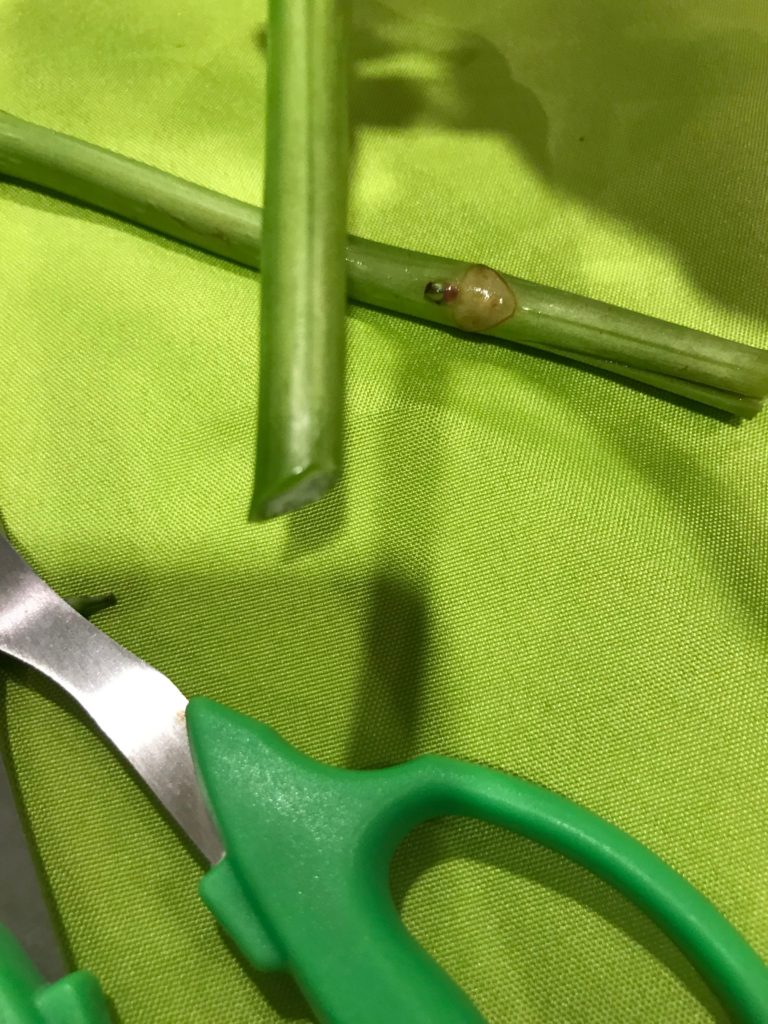
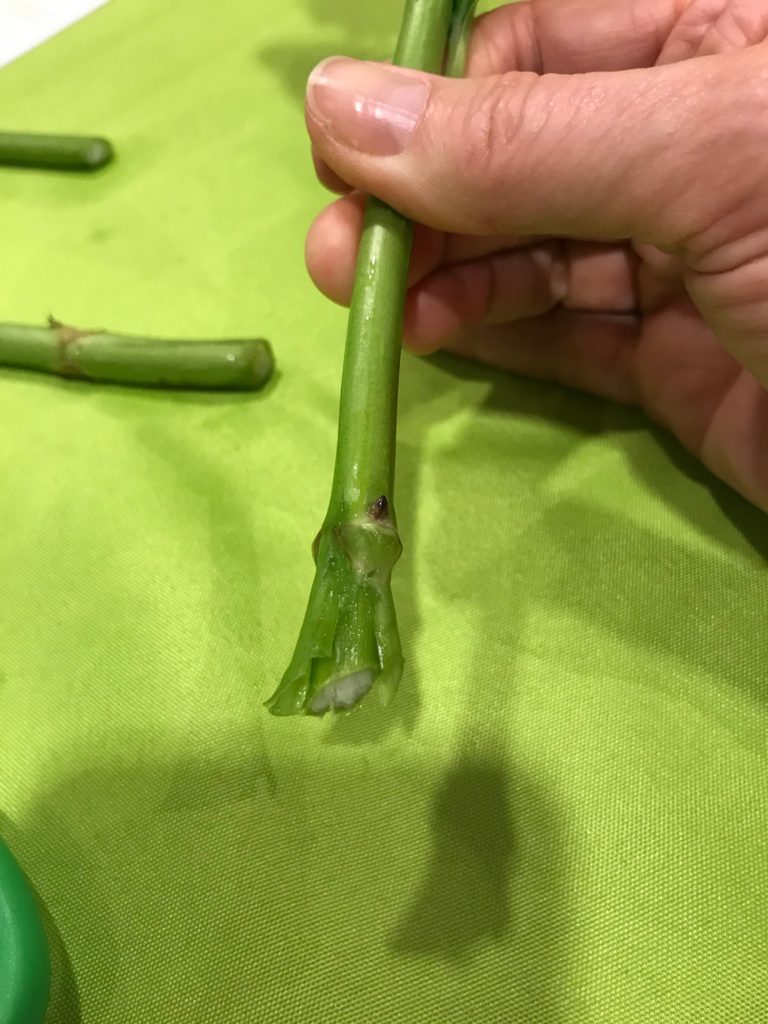
I am sure most of you already know that the stem has to be cut on an angle. The reason we do this is to make a greater surface area on the stem for the water to soak in. For Hydrangeas, it was suggested that we also make a cut right up the centre of the stem thus allowing even more water in. This is a really bad cut…lol…I had to snip and redo.
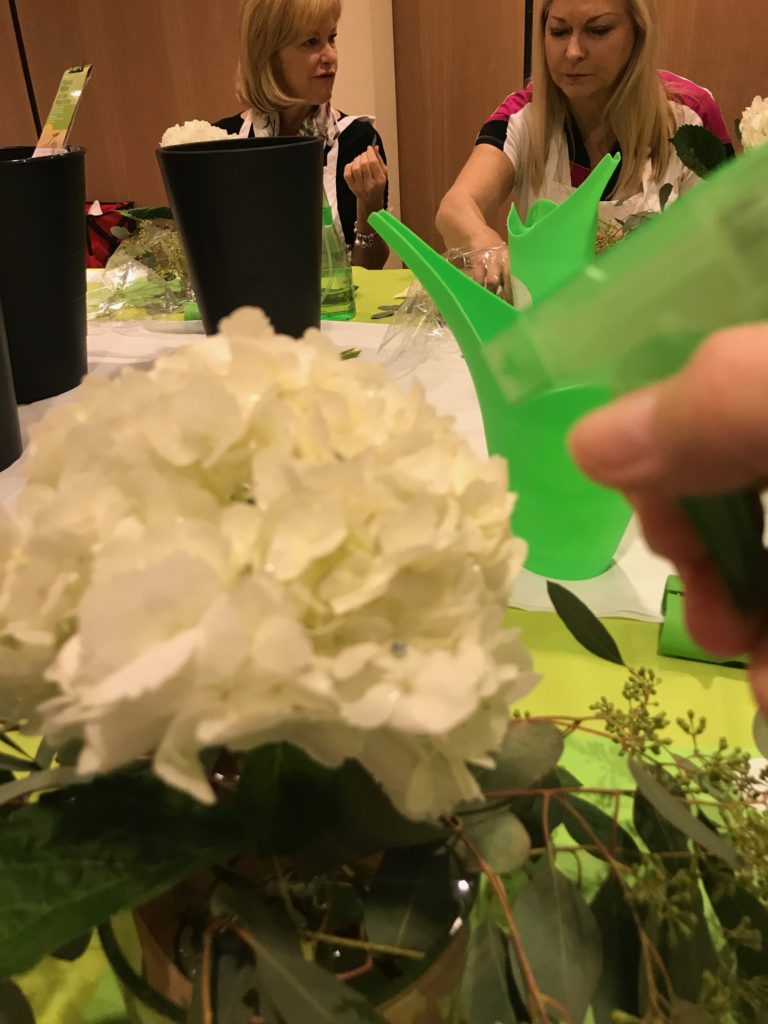
When using Hydrangeas it is really important to spray them…seriously we sprayed them every few minutes…I was surprised how quickly they soaked up the water.
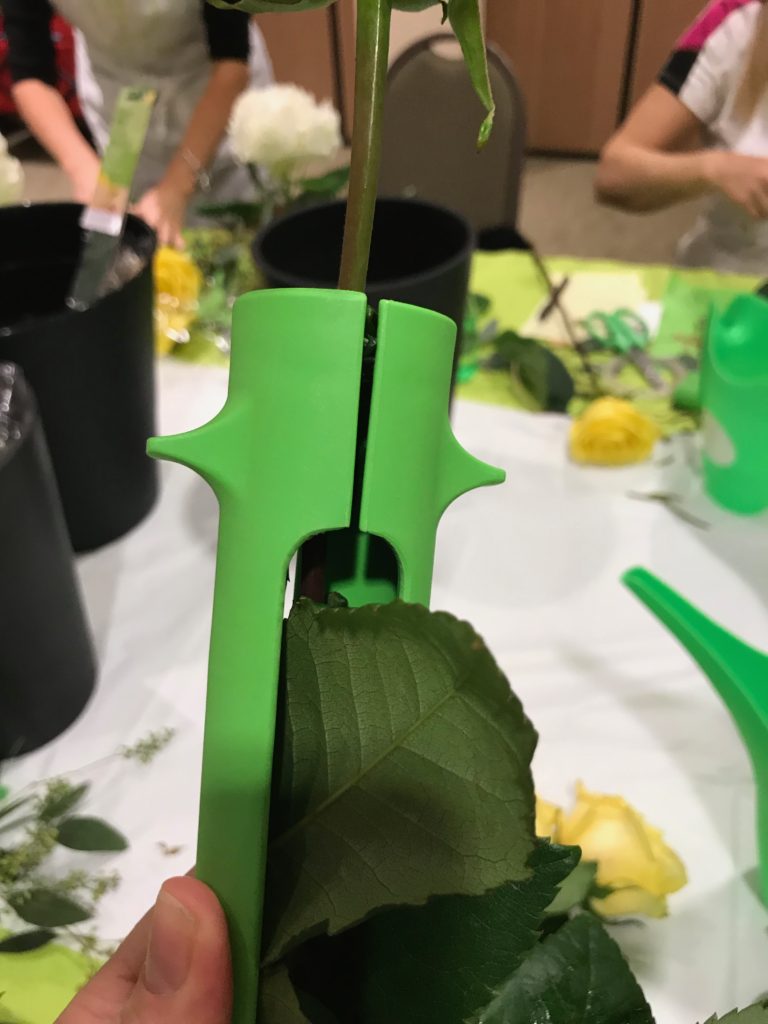
Next, we used this handy little gizmo to remove all of the thorns from the roses…this clamps around the stem and then you simply tug your way down and voila!! All gone! No worries if you don’t have one of these, you could easily use a small paring knife.
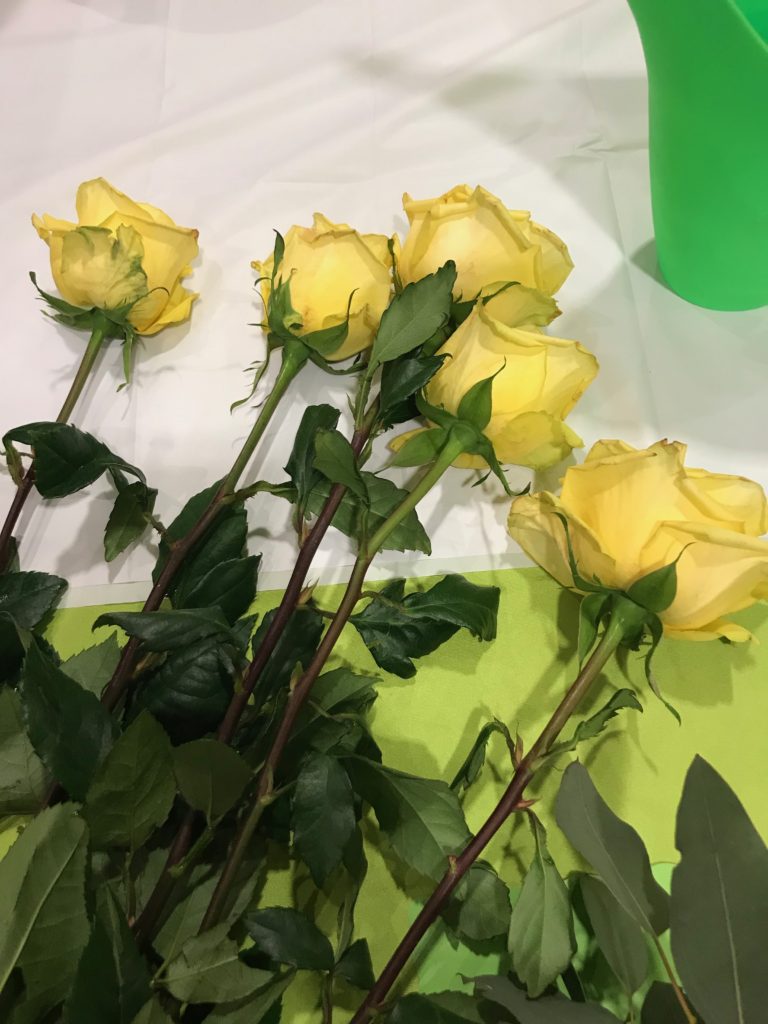
They went from this……

To this…..Before we go ahead and cut the stems there is one more step…we peeled off all the outside rose petals. These petals are called guard petals. When you buy roses at the grocery store you should remove these when you bring them home…they are not as colourful and can be a bit droopy looking….if you purchase roses at a floral shop the florist should remove them before sending you home with them. Good little tip right? You’re welcome!

OK…so next step…because the Hydrangea is the wow flower you will want to cut your rose stems slightly shorter. You should also cut them at varying heights so that you have more depth and dimension to your arrangement…OMG…you guys are learning so much from me!!!
Once you have cut your stems to your desired length you can start inserting them into the arrangement. We used 5 roses. I had to take a couple out and re-trim until I was satisfied with how they looked….and again, this is personal preference. Some of the ladies taking the class left their stems a tad longer and their arrangements looked a whole lot different than mine.
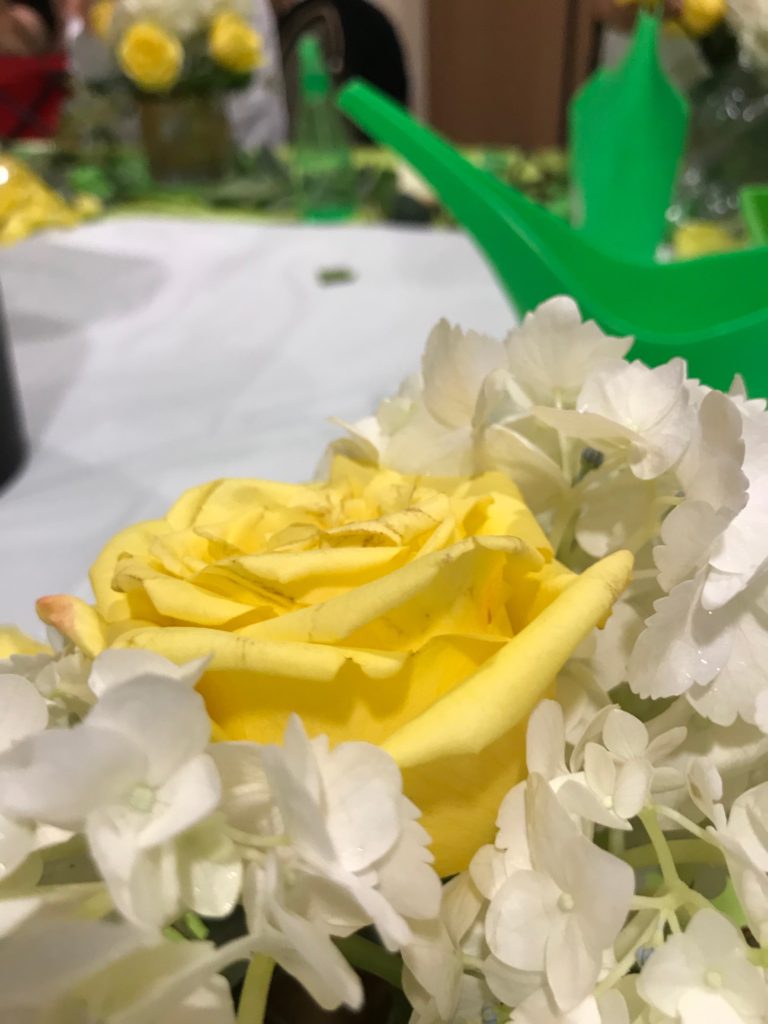
I placed one of the roses right inside the hydrangea.
After our secondary flowers were in place we added the smaller white roses to start to fill in the arrangement. We were given 2 stems each of these roses…if I had purchased the roses myself I for sure would have used another one at the back of the arrangement as this was not one-sided.
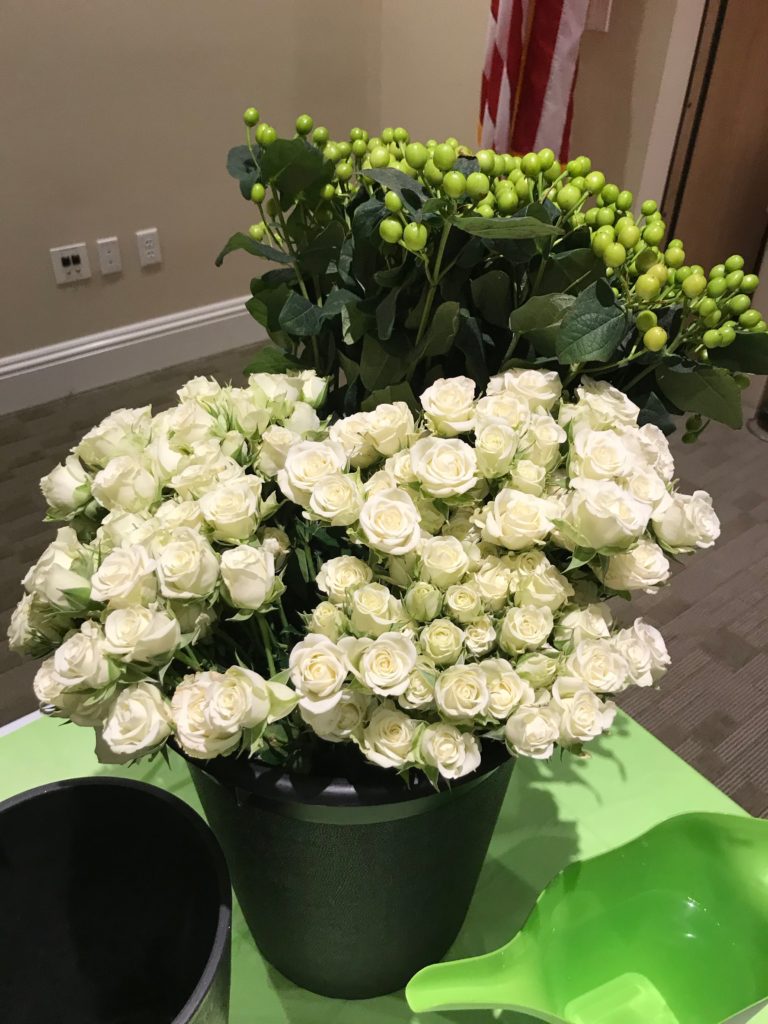
Woops….I skipped a photo in my arrangement. We all received hypericum berries (top right) to continue to fill in any gaps.
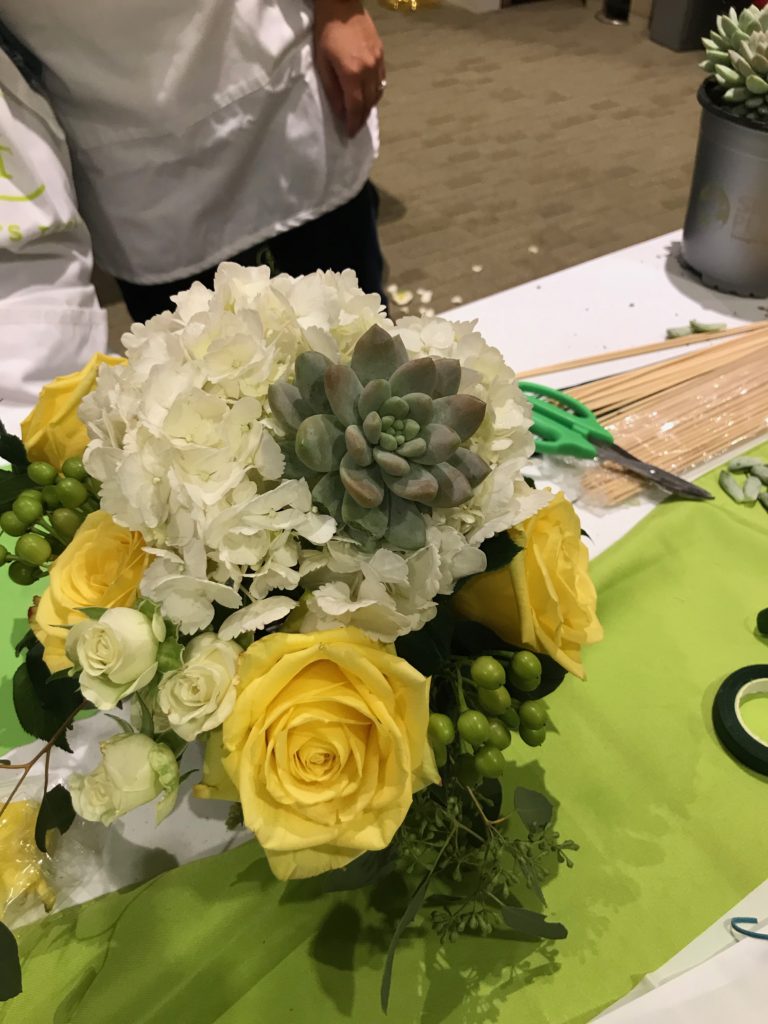
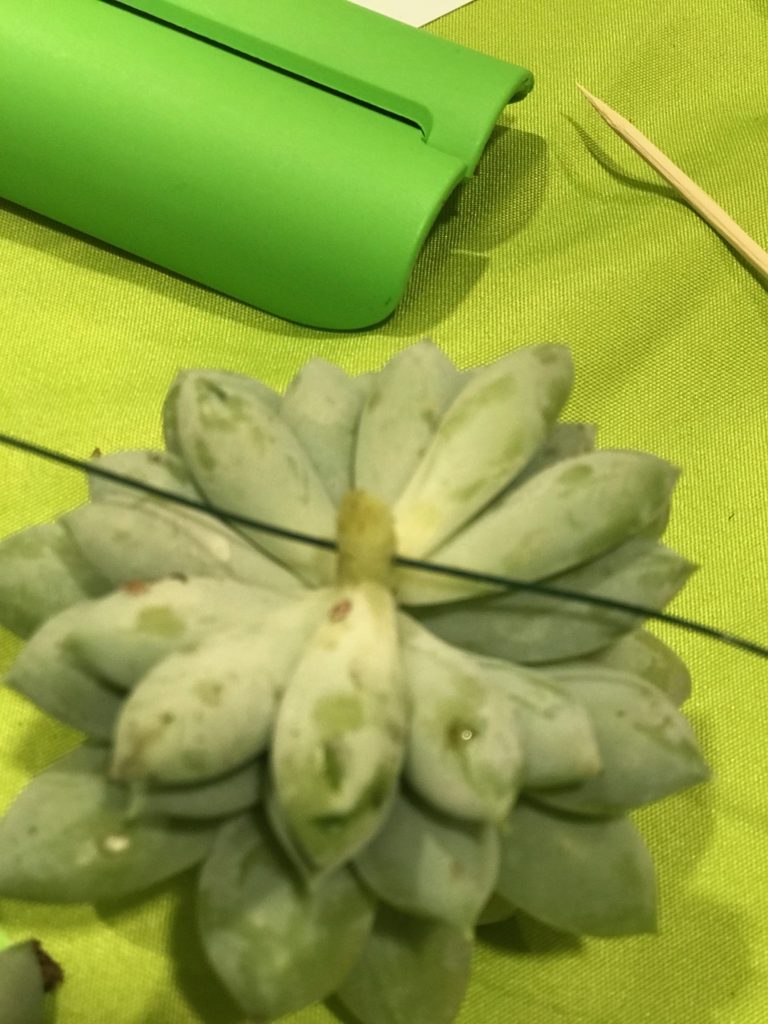
For an unexpected wow factor we added one single succulent. Below I will walk you through how to add a stem to a succulent. If you were making a boutineer you would follow these same steps.
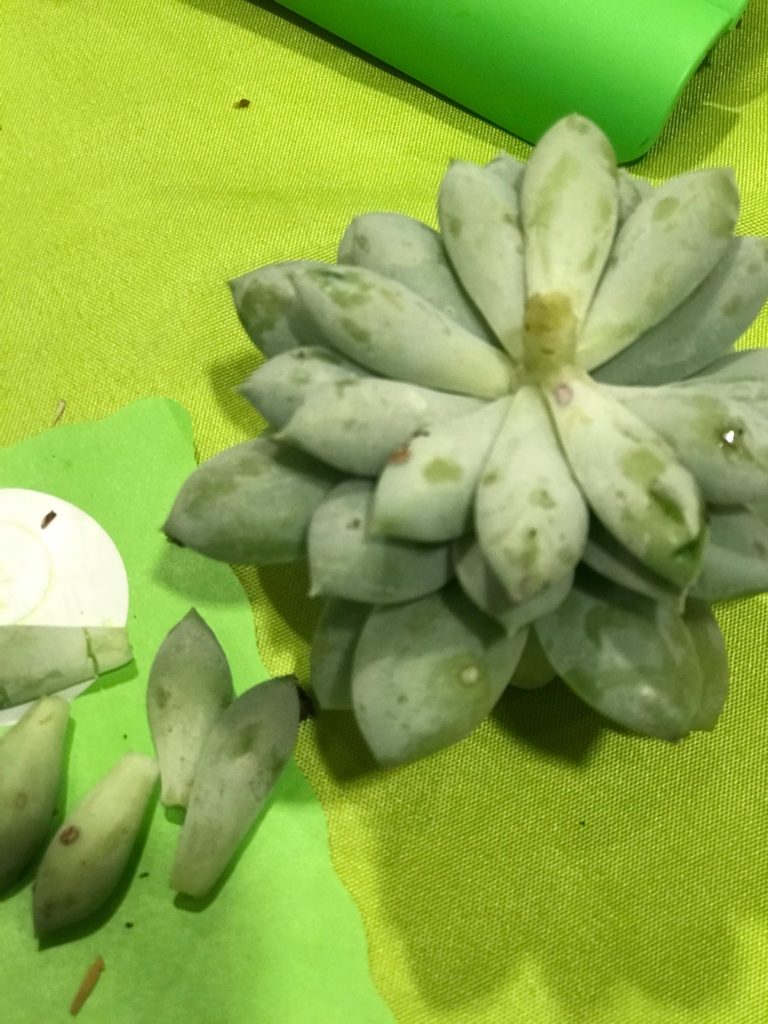
The first thing you need to do is remove enough leaves to give yourself a sizeable stem to work with. Pinch the leaves and pull them off. Don’t throw out the leaves that you picked off. Once you notice the edges getting dried out you can place them on some soil and grow your own succulents! They are very ‘in’ right now. In fact, my next floral arranging class is making an arrangement out of succulents. I’ll be sharing that info with you as well.
Using a piece of floral wire you want to pierce the centre of the stem. Not too far up or it will become wobbly… it is a little bit of a hit and miss. If it breaks or is too wobbly you will likely have to cut the stem off and remove more leaves to give it another go.
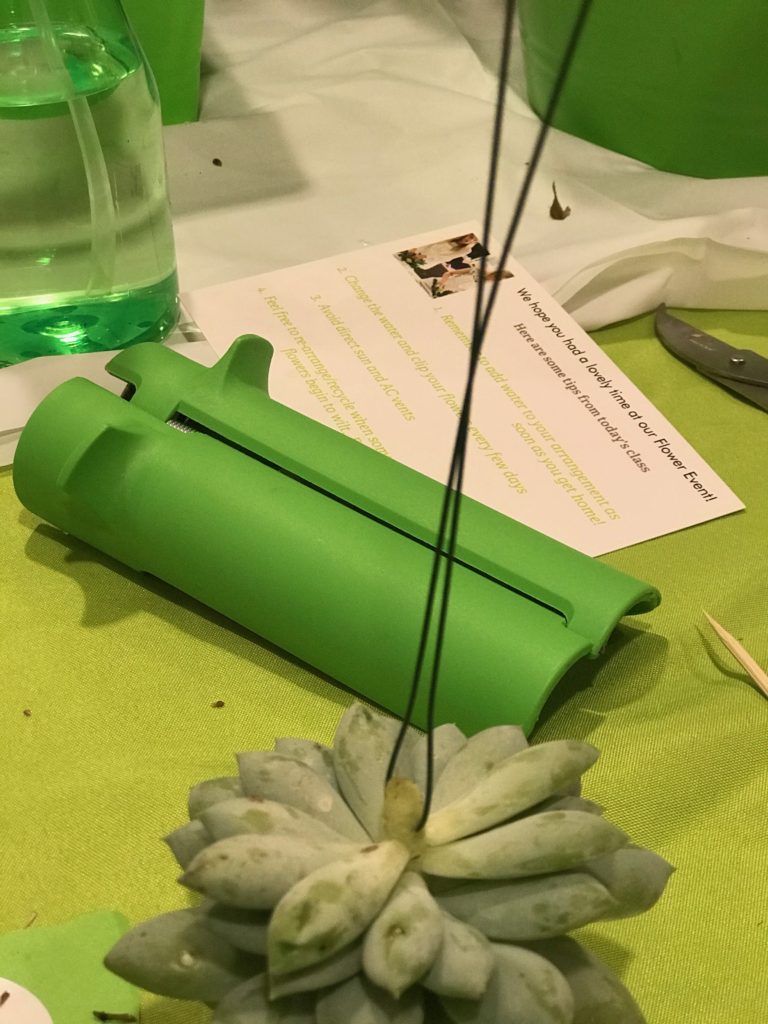
Once you pierce the stem you can pull the wire through to the centre point and then squeeze the two ends together and wrap them around each other.
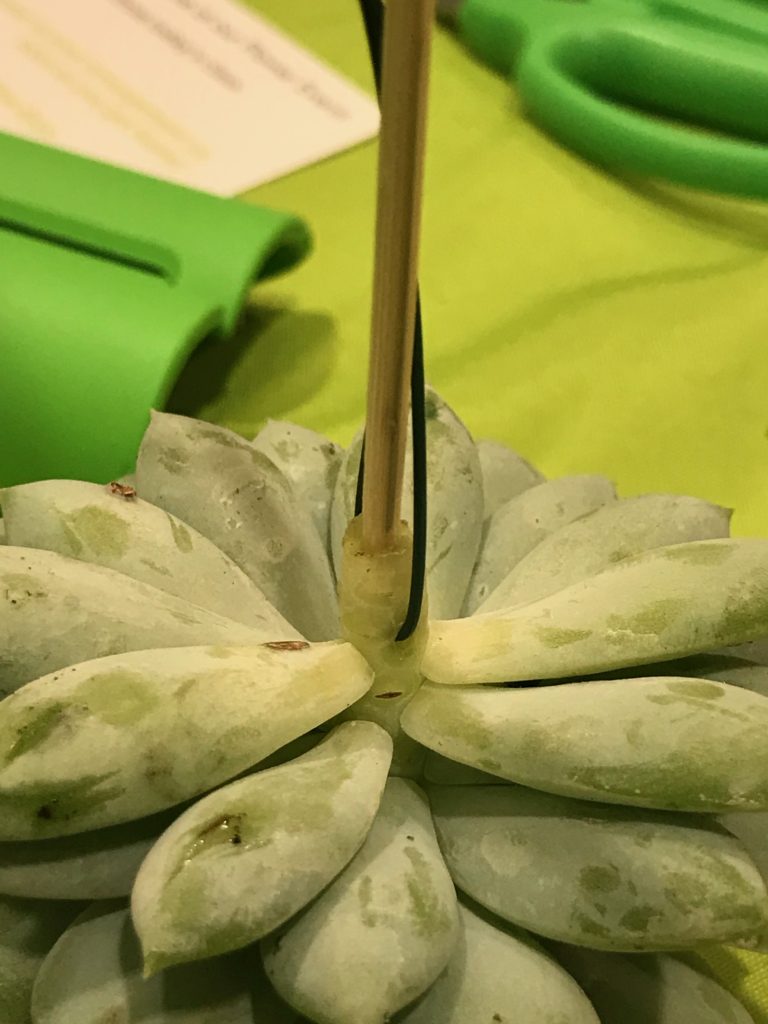
Using a wooden skewer….push it into the middle of the stem being careful not to go too far in – or else you might stress the stem…from here you will wrap the wire around the skewer and then cut the skewer to the required length and insert into your arrangement. Wait a minute…whoops again!! Another missed photo…because we are professionals at this we want to do it right…using green florist tape you want to wrap tape around it – from the succulent stem all the way down the skewer so that it looks like a green stem…THEN you can put it into your arrangement. *TIP…when using the tape cut to the desired length and then give it a good tug on each end…that’s what makes it sticky.
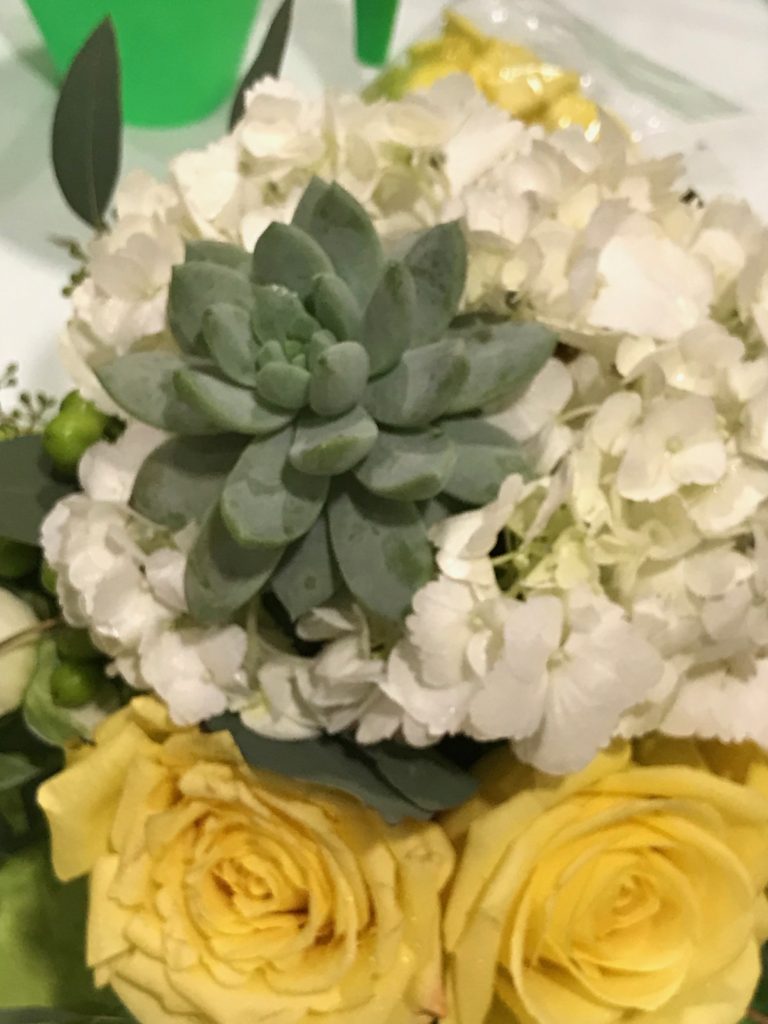
I put the succulent right into the hydrangea.
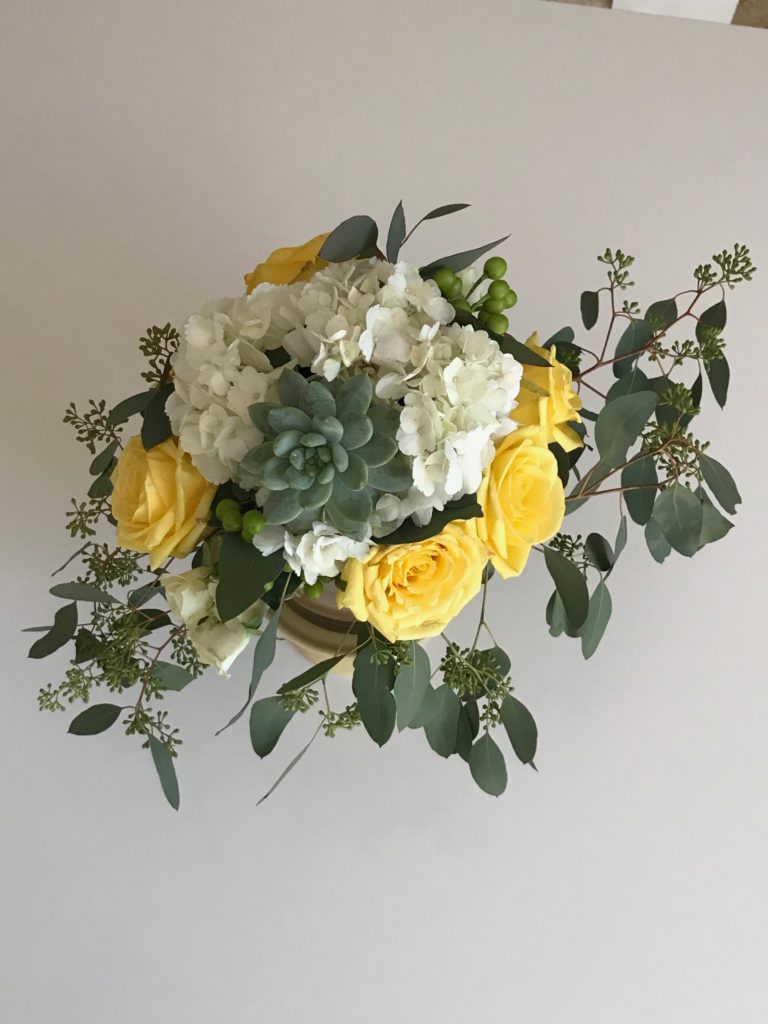
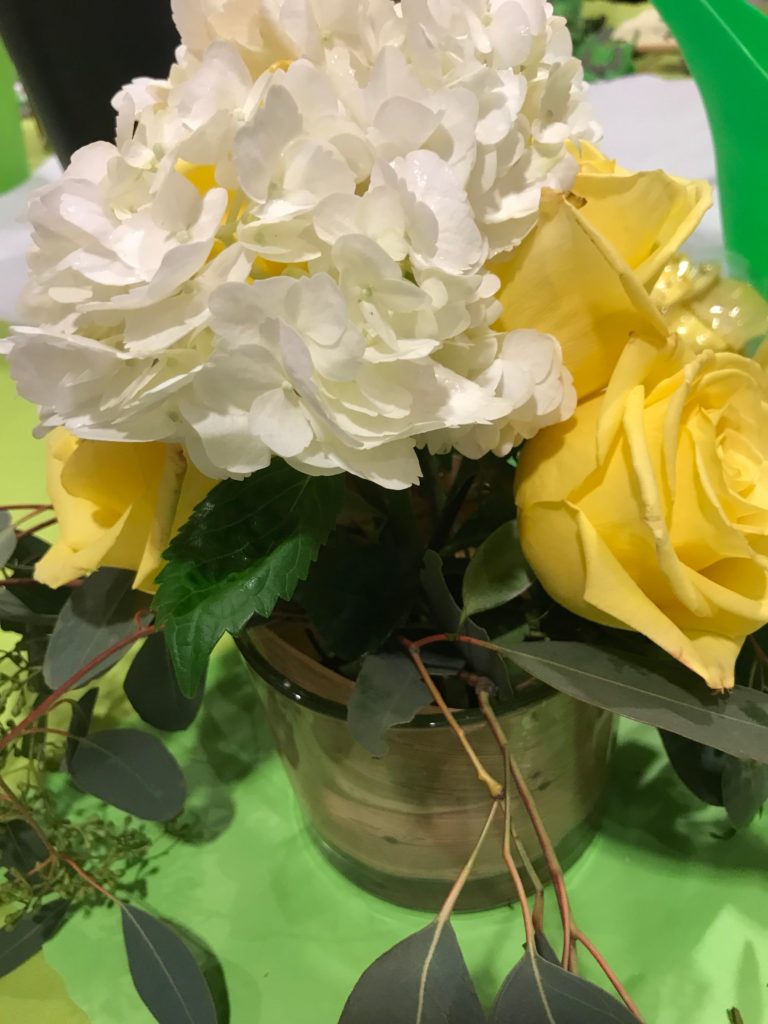
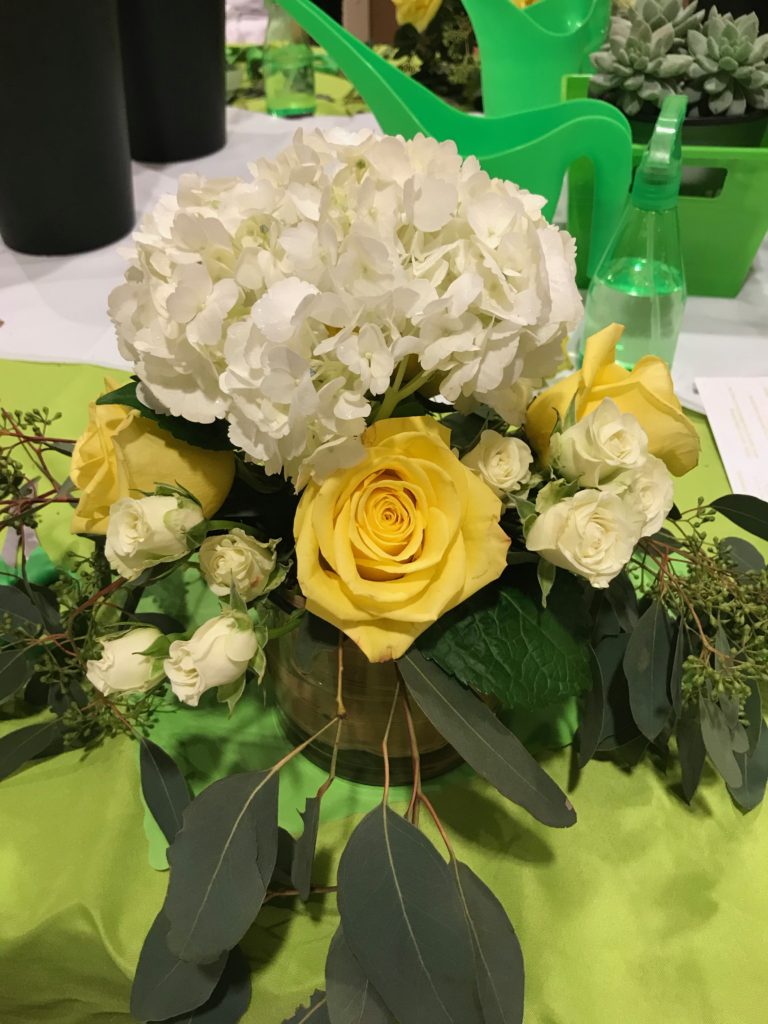
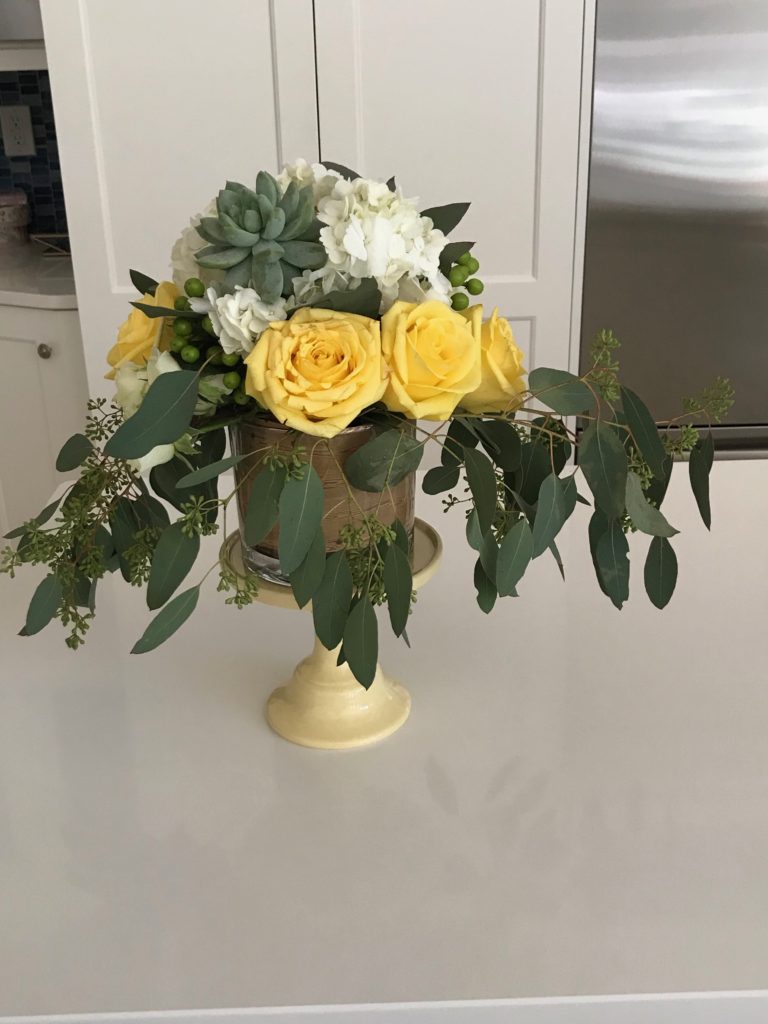
And here is the finished arrangement. Who knew I could do this?!!! It turned out so pretty.
Our class was two hours long and we worked on the arrangements the entire time. I am sure once you make a few you will cut some time off of it. It really became obvious though that when ordering beautiful table centrepieces you are paying for the expertise of the florists. Typically you can buy 3 hydrangeas for $10 and half a dozen grocery store roses for the same, add two more fillers like babies breath and greens which is really cheap…and you could easily whip up a few arrangements for much less than you would pay at the florist for a single arrangement of the same size.
I hope I have inspired you to give flower arranging a go! Don’t think too much about it…just jump right in. It’s fun and if you don’t like it you can simply take it apart and redo it. In fact, Alice recommends that we take these apart when it starts to wilt and recut all of the stems and put it back together to get even more time out of it.
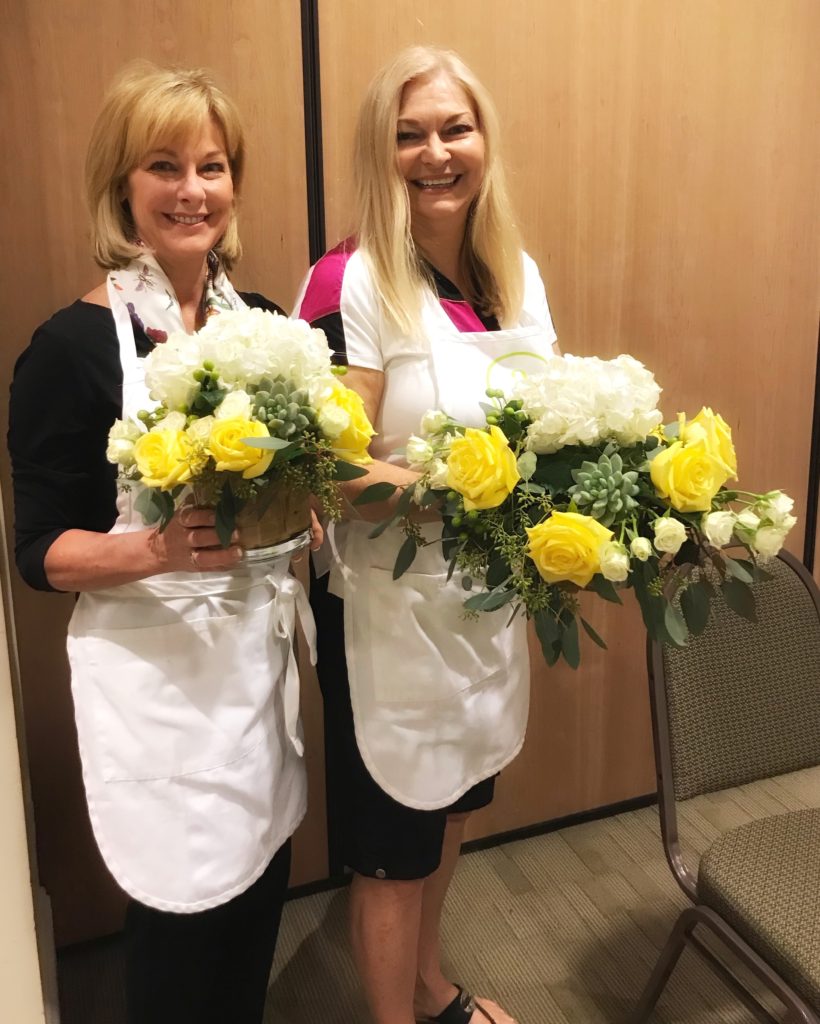
Unfortunately, the photos of the entire class did not turn out…but you can see with these lovely ladies how different their arrangements are. Everyone’s was unique to them. It was fun to see how different all of our arrangements were at the end of the class.

Teacher’s pet!!! LOL…
I am excited to get started on some Valentine’s arrangments and I have a couple of crafts I will be sharing with you too…but first…I am off to Universal with the little ones for a fun-filled week of amusement parks, swimming, arcades and of course lots of nana snuggles!


1 Comment
Tropical Flower Arrangment - Savvy Snowbirds
January 20, 2020 at 2:43 PM[…] to sign up for another flower arranging class. In case you missed my last one you can see it HERE. Admittedly this post is mostly for the women that were in the class with me. I promised them I […]